
MooseFS is a distributed file system that aims to be a fault-tolerant, highly available and performing, scalable general-purpose network distributed file system for data centers. In this article I’ll show how I’ve started working with MooseFS.
Prerequisites
To start working with MooseFS you’ll need a couple of things:
- Several servers, as this is a distributed file system:
- A master server – it can be more than one with MooseFS Pro – for managing the filesystem and storing metadata.
- Metalogger backup server, to store metadata changelogs and can be used to set up as master in case of failures. Any number of them.
- Chunk (data) servers, to store file data and synchronize among them. The more, the better. You can keep several copies of the same data to improve reliability.
- Clients: someone has to work with the stored files, right? 😉
- A running DNS system. Here in unixcop.com, we like bind (every word leads to a different bind tutorial)
- The MooseFS user’s manual. There is also an step-by-step guide… but this article intends to replace that guide
I don’t have at home so many computers, but I can use gnome-boxes to create several Virtual Machines. Four in total: master server, metalogger and two chunk servers. All of them with Debian, just because. Also, the master will serve the DNS service.
Add moosefs repository
This is a common step for every server, no matter what role. My recomendation, specially if you are going to use VMs is to install this first, then copy this VM to create the other servers.
Install Debian as usual, and then run as root:
root@vm: # wget -O - http://ppa.moosefs.com/moosefs.key | apt-key add -
root@vm: # echo "deb [arch=amd64] http://ppa.moosefs.com/moosefs-3/apt/debian/bullseye bullseye main" > /etc/apt/sources.list.d/moosefs.list
root@vm: # apt-get update
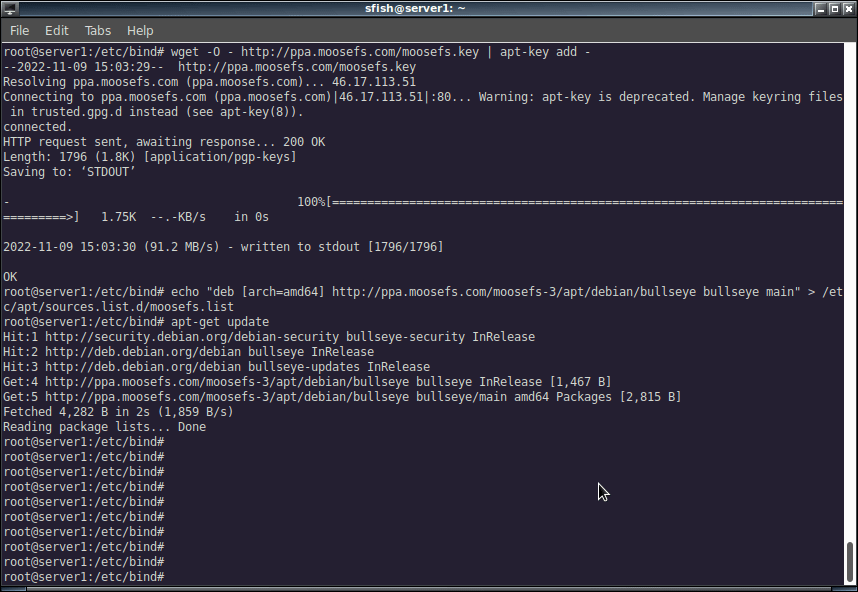
Now we are ready to clone our VM as needed and proceed with the Master server installation.
Master server
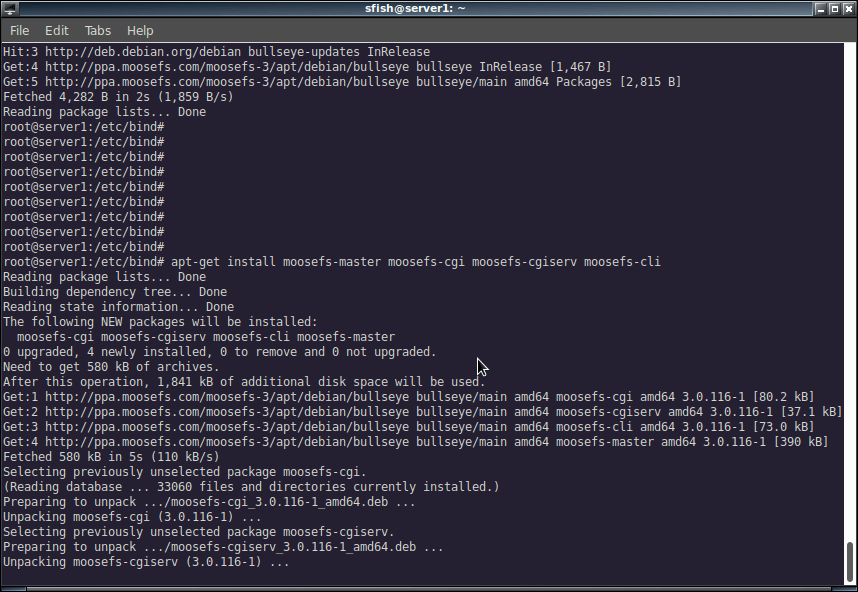
Launch the virtual machine for the master server and run:
root@vm: # apt-get install moosefs-master moosefs-cgi moosefs-cgiserv moosefs-cli
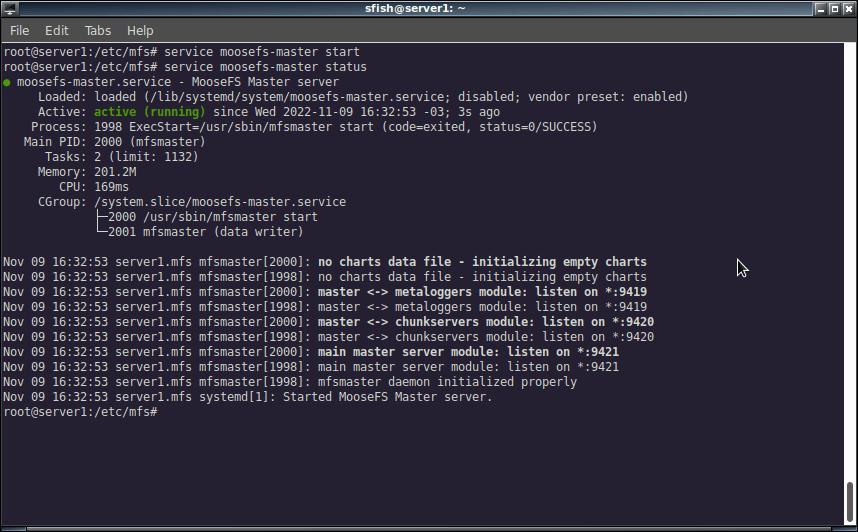
Then you can start the services with:
# systemctl start moosefs-master
# systemctl start moosefs-cgiserv
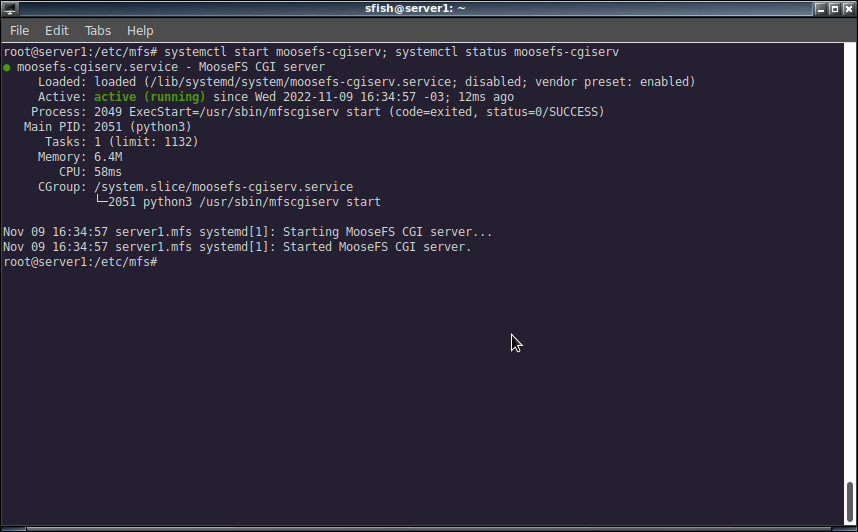
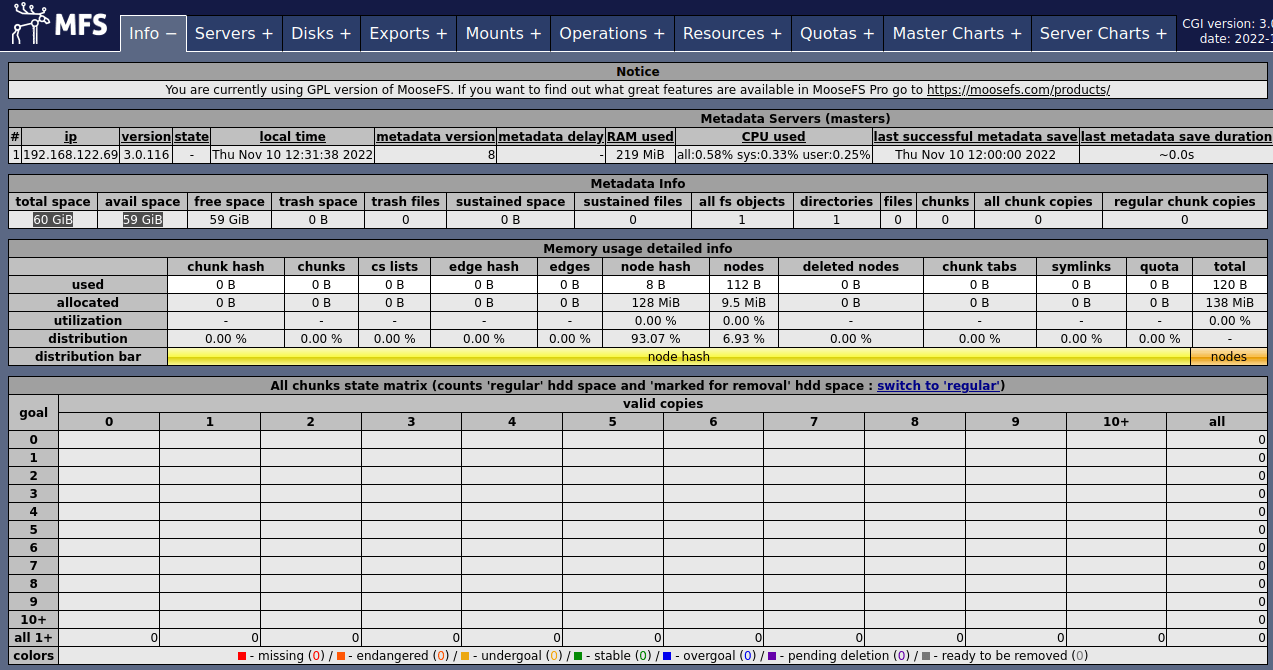
Actually, the CGI server isn’t mandatory, but you’ll get a nice status monitor that looks like this:
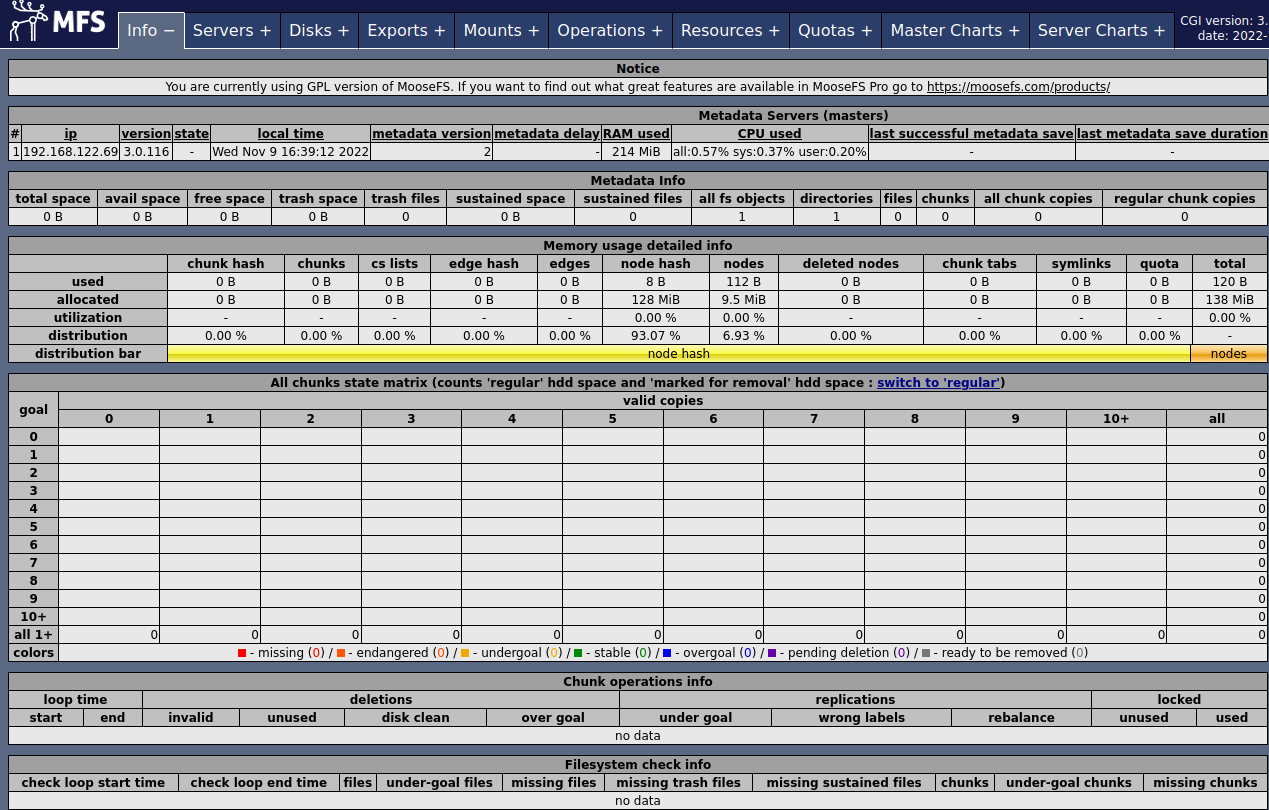
After the CGI server started, go to http://your.mfs.master.server:9425/ to see it in action. Don’t forget to update your DNS with the newly created VMs.
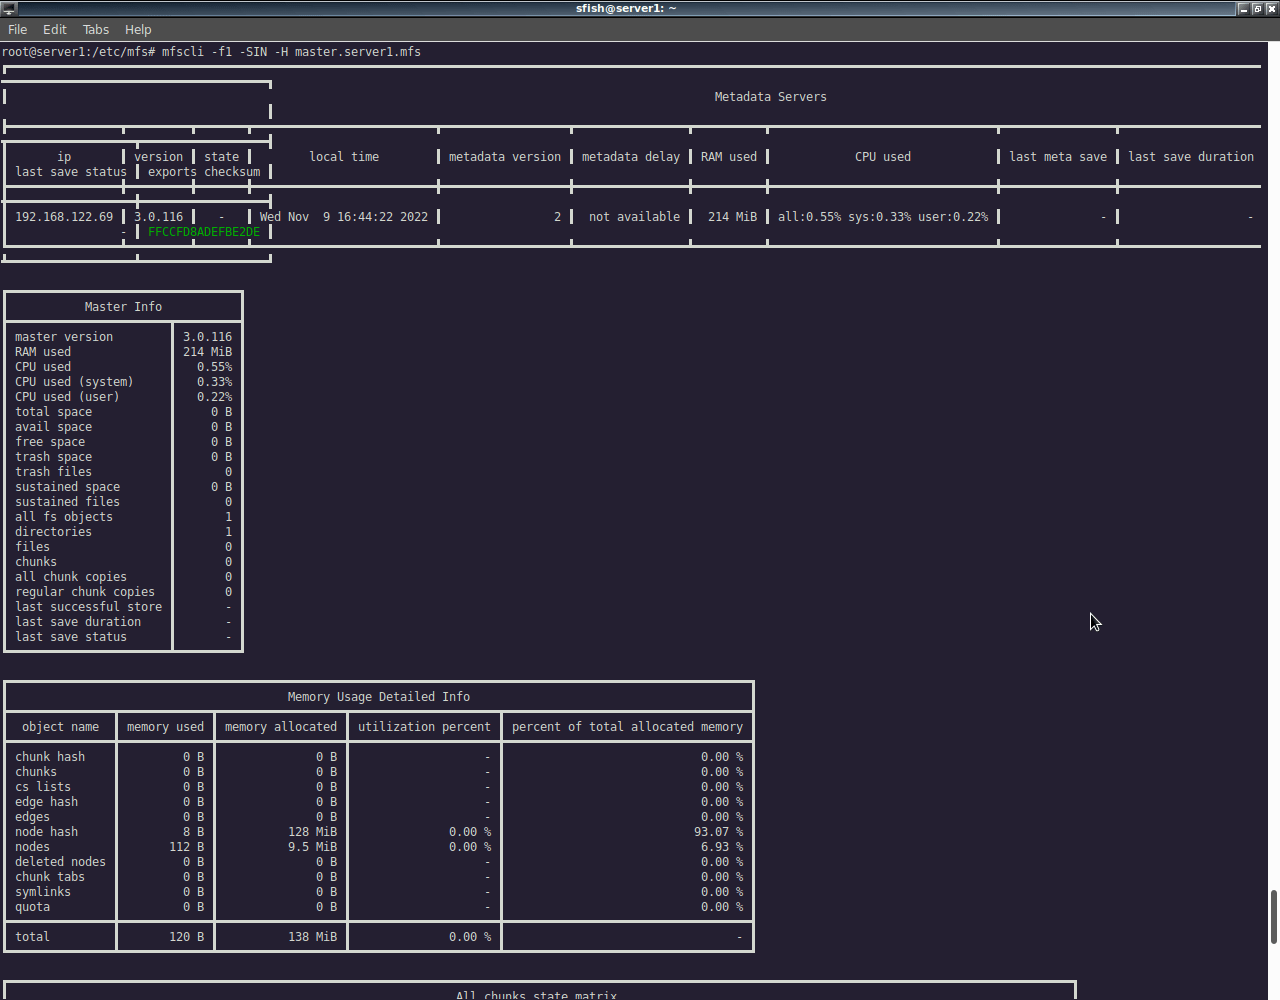
If you don’t want to run the cgi server, you can run the CLI monitor:
# mfscli -f1 -SIN -H your.mfs.master.server
where -f1 is to use thick unicode frames. -SIN means show full master info; and -H is the master server to connect.
Metalogger
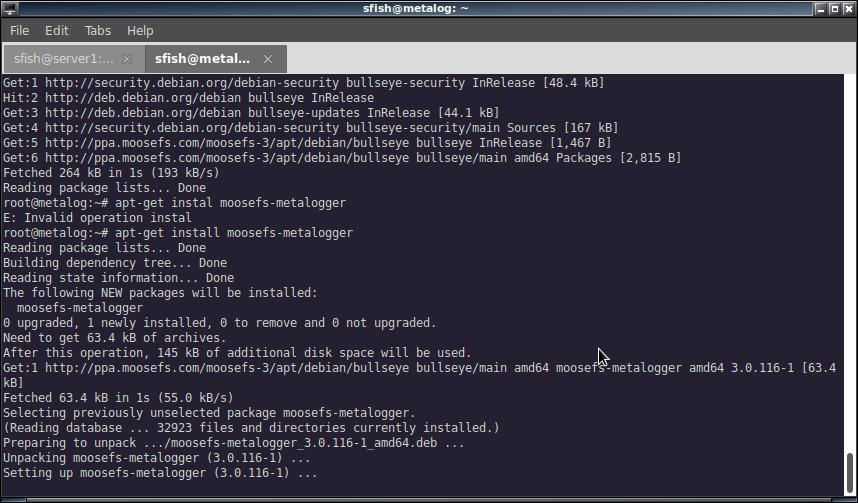
On the metalogger server run:
root@meta # apt-get install moosefs-metalogger
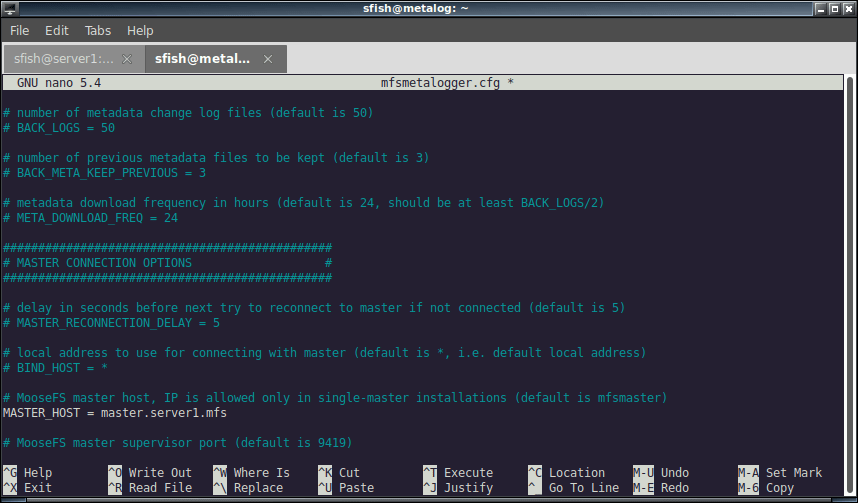
Before we start the service, we need to create a configuration file and set some variables:
root@meta: # cd /etc/mfs
root@meta: # cp mfsmetalogger.cfg.sample mfsmetalogger.cfg
root@meta: # nano mfsmetalogger.cfg #or your favorite text editor
And look for MASTER_HOST and set to the hostname of your master server.
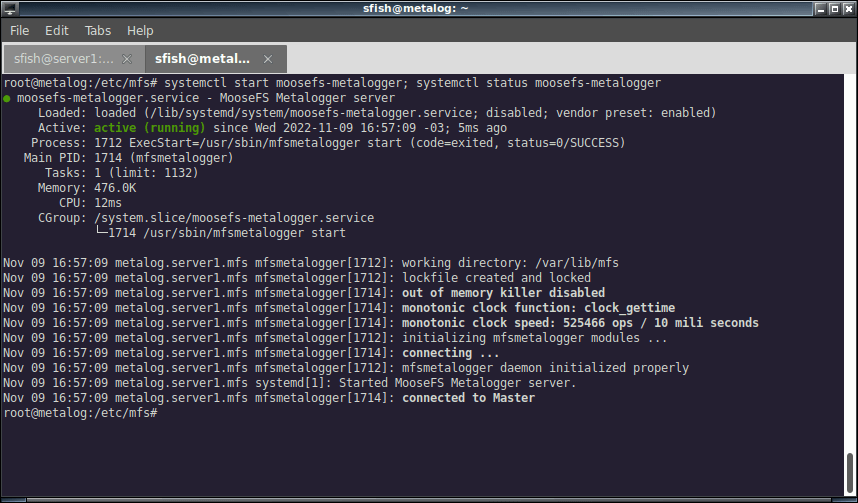
Now we can start the metalogger service:
root@meta: # systemctl start moosefs-metalogger
Chunk servers
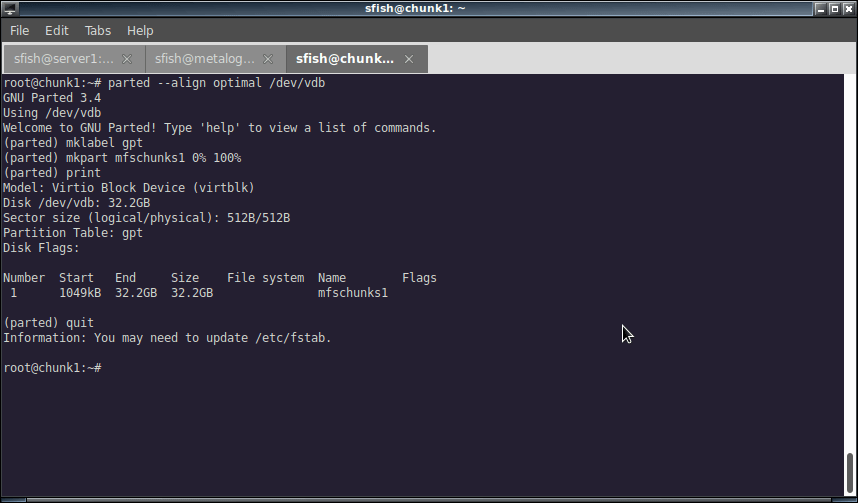
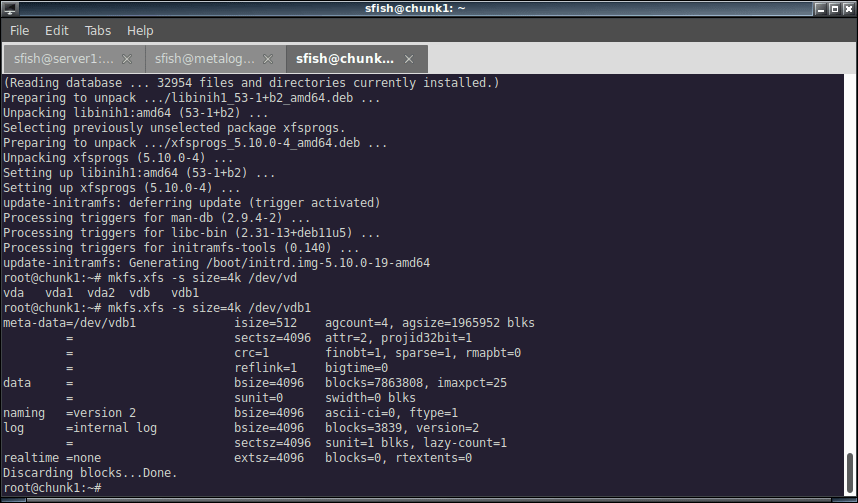
Prepare the disk
The chunk servers should have (at least) an extra disk to store the data. We will partition and format with XFS. You can use any tool you want (i.e. gparted), or do it as I did on the following screenshot sequence:

Chunkserver service
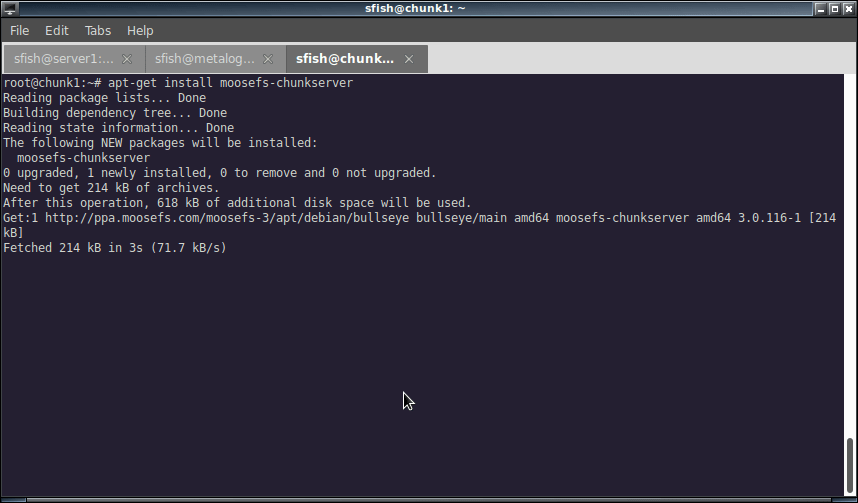
The first step is to install the chunkserver service:
root@chunk1: # apt-get install moosefs-chunkserver
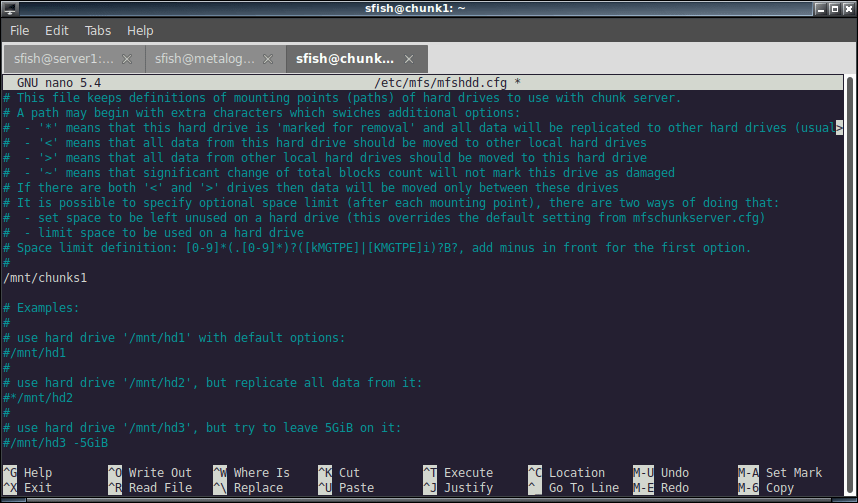
Before we can start the chunkserver service we need to create the config files:
root@chunk1: # cd /etc/mfs
root@chunk1: # cp mfschunkserver.cfg.sample mfschunkserver.cfg
root@chunk1: # cp mfshdd.cfg.sample mfshdd.cfg
The file mfshdd.cfg is pretty simple, just define the paths for the drives to export with the chunk server. /mnt/chunks1 according to my fstab file.
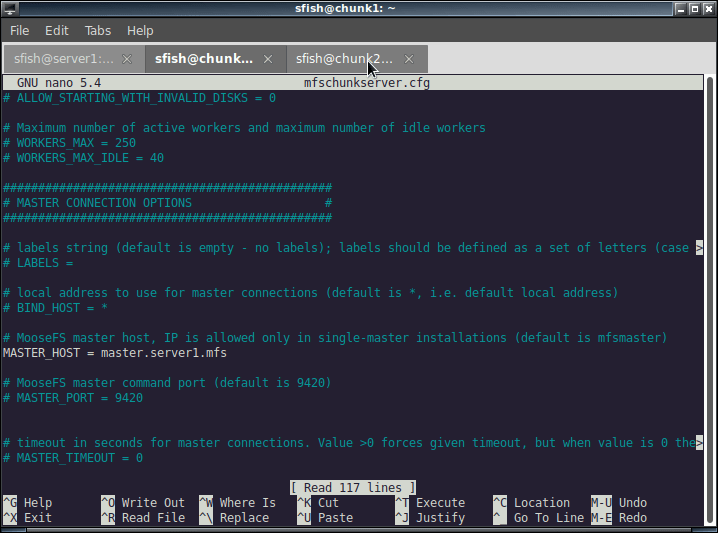
And on mfschunkserver.cfg we set the master host location in the MASTER_HOST variable:
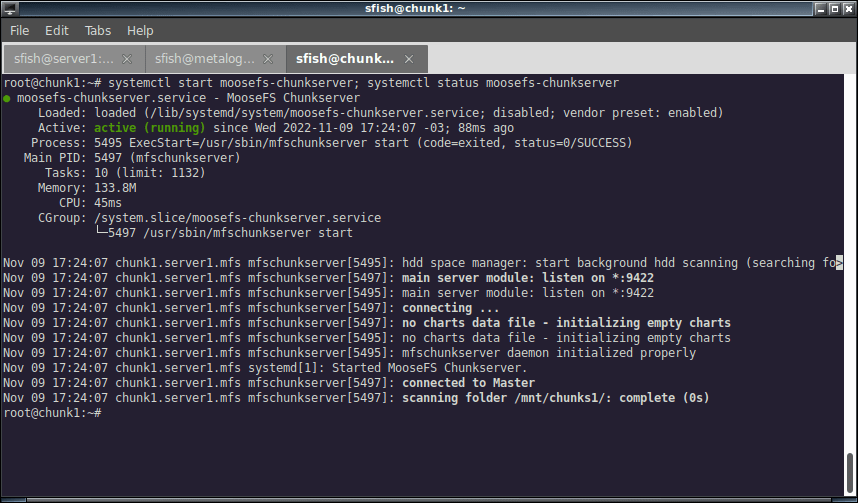
Now we can start the chunkserver service
root@chunk1: # systemctl start moosefs-chunkserver
If you go with your browser to the status monitor you’ll se some space available, yay!
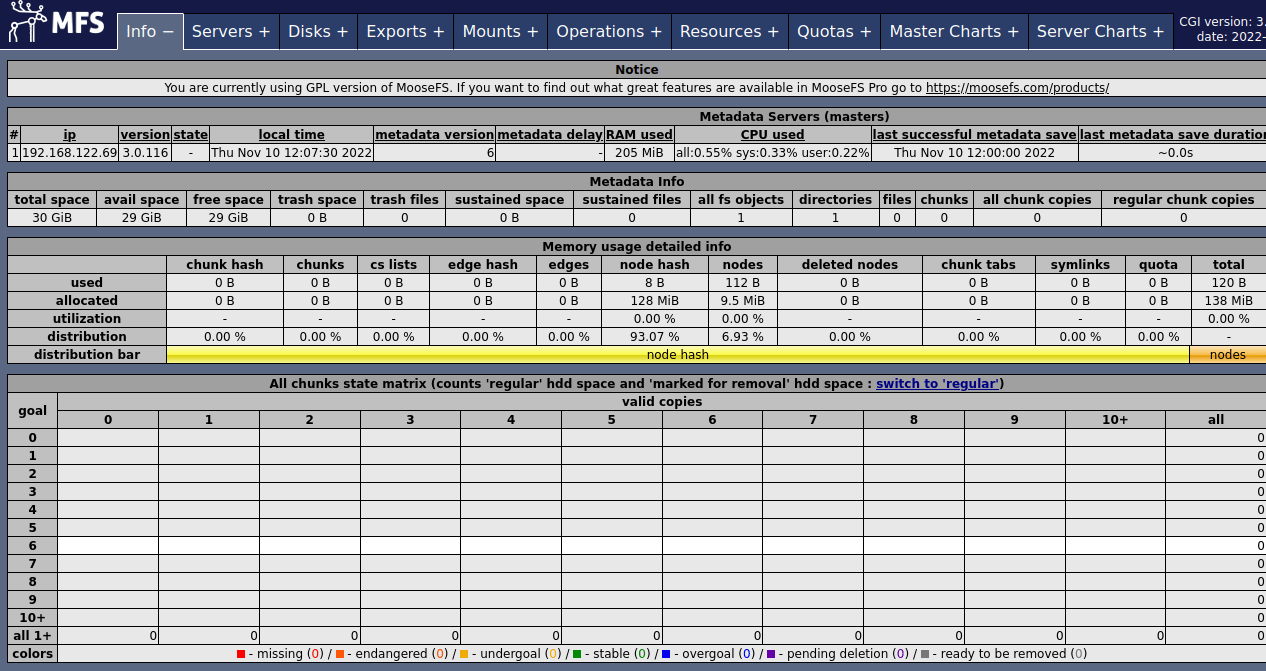
Now repeat those steps with the other(s) server(s) and observe the results:
Click on the Servers + tab to see information about our chunkservers:

Clients
It’s nice to have storage space available, but is nicer to use that space, right? To start working with MooseFS I need a fuse client that is installed with:
root@client: # apt-get install fuse libfuse2 moosefs-client
Then you can mount the moosefs filesystem with mfsmount -H <mfs.master.server> <mountpoint>, like this:
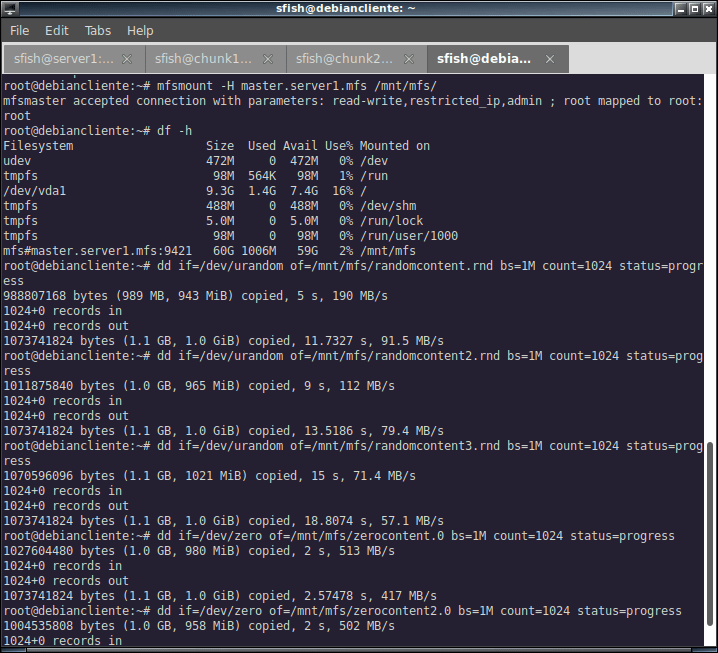
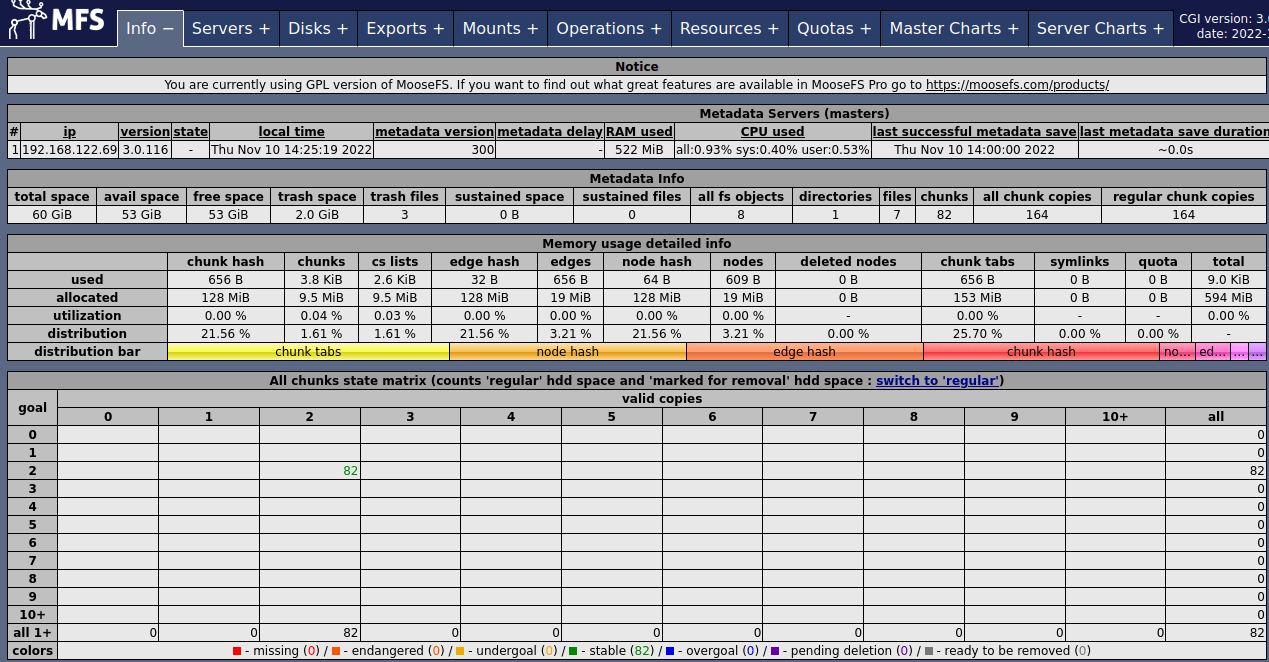
On the screenshot I’ve also checked the space available (df -h) and created some random files with random content. And of course, I’ve check again that nice status screen:
Final words
This is almost it. In case some of your users have windows or mac in their computer, they can also work with MooseFS. There is macFUSE for macos and Dokani for windows.
[…] UNIX Cop ☛ Working with MooseFS […]