In my PC I’ve worked with Virtual box for years. Then virtual box, for some reason, was removed from the Debian repository. As I wasn’t using those VMs for something critical I’ve just didn’t bother to find out why or to search some alternate repo. Few months ago I need some virtual machines on my PC, so I began working with gnome-boxes.
Installing
Gnome Boxes was initially introduced as part of Gnome 3.3, if you this is desktop you may already have it.
Iinstall in Debian based distributions you can with:
sudo apt-get install gnome-boxes
For Fedora based distributions:
sudo dnf -i gnome-boxes
For other distros or other package systems, refer to the manual.
Working with gnome-boxes
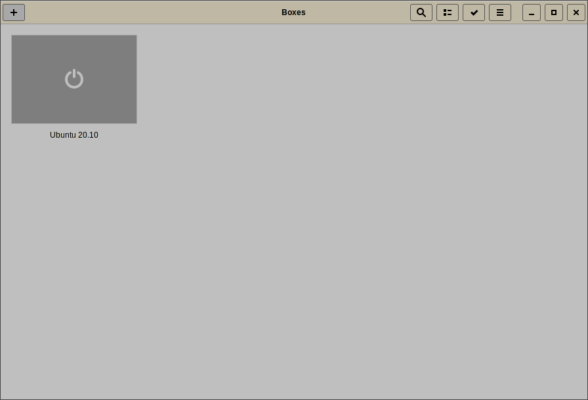
Launch it from the menu or the command line (gnome-boxes). The fun starts when you click on the big plus button at the top-left of the screen. You’ll be presented with the following screen to choose the most popular distributions to install:

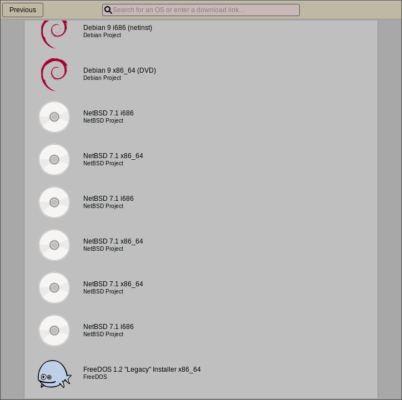
You don’t even have to search for an ISO file and download it! But if you don’t want RedHat or Fedora, you can click on Operating System Download and choose between a lot of Operating Systems and distributions:
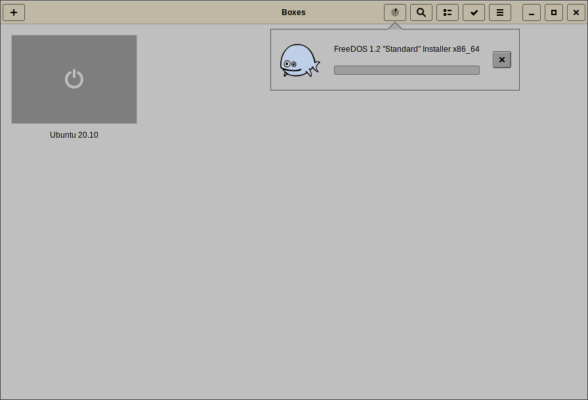
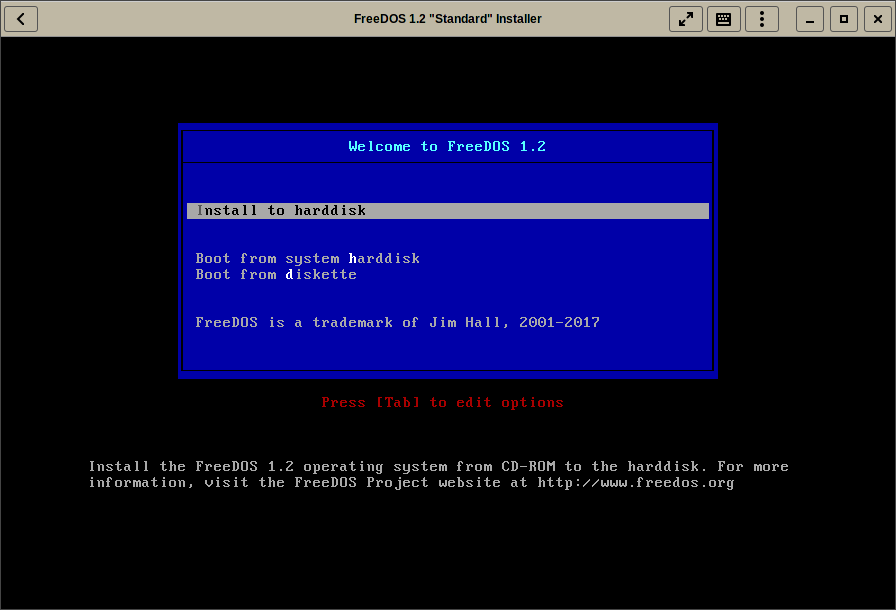
In fact, I’ve choosen FreeDOS to get the screenshots of this blog entry. Anyway, click on any OS distro and version you want in the presented list, and the download will begin:
Wait until the download is over and you could customize a little the new VM:
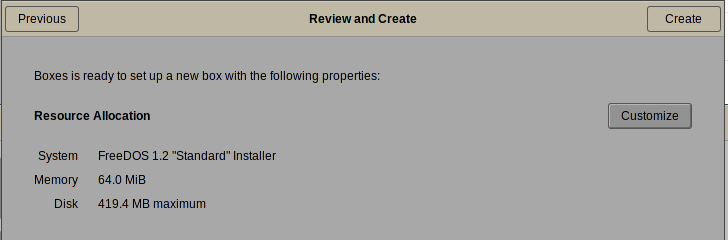
There aren’t may things you can change from here:
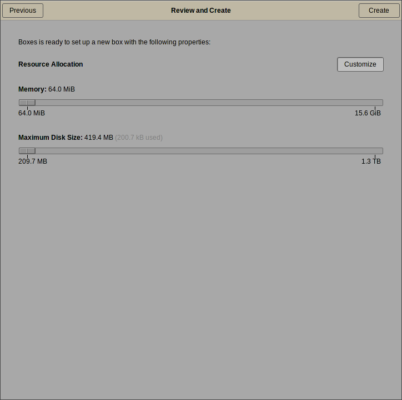
When you set the memory and disk size click on create and your virtual machine will be ready to install:
And this is (almost) it. After the installation you can right-click the VM and change other settings like CPU assignment or if the machine will run on background:

On the next tabs you can share usb with just one click, mount compact disks/dvd/iso images, an on the last one create Snapshots.
Other features
Let’s back to the first VM creation screenshot. What if there aren’t an Operating System you want to try or there aren’t the version you need?. Is not that fun but you can search and download the ISO to install it by yourself.

You want more advanced options than just assign memory, cpu and disks? for example, if you want to set bridge networking, you have two options here:
- edit the xml file:
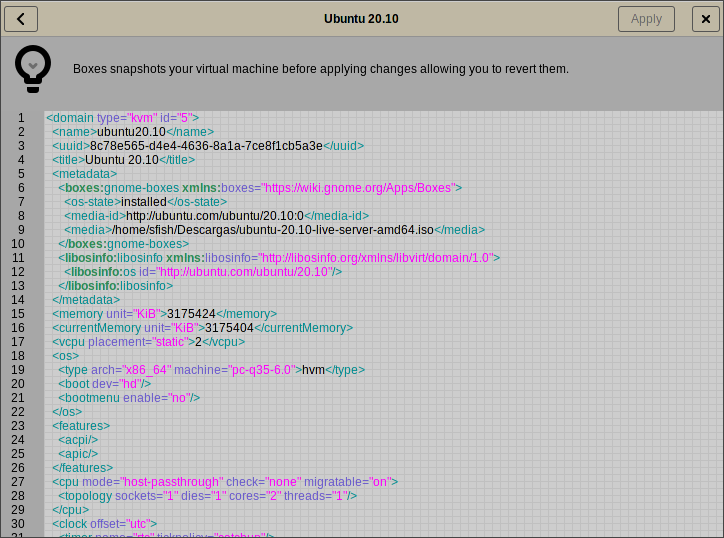
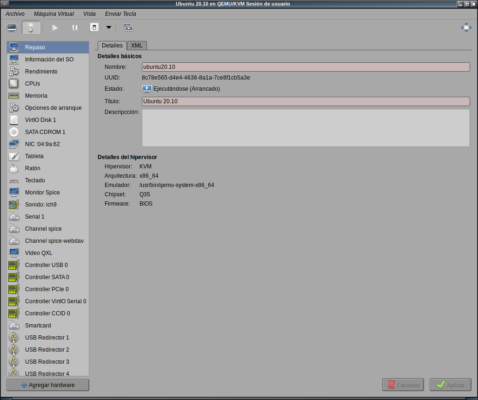
- gnome-boxes is a front-end for Qemu with KVM and Libvirt. You can install another more advanced frontend like virt-manager to tweak all the options available without editing the xml file:
Conclusion
I’ll be working with gnome-boxes for “light” desktop pc virtualization. I don’t think I’m going back to virtualbox, at least for a while.
By the way, for my servers I’m still using ESXi or XenServer.