
Introduction
Comparing Amazon Web Services (AWS) to GoDaddy is like comparing apples to oranges. Or like comparing the space shuttle (AWS) to an airplane (GoDaddy). They’ll both get you around the world, but one is way more complex, with more potential, while the other is very approachable.
GoDaddy is simplified for beginners, and Amazon Web Services (AWS) is for developers and advanced users. You can get all the AWS scale and pricing benefits but with managed support by going with Cloudways.
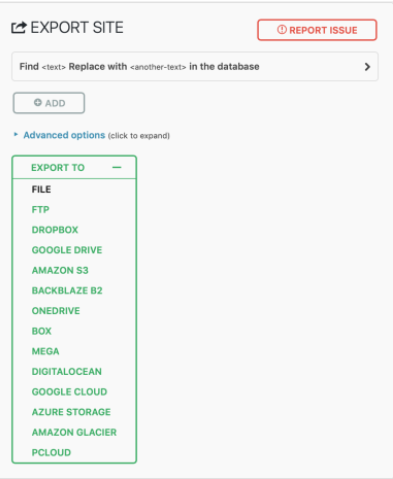
- WordPress’s default export functionality will only pull the database with the images. But will not export the plugins or themes. So you’ll have a mess that doesn’t look remotely close to what you had
- A great solution is to get a plugin that will export EVERYTHING, including plugin configurations, themes, etc.
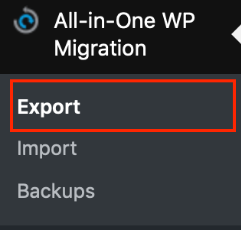
- In the WordPress admin section (e.g., wp-admin), install a plugin called “All-In-One WP Migration“.
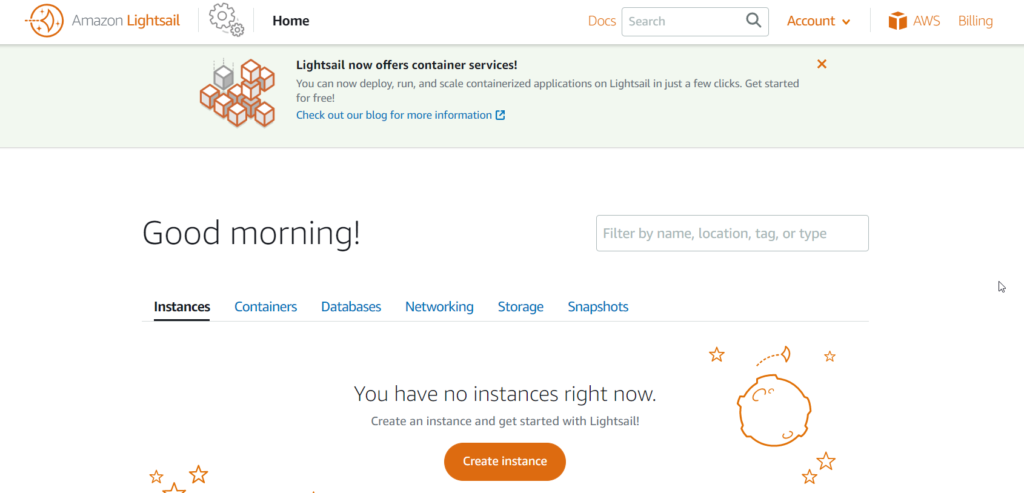
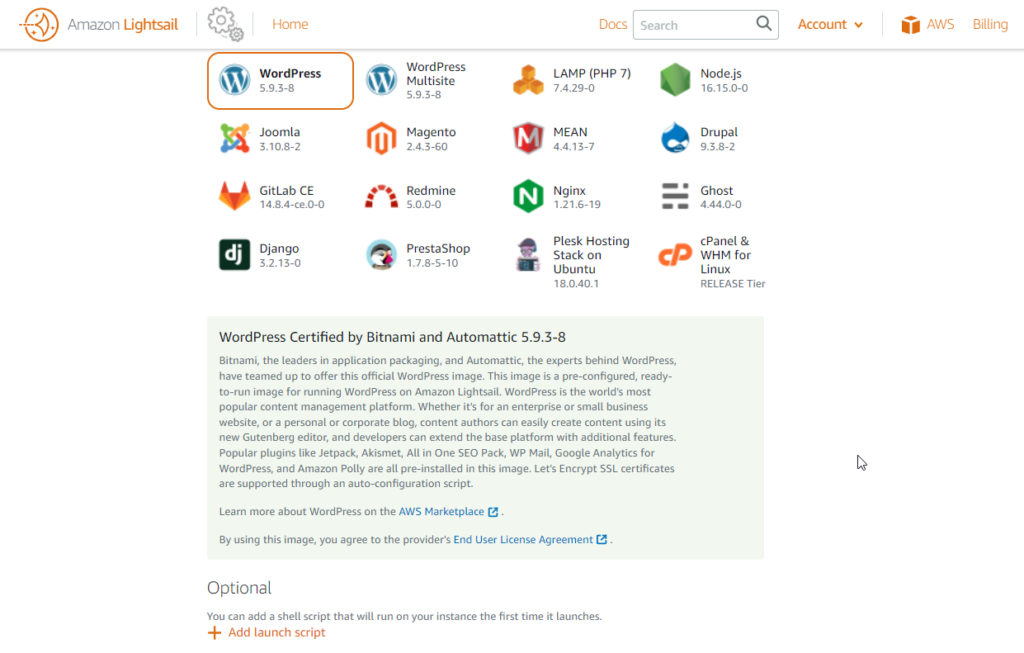
Instance On AWS Lightsail
You will need to have an amazon web services account with a linked credit card for this section. But don’t worry, the first month is FREE!
- I will assume you already have an account, so head over to lightsail.aws.amazon.com.
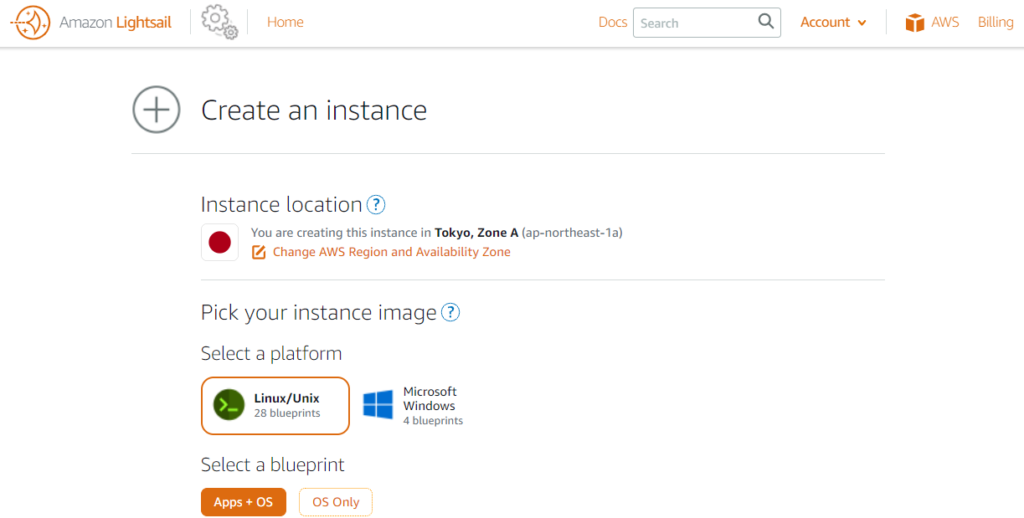
- Click on “Create Instance.”
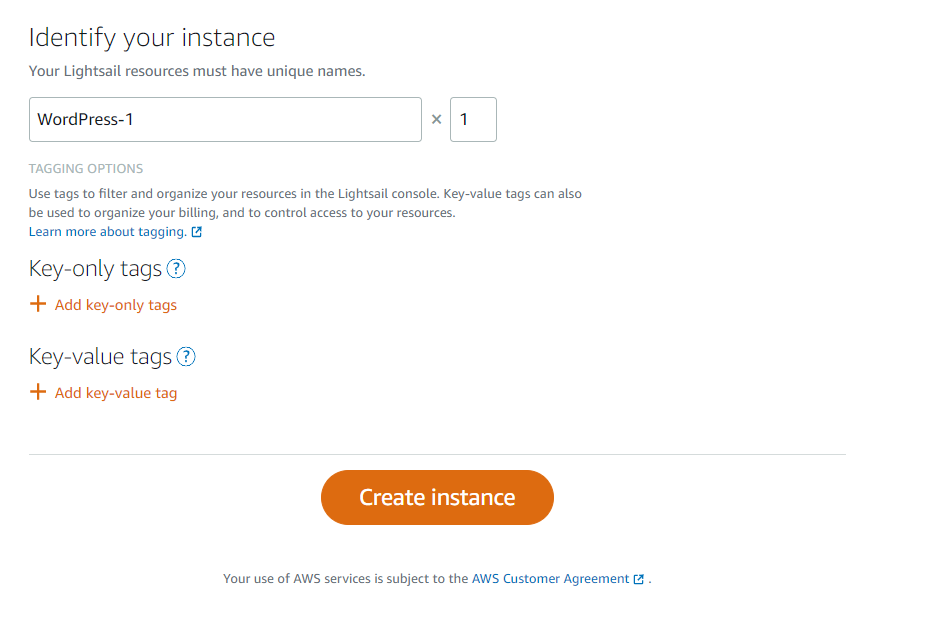
- Enter the instance name, and I called it WordPress-Example to reflect the name of my site.
- I assign a “project” tag with the value “ice cream.” so that I can quickly locate my instance (in case I create many).
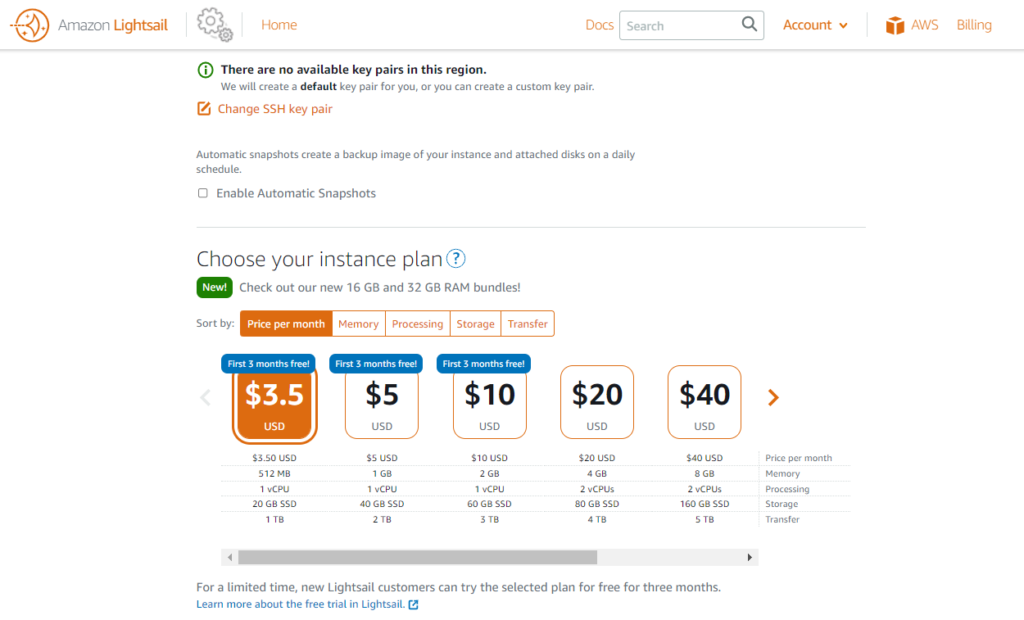
- Launch the instance.
Creating a Static IP on AWS
It’s fantastic that you can see the new plain WordPress site by accessing that IP address you copied, but be careful that IP can change at any time. So we’re going to create a static one to keep it the same (so that we can reference it and be confident it will not change).
- In the Lightsail console, click the Networking tab.
- Create static IP.
- Assign the IP to your newly created instance “WordPress-Example.”
- Save.
Moving DNS Zone from GoDaddy to Lightsail AWS
Okay, we got a site that loads when you go to that static IP. But what we want is to have the old domain point to that lightsail instance.
I tried to have GoDaddy’s DNS Zone point to the lightsail static IP, but I couldn’t get WordPress to recognize that I own the site, I created a CNAME with “www” to point to it. The issue is that the admin side of WordPress saw me that I’m only an IP, and can’t verify my admin email, etc.
So I decided to move the nameservers from GoDaddy and use AWS Route 53 to manage my DNS Zone but keep the domain email hosting on GoDaddy’s cPanel email. That was the better solution regardless, as when someone visits my site, it’s better if Route 53 routes them to my instance instead of going to GoDaddy first, resolving the domain and realizing that it needs to hit the AWS instance.
Finishing Touches & Verifications
We took the site hosted on GoDaddy and hosted it on AWS Lightsail instead. We also re-issued an SSL certificate, uploaded it to our new instance, and installed it on our WordPress site.
That is due to the plugin that exported the site, it fixes the permalinks for you, but for anything that was hardcoded, it saw it as a new “temporary domain” that we had when we first spun up the instance, which is the static IP.
- Please go through the plugins that might have an email domain associated with them and update the static IP with your domain email. I had to do that for PayPal, Contact Forms, Ninja Forms, etc.
- If you had Google Analytics Plugin, you might have to de-authorize and re-authorize to change that static IP domain to your existing domain.
- Click on the Users menu from the dashboard > Your Profile and update the email address there from the static IP. That will also restore your Gravatar image or anything associated with your real WordPress admin account.
- Check your Contacts Forms plugins for anything that has IPs to update them.
- Check your Email Subscribers plugins for anything that needs updating in the Settings.
- Click “Customize” on your WordPress admin toolbar at the top of your homepage, click through any footers/headers with icons/buttons, and replace IP addresses with your actual domain.