
Everything Linux, A.I, IT News, DataOps, Open Source and more delivered right to you.
"The best Linux newsletter on the web"
In this guide, we will show you how to install Avidemux in Ubuntu systems.
Avidemux is a free and open-source software application for non-linear video editing and transcoding multimedia files. The developers intend it as “a simple tool for simple video processing tasks” and to allow users “to do elementary things in a very straightforward way”. It is written in C++ and uses Qt for its graphical user interface, and FFmpeg for its multimedia functions. Starting with version 2.4, Avidemux also offers a command-line interface, and since version 2.6, the original GTK port has not been maintained and is now discontinued.
Install Avidemux on Ubuntu-APT method
Follow the steps below to get started with Avidemux :
- Update your Ubuntu system packages with running the below command:
sudo apt update -y && sudo apt upgrade -y- Avidemux package is not available on Ubuntu base repository. So You can install it via importing PPA repo as follows:
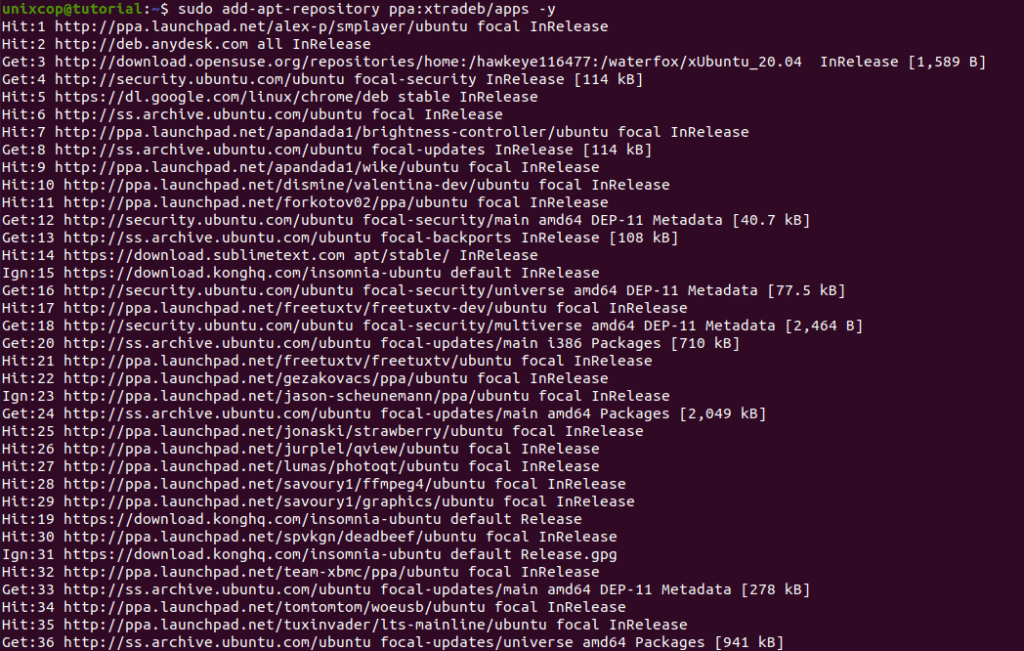
sudo add-apt-repository ppa:xtradeb/apps -y
- Run the command below to reflect on PPA
sudo apt update -y- Then install Avidemux as shown below:
sudo apt install avidemux* -y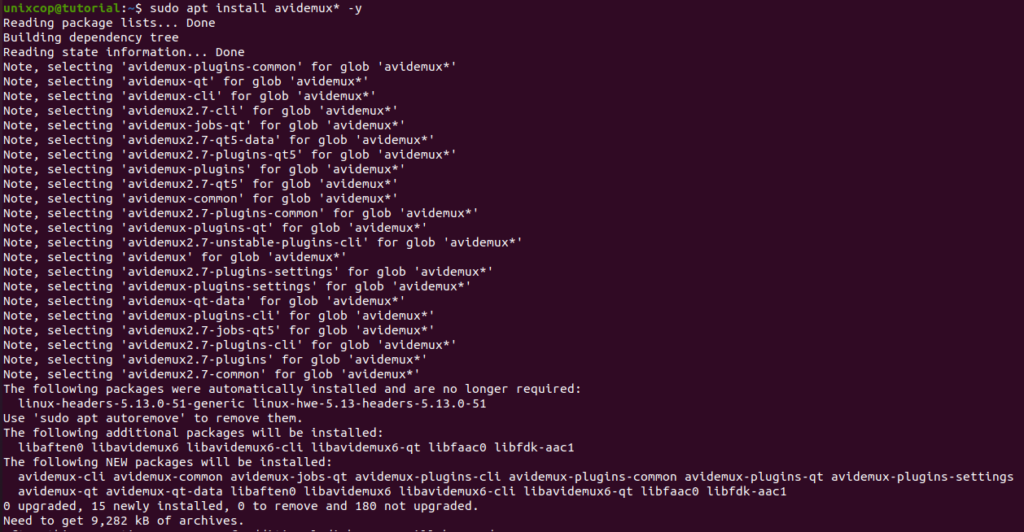
Access Avidemux
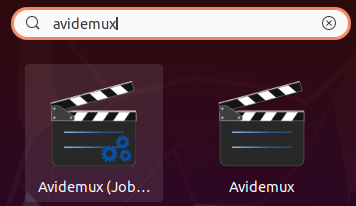
- Access Avidemux through the command line by running the command
avidemux- Also you can search on the system search bar by typing Avidemux as follows
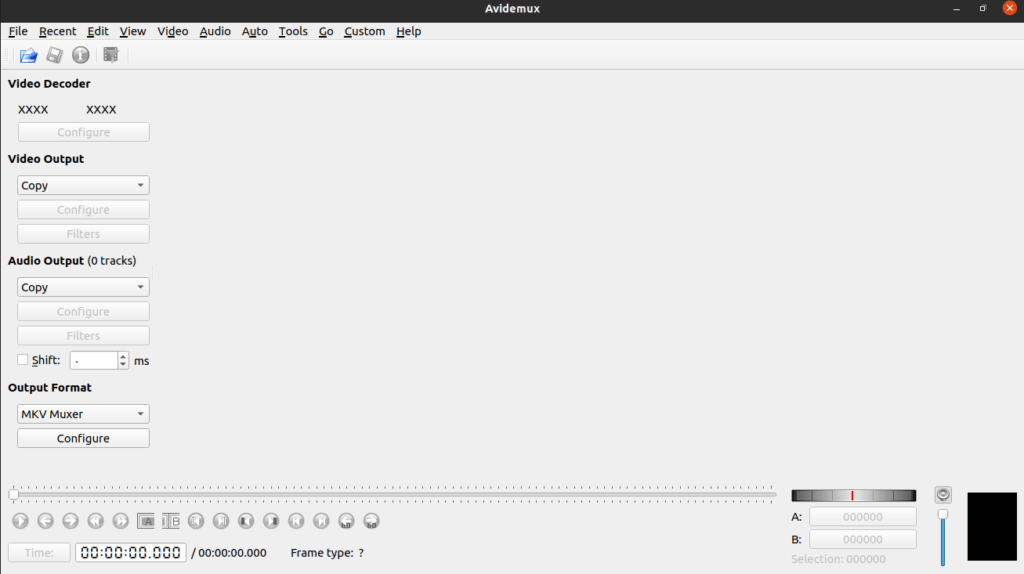
- Avidemux will be launched as shown below
How to Remove (Uninstall) Avidemux
- Remove Avidemux with APT Remove Method:
sudo apt autoremove avidemux* --purge
sudo add-apt-repository -r ppa:xtradeb/apps -y
Install Avidemux -Conclusion
That’s it
Thanks.
Everything Linux, A.I, IT News, DataOps, Open Source and more delivered right to you.
"The best Linux newsletter on the web"
Thank for your Tutorial. Works excellent!