
So in this guide, we will show you how to install Okular on ubuntu systems.
Okular is a multiplatform document viewer developed by the KDE community and based on Qt and KDE Frameworks libraries. It is distributed as part of the KDE Applications bundle.
Also Okular is a universal document viewer developed by KDE. Okular allows you to read PDF documents, comics, and EPub books, browse images, visualize Markdown documents, and much more.
In addition to, Its origins are from KPDF and it replaces KPDF, KGhostView, KFax, KFaxview and KDVI in KDE 4. Its functionality can be embedded in other applications.
Install Okular
Follow the steps below to get started with Okular:
- Update your Ubuntu system packages with running the below command:
sudo apt update -y && sudo apt upgrade -y- Okular package is not available on Ubuntu base repository. So we will enable universe repository to install Okular
sudo add-apt-repository universe
- Update the package index
sudo apt update- Then Install Okular
sudo apt install okular -yAlso you can install it with snapd manager:
Snap is a software packaging and deployment system developed by Canonical for operating systems that use the Linux kernel. The packages, called snaps, and the tool for using them, snapd, work across a range of Linux distributions and allow upstream software developers to distribute their applications directly to users. Snaps are self-contained applications running in a sandbox with mediated access to the host system.
Snaps are applications packaged with all their dependencies to run on all popular Linux distributions from a single build. They update automatically and roll back gracefully.
- Snaps are discoverable and installable from the Snap Store, an app store with an audience of millions, So install snap then install okular via snap manager as shown below
sudo apt update
sudo apt install snapd
sudo snap install okular

- Once installed, you will get that it has been installed as shown below.

- Access Okular through the command line by running the command
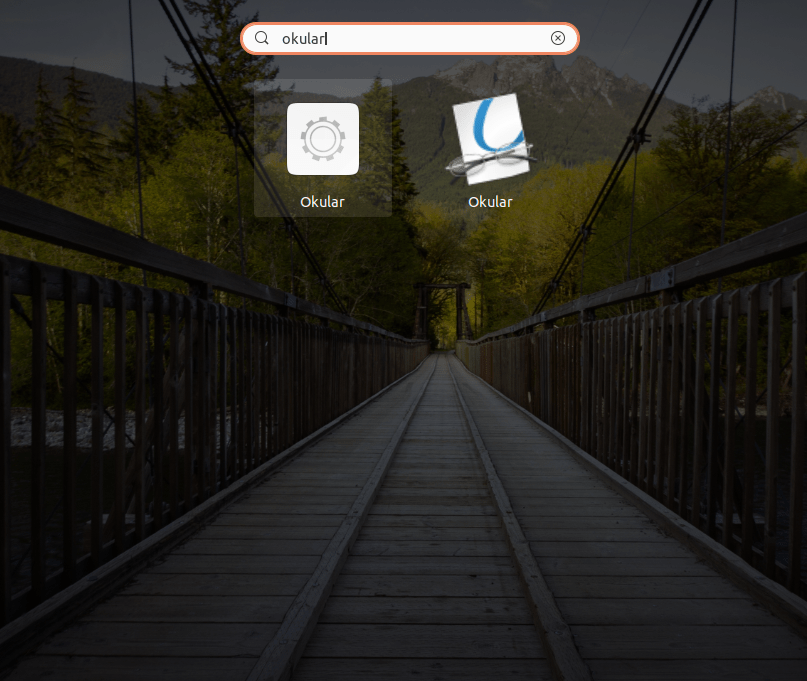
okular- Also you can search on the system search bar by typing okular as follows
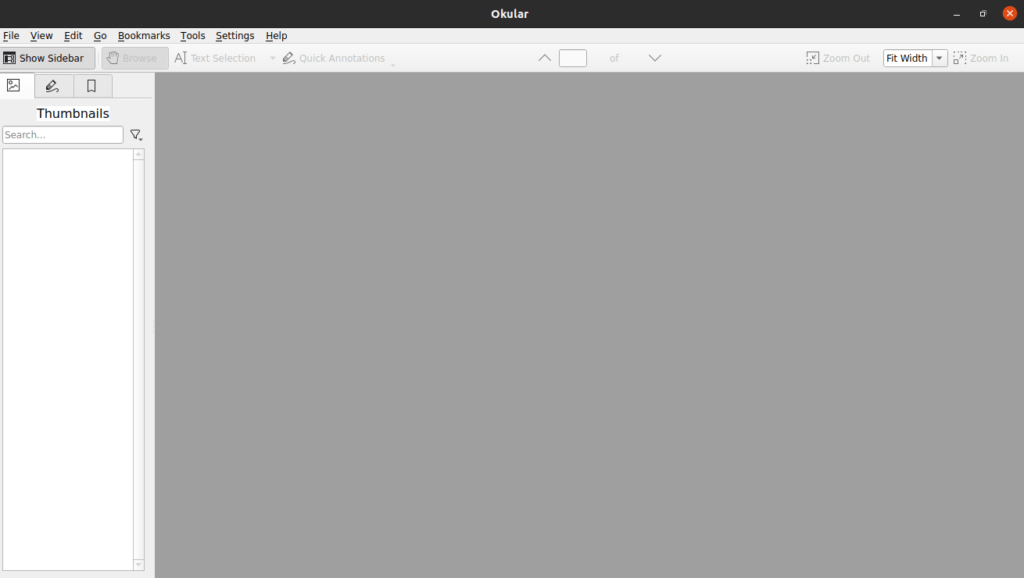
- Okular will be launched as shown below
Conclusion
That’s it, I hope that was useful.
Thanks.