
Introduction
NGINX is a popular open-source web server known for its high performance and scalability. It is commonly used to manage large-scale web applications that require high availability and performance. This tutorial will walk us through managing large-scale web applications with NGINX on Linux.
Step 1: Install NGINX
sudo apt update
 sudo apt install nginx
Step 2: Configure NGINX
Edit the /etc/nginx/nginx.conf file to set up the basic configuration for NGINX. You can use the following as a template:
user www-data;
worker_processes auto;
pid /run/nginx.pid;

events {
    worker_connections 1024;
}

http {
    upstream backend {
        server backend1.example.com;
        server backend2.example.com;
        server backend3.example.com;
    }

    server {
        listen 80;

        location / {
            proxy_pass http://backend;
            proxy_set_header Host $host;
            proxy_set_header X-Real-IP $remote_addr;
        }
    }
}
This configuration sets up an upstream server block that defines the backends for your application and a server block that listens on port 80 and proxies requests to the backend.
Step 3: Test NGINX
Restart NGINX to apply the new configuration:
sudo systemctl restart nginxVerify that NGINX is running:
sudo systemctl status nginx
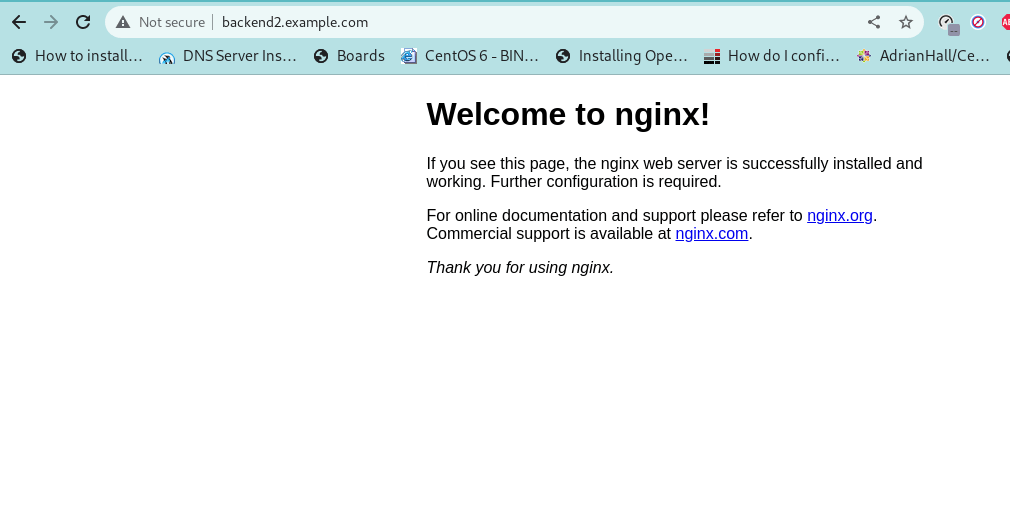
Open your web browser and navigate to your server’s IP address. You should see the NGINX welcome page if everything is set up correctly.
Large-Scale web applications with Nginx
Step 4: Load balancing with NGINX
NGINX can distribute incoming traffic among multiple servers, improving performance and availability. To enable load balancing, modify the upstream block in your nginx.conf file to include multiple servers:
upstream backend {
    server backend1.example.com;
    server backend2.example.com;
    server backend3.example.com;
}
Restart NGINX to apply the changes.
Step 5: Reverse proxying with NGINX
NGINX can also be used as a reverse proxy to protect your backend servers from direct exposure to the internet. To set up reverse proxying, add a proxy_pass directive to your location block:
location / {
    proxy_pass http://backend;
    proxy_set_header Host $host;
    proxy_set_header X-Real-IP $remote_addr;
}
This will forward requests to the backend servers and add the Host and X-Real-IP headers to the request.
Caching with NGINX:
Also, NGINX can be used to cache responses from your backend servers, improving performance and reducing the server load. To enable caching, add the following directives to your location block:
location / {
    proxy_pass http://backend;
    proxy_set_header Host $host;
    proxy_set_header X-Real-IP $remote_addr;

    proxy_cache_path /var/cache/nginx levels=1:2 keys_zone=my_cache:10m;
    proxy_cache_key "$scheme$request_method$host$request_uri";
    proxy_cache_valid 200 1h;
    proxy_cache_valid 404 1m;
}
This will create a cache zone named my_cache, configure the cache to store responses for one hour (for 200 responses) and one minute (for 404 responses), and use the $scheme$request_method$host$request_uri string as the cache key.
Configure NGINX to use SSL/TLS:
Create a new NGINX server block configuration file for your domain, for
sudo nano /etc/nginx/sites-available/example.comserver {
listen 80;
server_name example.com;
return 301 https://$server_name$request_uri;
}
server {
listen 443 ssl;
server_name example.com;
ssl_certificate /path/to/your/certificate.pem;
ssl_certificate_key /path/to/your/private.key;
location / {
proxy_pass http://localhost:3000;
proxy_set_header Host $host;
proxy_set_header X-Real-IP $remote_addr;
proxy_set_header X-Forwarded-For $proxy_add_x_forwarded_for;
proxy_set_header X-Forwarded-Proto $scheme;
}
}
So, replace example.com with your own domain name, and /path/to/your/certificate.pem and /path/to/your/private.key with the paths to your SSL/TLS certificate and private key files.
The above configuration redirects all HTTP requests to HTTPS, and proxies HTTPS requests to a backend server listening on port 3000.
Enable the NGINX server block configuration file:
sudo ln -s /etc/nginx/sites-available/example.com /etc/nginx/sites-enabled/
Then, test the NGINX configuration:
sudo nginx -t
If there are no errors, reload NGINX to apply the new configuration:
sudo systemctl reload nginx
So, your NGINX server should now terminate your backend server’s SSL/TLS and proxy requests.