
Hello, friends. In this post, you will learn how to install SonarQube on Debian 11.
According to the official documentation of SonarQube
SonarQube is an automatic code review tool to detect bugs, vulnerabilities, and code smells in your code. It can integrate with your existing workflow to enable continuous code inspection across your project branches and pull requests.
It allows teams to quickly analyze their code and improve product quality. It has many integrations and supports several programming languages.
So, you can guess why many teams prefer it for their projects.
Let’s go for it.
Install necessary packages
For this post, we are always going to use the root user. Before we start, we have to update the whole system.
So, once you are logged in to the server, run
apt update
apt install unzip software-properties-common wget default-jdk
This will install Java and other basic packages.
Installing PostgreSQL on Debian 11
The next step is to install PostgreSQL on the server. This is because SonarQube uses it as the data store.
With the version that we have available in the official repositories, it is enough for us.
apt install postgresql postgresql-contribNow we change to the postgres user to access the PostgreSQL console.
su - postgres
psql
Now create a new user named sonarqube with a strong password and not like the one I have 🙂
CREATE USER sonarqube WITH PASSWORD 'pss';Now create the database for SonarQube that belongs to the user.
CREATE DATABASE sonarqube OWNER sonarqube;Assign permissions on the database.
GRANT ALL PRIVILEGES ON DATABASE sonarqube TO sonarqube;And exit the console
\q
exit
Download SonarQube on Debian 11
As we are working with the root user, we have to create a folder where to store the download. For example:
mkdir -p /downloads/sonarqubeInside it, download the latest version available.
cd /downloads/sonarqube
wget https://binaries.sonarsource.com/Distribution/sonarqube/sonarqube-9.2.2.50622.zip
Now unzip the file
unzip sonarqube-9.2.2.50622.zipAnd the generated folder, you have to move it to another location like /opt.
mv sonarqube-9.2.2.50622 /opt/sonarqubeNow create a new system user dedicated to SonarQube
adduser --system --no-create-home --group --disabled-login sonarqubeMake this user the owner of the folder
chown -R sonarqube:sonarqube /opt/sonarqubeConfigure SonarQube before using it
In the initialization script of the application, we have to define who will run SonarQube. So open the file.
nano /opt/sonarqube/bin/linux-x86-64/sonar.shAnd find the line
#RUN_AS_USERAnd change it to this
RUN_AS_USER=sonarqubeSave the changes and close the editor.
Next, we have to edit another configuration file.
nano /opt/sonarqube/conf/sonar.propertiesAt the end of the file, you have to add the following
sonar.jdbc.username=sonarqube
sonar.jdbc.password=pss
sonar.jdbc.url=jdbc:postgresql://localhost/sonarqube
sonar.web.javaAdditionalOpts=-server
sonar.web.host=0.0.0.0
Save the changes and close the editor.
We also have to make some adjustments to the kernel.
nano /etc/sysctl.confIn this file, you have to add the following lines
vm.max_map_count=262144
fs.file-max=65536
To apply the changes, you can reboot the system.
rebootLog in to the SonarQube web interface
When rebooting, you can start running SonarQube again.
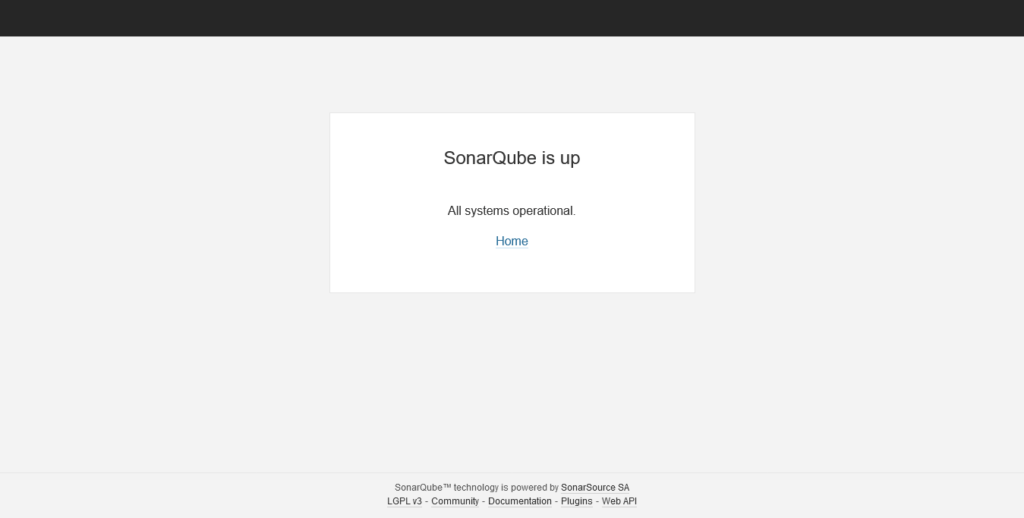
/opt/sonarqube/bin/linux-x86-64/sonar.sh startThen, open a web browser and go to your domain and add the port 9000 which has to be available on your firewall. For example, http://your-server:9000 and you will see the following after a while.
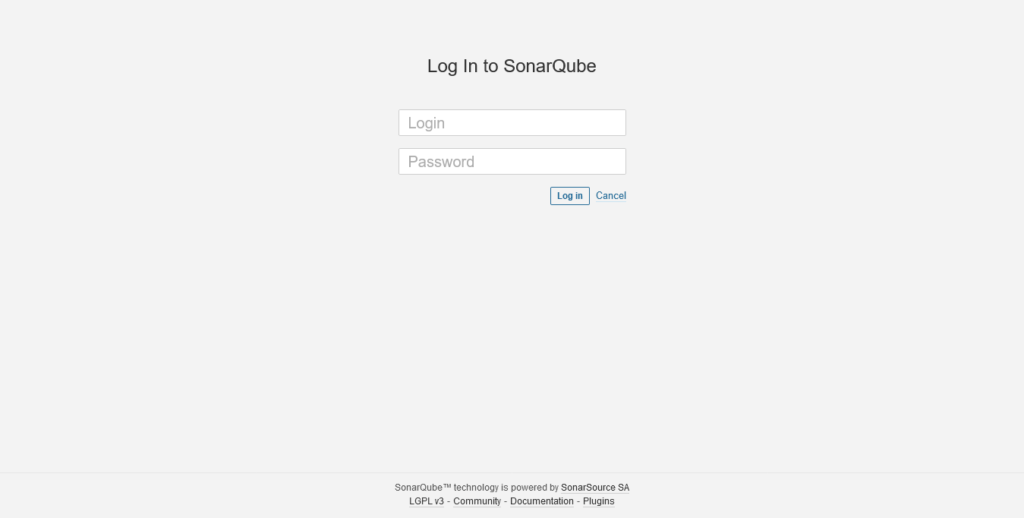
Now, you will be able to log in with username admin and password admin.
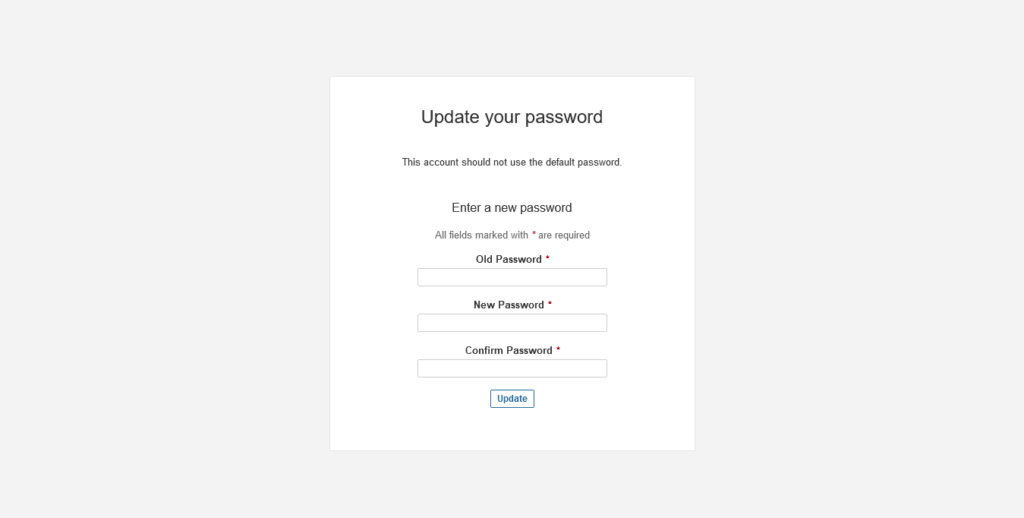
For security reasons, you will have to change the password immediately.
And then, you will see the main screen, and can start working with it.
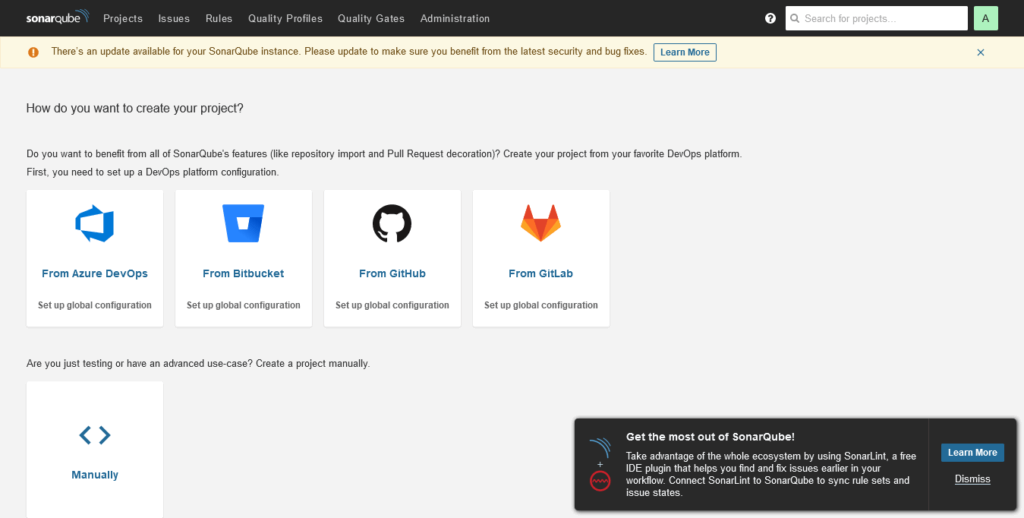
Enjoy
Conclusion
In this post, you learned how to install SonarQube on Debian 11 and thus have an important tool for debugging your application code.