
Hello, friends. In this post, you will learn how to Install Samba Server with Selinux and Firewalld Enabled. For this post, we will use Rocky Linux 9, but actually the algorithm followed should work for other distributions, of course making the necessary modifications.
Let’s start.
The environment before proceeding
For this post, I have prepared 3 machines. One with Rocky Linux 9 (Server) and the clients are a computer with Ubuntu 22.04 and Windows 10. For now, the IP addresses are not essential since the server is a VPS in the cloud.
Install Samba Server with Selinux and Firewalld Enabled
First, open connect via SSH to the server and update it always as root user
dnf updateNow install the Samba related packages as follows:
dnf install samba samba-client samba-common samba-common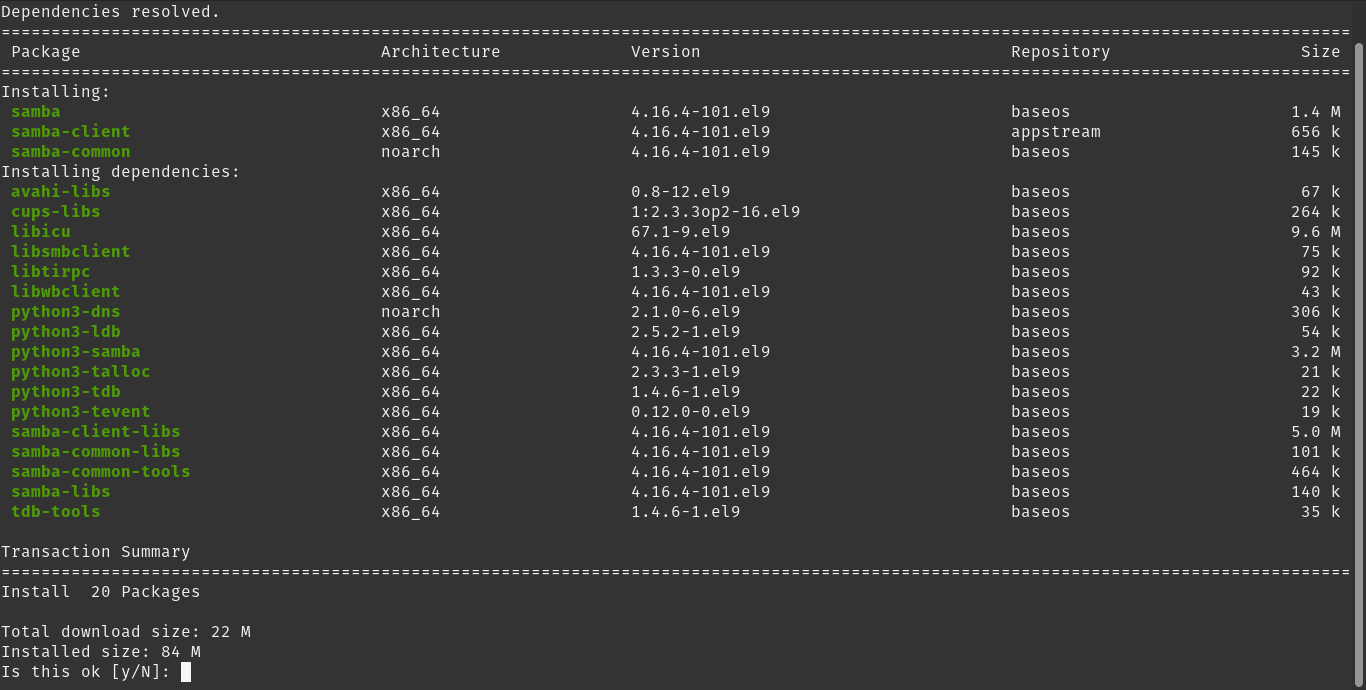
With these packages, you should already have the server on the system. Now it is time to get your hands on it.
The idea is to create a group called work which is where the users with permissions on the folder to share will be.
groupadd workNow create the users that will use the Samba service. They can be as many as you want. But in this case, they will be two.
useradd user1
useradd user2
Of course, you can use any name. Now add them to the created group.
usermod -a -G work user1
usermod -a -G work user2
Now create the folder to share and assign appropriate permissions to it and make it belong to the newly created group.
mkdir /work-folder
chmod 0770 /work-folder
chgrp work /work-folder
Configuring SELinux
Now comes the magic with SELinux. We know that this utility is the one that protects the system at the file level based on permissions. If it is active, there are two options, either disable it or add some rules to it.
To do this, run
setsebool -P samba_export_all_ro=1 samba_export_all_rw=1
getsebool -a | grep samba_export
semanage fcontext -at samba_share_t "/work-folder(/.*)?"
restorecon /work-folder
This should be enough.
Configuring the Firewall for Samba
The next step is to tell the Firewall to support Samba related connections. To do this, just run these two commands:
firewall-cmd --permanent --add-service=samba
firewall-cmd --reload
This way, you will have configured the system securely for Samba.
Configuring Samba to share the new folder
At the system level, we are almost ready, but the Samba configuration is missing. This configuration resides in the /etc/samba/smb.conf directory, which you will have to back up and edit with the editor of your choice.
vim /etc/samba/smb.conf And add at the end the following settings
[Work]
browsable=yes
path=/work-folder
public=no
valid users=@work
write list=@work
writeable=yes
create mask=0770
force create mode=0770
force group=work
Save the changes and close the editor. Verify the configuration you have made.
testparmAnd you should have a screen output like this
Load smb config files from /etc/samba/smb.conf
Loaded services file OK.
Weak crypto is allowed

Server role: ROLE_STANDALONE
Now assign password to the users but at Samba level
smbpasswd -a user1
smbpasswd -a user2
Now yes, start and enable the service
systemctl start smb
systemctl enable smb
Verify the status of the service with this command
systemctl status smbNow, yes, Samba is ready. Let’s go to the clients.
Mounting the folder in Linux
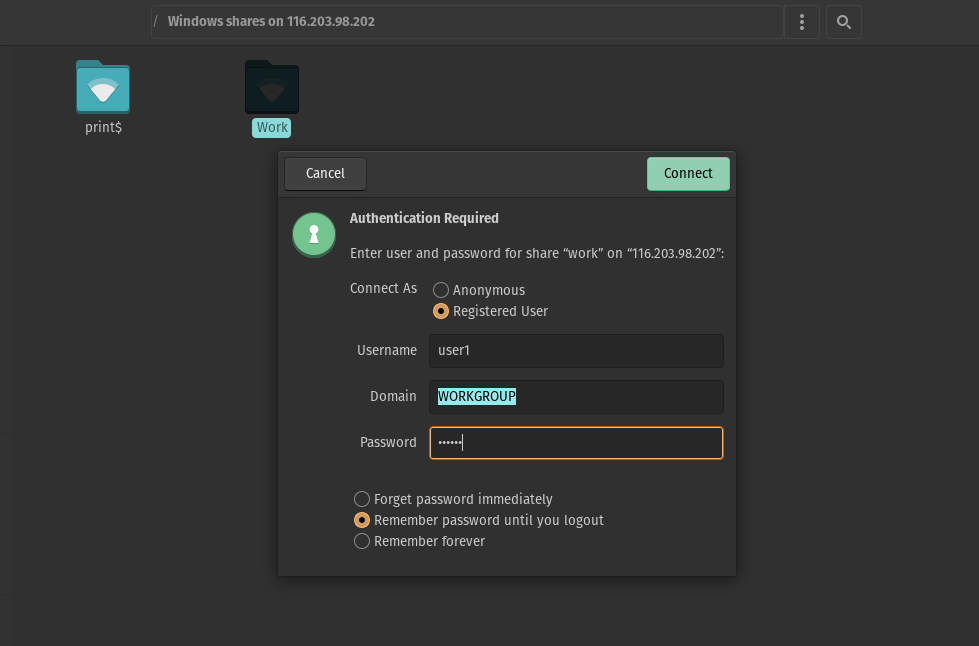
To achieve this, with your file browser, just place in the Address bar the following command
smb://[server-IP]And you will see the available resources. When you want to access, you will be asked for your credentials.
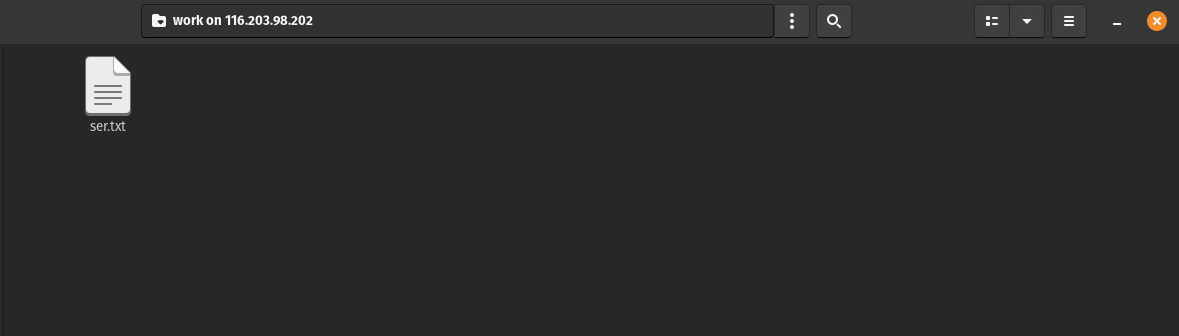
And now you will be able to use the folder. Create files and whatever you want.
Mounting the folder in Windows
In the case of windows it is quite similar. Open the file browser and in the address bar, type in server-ip.
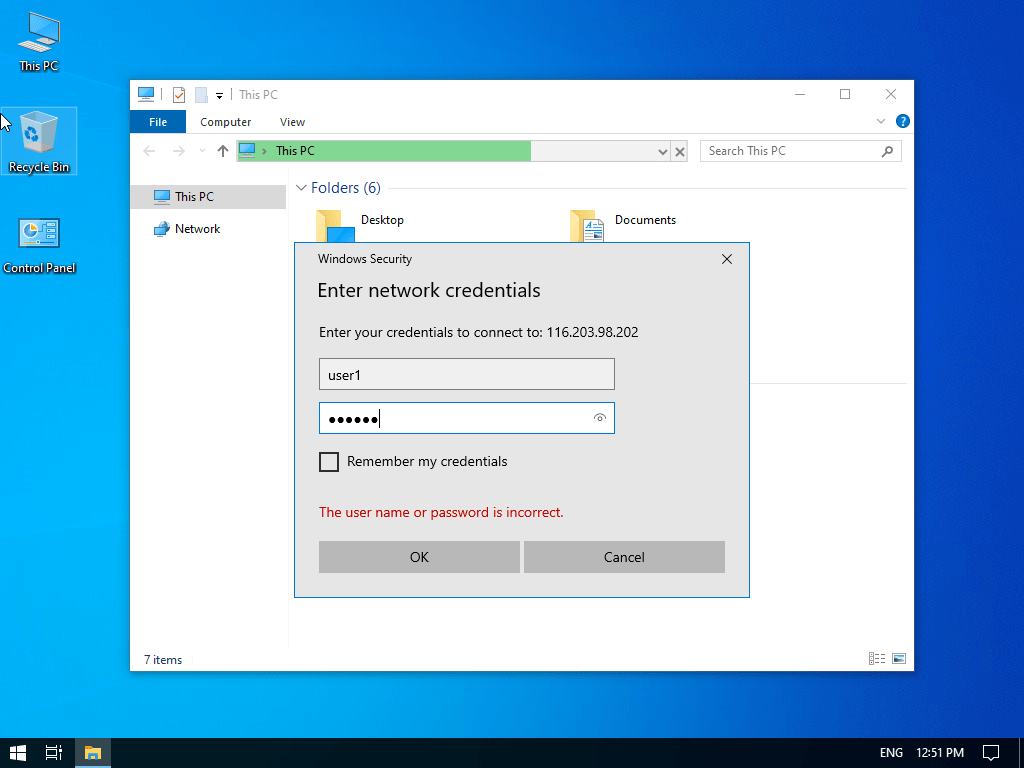
You will see a window where you will be asked for the password.
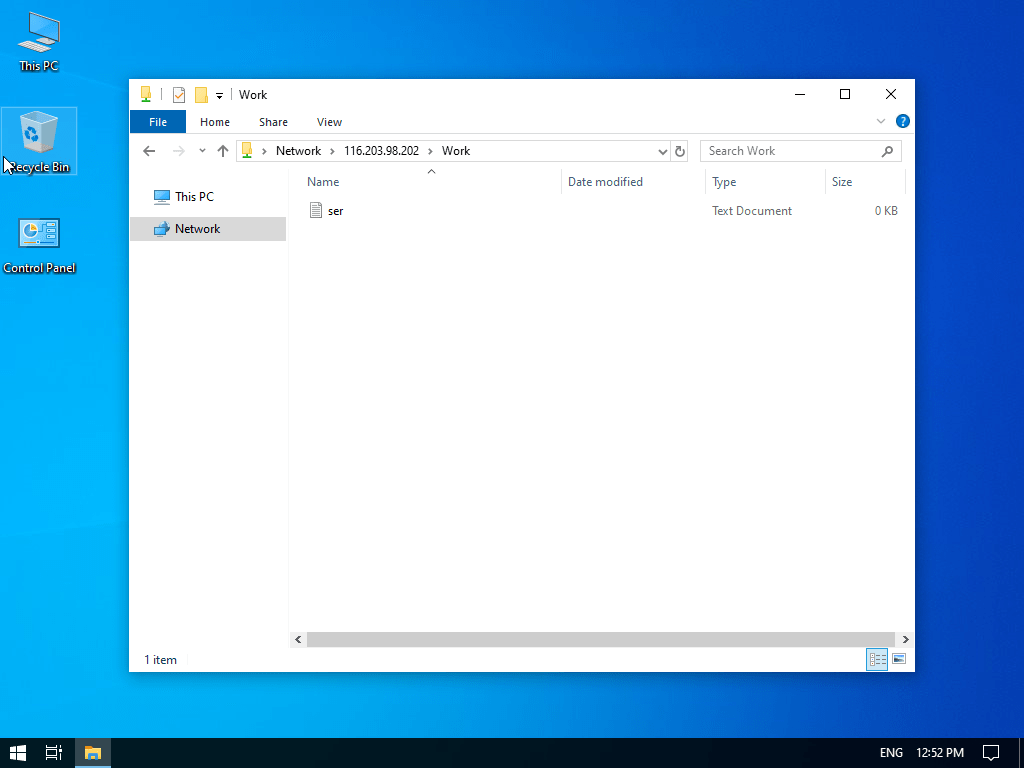
Finally, you will see the file created before.
Conclusion
I hope you liked this post, and you can share it.