
Hello, dear friends. Many times we need to make surveys to know the opinion of a specific sample. The results should not be taken lightly, as it gives us valuable information with which to make decisions. So, in this post, you will learn how to install LimeSurvey on Ubuntu 20.04.
Introducing to LimeSurvey
LimeSurvey is an open-source online survey application, written in PHP and using MySQL, MariaDB, or PostgreSQL databases. This utility allows users without programming skills to develop, publish and collect responses to their surveys.
The application has a friendly web interface that allows us to perform survey operations without any problems. As it is a web application, it can be installed on servers with different operating systems.
The developers of the application believe in the open-source philosophy, so the application also follows it. This allows us to examine the source code and thus verify the security of the application.
As it is a survey management system, it is possible to use an instance of it, for almost any purpose including business, academic, and others.
So, let’s go for it.
Install LimeSurvey on Ubuntu 20.04
LimeSurvey is built with web technologies that allow us to run it in any modern browser. Also, PHP was the language we used to create the tool so we need to have a working webserver to install it. In this post, we will use the combination of Apache and MariaDB which are well-known and easy-to-use tools.
Install Apache and PHP on Ubuntu 20.04
Before we start with the installation of LimeSurvey we need to have a fully functional webserver.
So, open a terminal or connect via SSH to the server you have and first update it.
sudo apt update
sudo apt upgrade
This first step is convenient so that all security patches for the distribution are fully installed.
The next step then is the installation of Apache and PHP. In addition to this, it is necessary to install other modules needed for LimeSurvey to run.
sudo apt install apache2 php libapache2-mod-php php-mysql php-mbstring php-xml php-zip php-imap php-gd php-ldap unzip
After both are installed, make sure to open the respective ports so that the application can work.
sudo ufw allow 80
sudo ufw allow 443
This way, Apache and PHP will be installed on the system.
Installing MariaDB on Ubuntu 20.04
LimeSurvey supports many different database drivers. This makes it very flexible and comfortable to use because it adapts to different resources.
In this post, we have chosen MariaDB because it is easy to use and compatible with other tools.
So, to install MariaDB you have to run the following command
sudo apt install mariadb-server
After that, you should create a new password for the root user. To do this, run the mysql_secure_installation script as the root user.
sudo mysql_secure_installation
There you will be asked for the password, as it does not exist you have to leave it blank.
Enter current password for root (enter for none):
And then in the next question, you have to change it.
After this, you have to set up some configurations that you can do by answering the questions that you will be asked.
Remove anonymous users? [Y/n] Y
Disallow root login remotely? [Y/n] Y
Remove test database and access to it? [Y/n] Y
Reload privilege tables now? [Y/n] Y
At the end of the script, then MariaDB will be ready for battle.
Creating a new Database for LimeSurvey
With MariaDB ready, we need to create a new database and a dedicated user for LimeSurvey.
So, open the MariaDB shell
sudo mysql -u root -p
And create the database
create database limesurvey;
Note: you can change the name of the database.
Then, with this command, create the new user and password and give it sufficient permissions on the database.
grant all privileges on limesurvey.* to 'userlime'@'localhost' identified by 'password';
You can change userlime and password to whatever values you want. Especially the password
Refresh the given privileges
FLUSH PRIVILEGES;
Finally, exit the shell.
exit;
Installing LimeSurvey on Ubuntu 20.04 (I)
Now it’s time to download LimeSurvey. First, visit the download section to check which is the latest stable version and get the direct link.
Download it from the /tmp/ folder.
cd /tmp/
wget -c https://download.limesurvey.org/latest-stable-release/limesurvey5.1.18+211101.zip
Then unzip the file
unzip limesurvey5.1.18+211101.zip
And move the generated folder to the Apache directory.
sudo mv limesurvey /var/www/html
Make apache the owner of the folder and set the correct permissions on the folder.
sudo chown www-data:www-data -R /var/www/html/limesurvey/
sudo chmod 755 -R /var/www/html/limesurvey/
The next step is to create a new Virtualhost so that Apache can handle LimeSurvey requests correctly
sudo nano /etc/apache2/sites-available/limesurvey.conf
Add the following content:
<VirtualHost *:80>
     ServerAdmin admin@your_domain.com
     DocumentRoot /var/www/html/limesurvey
     ServerName your-domain.com

     <Directory /var/www/html/limesurvey>
          Options FollowSymlinks
          AllowOverride All
          Require all granted
     </Directory>

     ErrorLog ${APACHE_LOG_DIR}/your-domain.com_error.log
     CustomLog ${APACHE_LOG_DIR}/your-domain.com_access.log combined

</VirtualHost>
Modify the corresponding values to your own and after that, save the changes and close the editor.
Enable the new VirtualHost:
sudo a2ensite limesurvey
As well as the rewrite module
sudo a2enmod rewrite
And to apply all changes, restart Apache.
sudo systemctl restart apache2
Now we are ready to complete the installation through the web interface.
Install LimeSurvey on Ubuntu 20.04 (II)
Now we can complete the installation of LimeSurvey. Open up your favorite web browser and go to http://your-domain and you should see the following
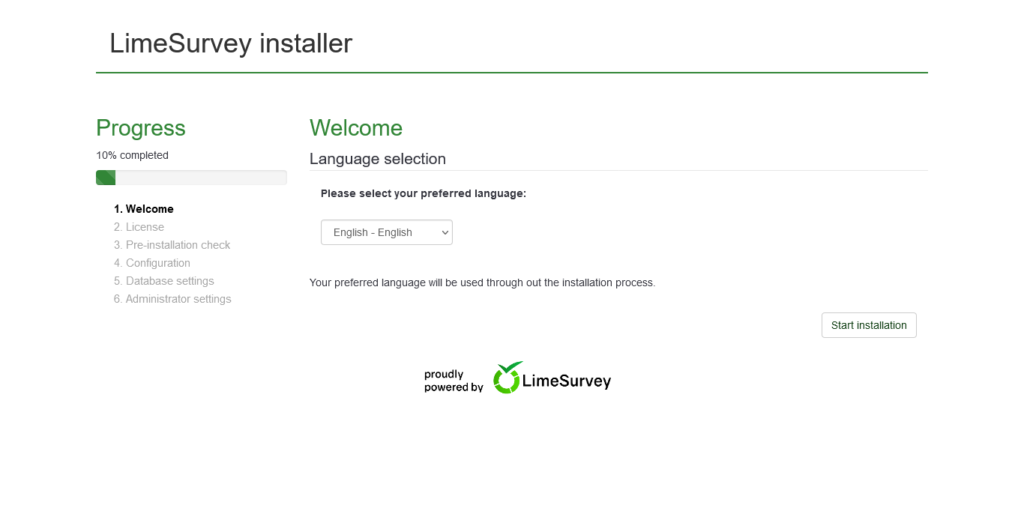
This screen introduces the application and allows us to select the language of the installation.
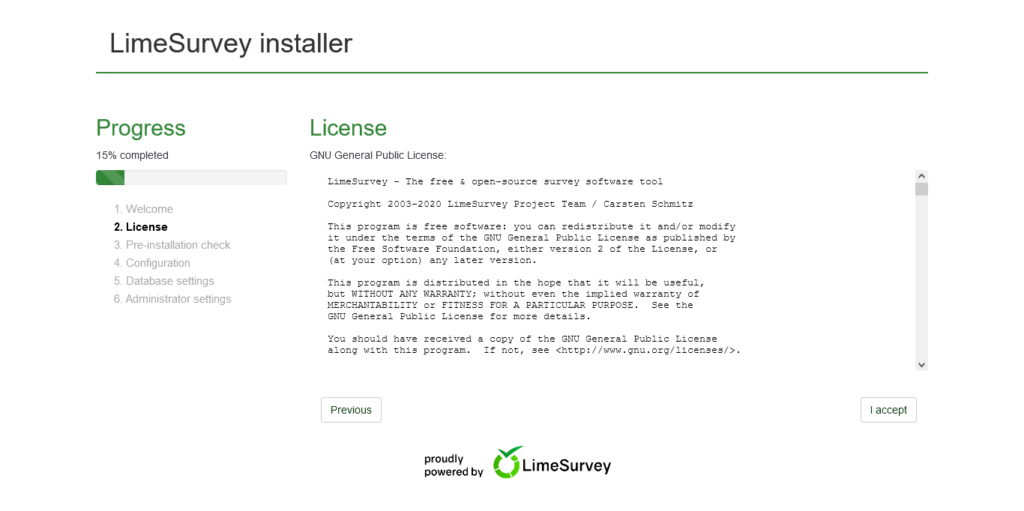
Next, you will see the license terms.
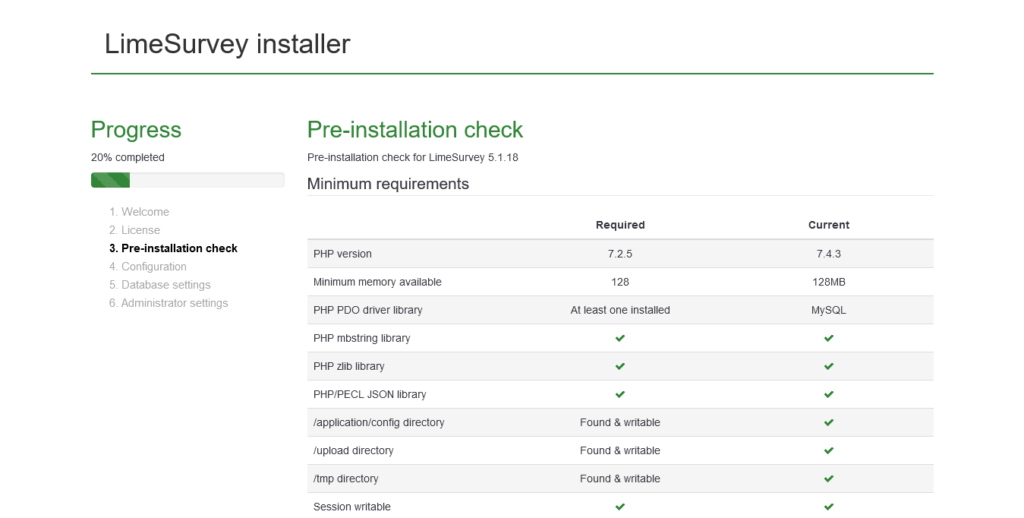
On the next screen, the installer will check the server requirements.
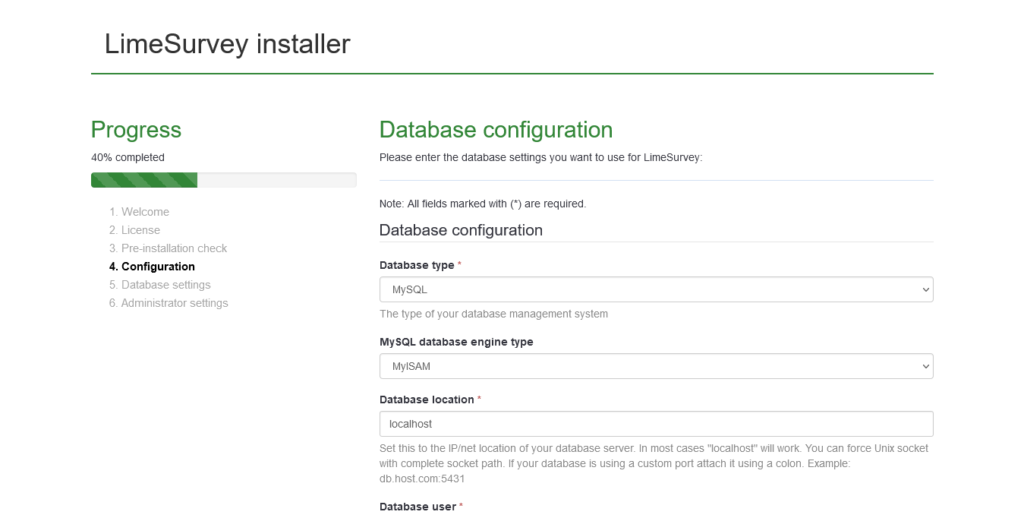
Then, it is time to configure the database with the credentials we created earlier.
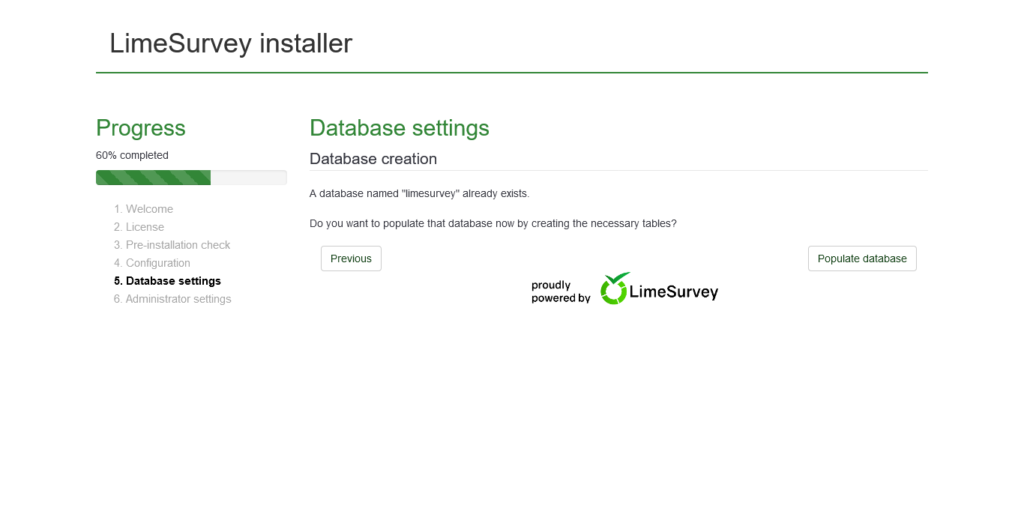
If the whole process has been successful, then you will see this screen indicating that the connection to the database has been successful. And now you can click on Populate Database.
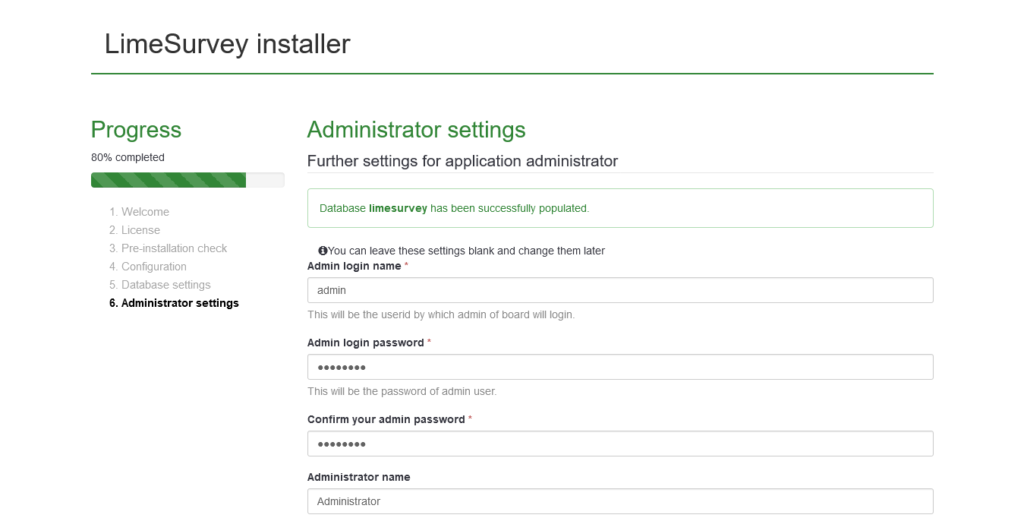
On the next screen, you will then see a message indicating that the process was successful and you will have to create the admin user and password. This information is vital for accessing the application.
Finally, you will see this screen indicating that the installation was successful. Click on the Administration button.

Now on the Login screen enter your credentials.

You will see the main LimeSurvey screen.
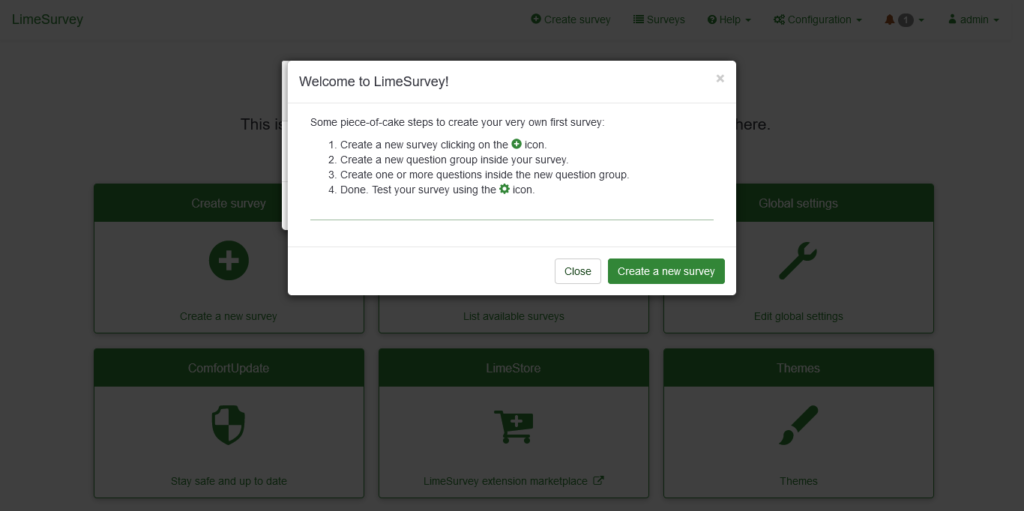
So, enjoy it.
Conclusion
In this post, you have learned how to install LimeSurvey step by step from LAMP installation to the main screen of the application.
Hi Angelo,
I’m following your steps but can’t go into the web wizard, I entered either the IP address or the hostname, it gave me the Apache2 Ubuntu Default Page, any idea?
Hello, my friend. Sorry to read this.
Did you restart Apache? Did you check the paths where the LimeSurvey file is? Also, did you check in the virtualhost file if the path is correct?
Hello Angelo,
I did that and I found that I can’t use either IP address or my hostname limesurvey.local to access via web GUI, it needs to be limesurvey.local/limesurvey, the second-layer folder leads me to the actual Limesurvey installer. Anything I missed from your instructions?