")
This time you will learn how to install and configure GitLab on Debian 11.
GitLab is an open source code repository and collaborative software development platform for large DevOps and DevSecOps projects, written in Ruby and Go programming languages. It is quite a popular alternative to GitHub providing wiki, issue-tracking, and continuous integration and deployment pipeline features, using an open-source license, developed by GitLab Inc.
Prerequisites:
At least 4GB RAM & with 4 CPU cores, storage depending on the size of the repositories you want to store in GitLab
A valid domain name DNS pointing. In this article we’ll be using gitlab.unixcop.com.
A user account with sudo privileges or root access.
Step # 1: Update server and all install packages
First, make sure all the existing packages on your system are up to date.
sudo apt update && sudo apt upgrade
Step # 2: Install Dependencies for GitLab
Make sure to install required dependencies using the following command
apt-get install curl ca-certificates apt-transport-https gnupg2 -y
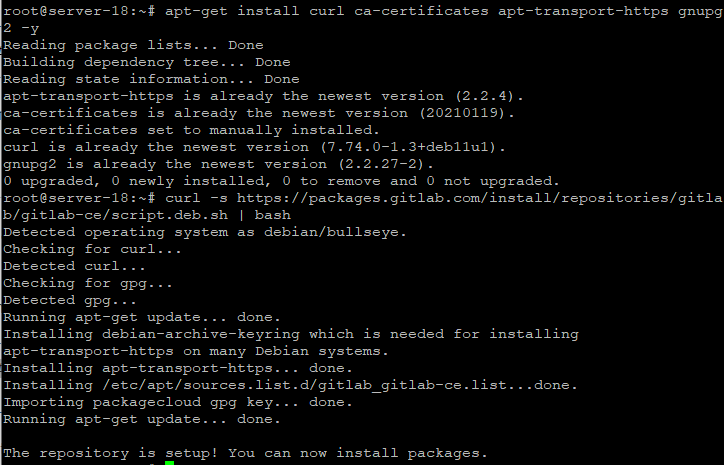
Step # 3: Create and Import GitLab Repository
By default, GitLab does not come packaged in Debian 11 default repositories. To install Gitlab CE from APT repository on Debian 11, you need to install the Gitlab CE repo by running the command below.
curl -s https://packages.gitlab.com/install/repositories/gitlab/gitlab-ce/script.deb.sh | bash
Now, before you continue, you will need to modify the repository GitLab created. Currently there are not repos for Debian 11 bullseye. In this case, to install Gitlab-CE on Debian 11 from APT repo, you can use Debian 10 buster repos.
sed -i 's/bullseye/buster/' /etc/apt/sources.list.d/gitlab_gitlab-ce.list
Now run the apt update command to verify and sync the new repository.
sudo apt update
Step # 4: Install GitLab CE
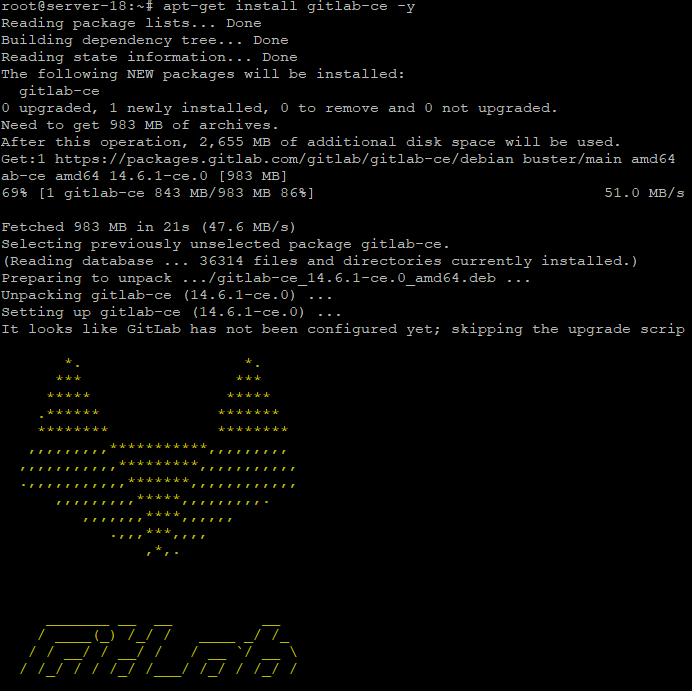
Now execute the following command to install GitLab CE.
apt install gitlab-ce -y
Step # 5: Configure Gitlab CE on Debian 11:
After installing the Gitlab CE package next step is to configure the GitLab and SSL/TLS certificates. There are two ways in which you can configure Gitlab with SSL/TLS certificates.
- Using free and automated HTTPS with Let’s Encrypt
- Manually configuring HTTPS with your own certificates
We’ll be using first option, you can use any option depends on your needs.
You can configure it by editing the following file:
vi /etc/gitlab/gitlab.rb
Change the following line with your domain name:
external_url ‘https://gitlab.unixcop.com’
Change the following lines to enable the Let’s Encrypt SSL:
# Enable the Let’s encrypt SSL
letsencrypt[‘enable’] = true
# This is optional to get SSL related alerts
letsencrypt[‘contact_emails’] = [‘[email protected]’]
# This example renews every 5th day at 04:30 AM
letsencrypt['auto_renew_hour'] = "4"
letsencrypt['auto_renew_minute'] = "30"
letsencrypt['auto_renew_day_of_month'] = "*/5"
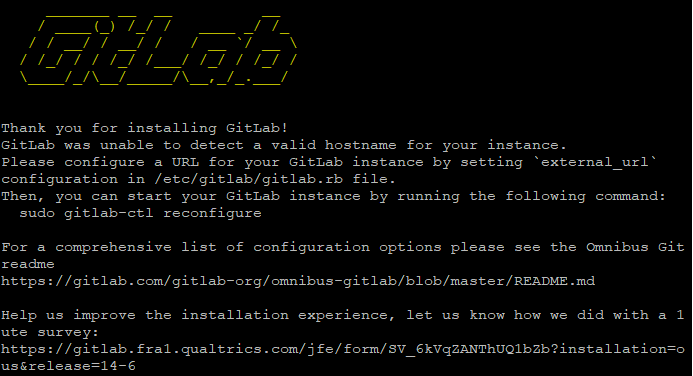
Now execute the reconfigure command.
sudo gitlab-ctl reconfigure
You will see the following output in your terminal.
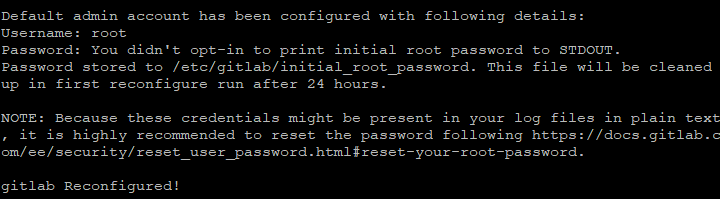
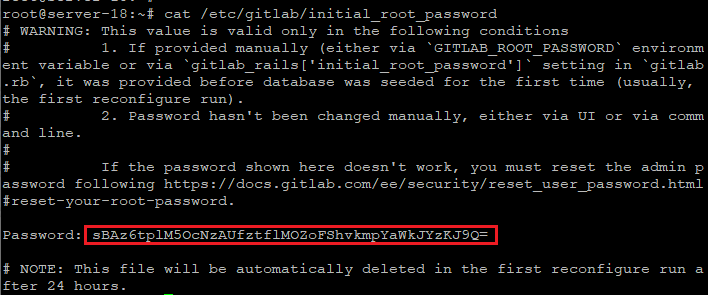
To view the root (GitLab) password, run the following command.
cat /etc/gitlab/initial_root_password
Step # 6: Configure/Setup GitLab Backup using Cronjob:
You can set auto backup using cronjob.
First, open your crontab using following command.
sudo crontab -e
Next, add the following example and modify the time to suit your needs. If you are a bit unsure of the timing.
00 */8 * * * root gitlab-rake gitlab:backup:create
The above creates a backup every 8 hours exactly.
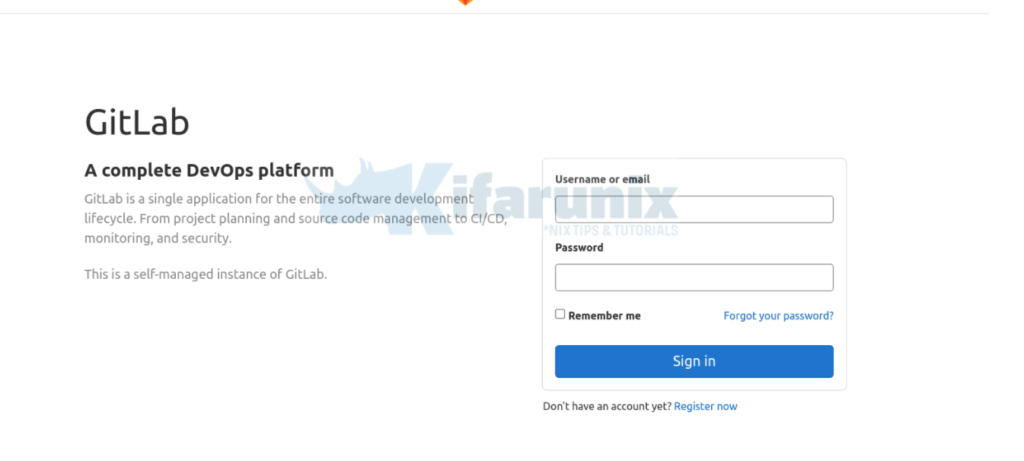
Step # 7: Access the GitLab through wen interface.
Login to Gitlab web user interface as root user with password provided above.
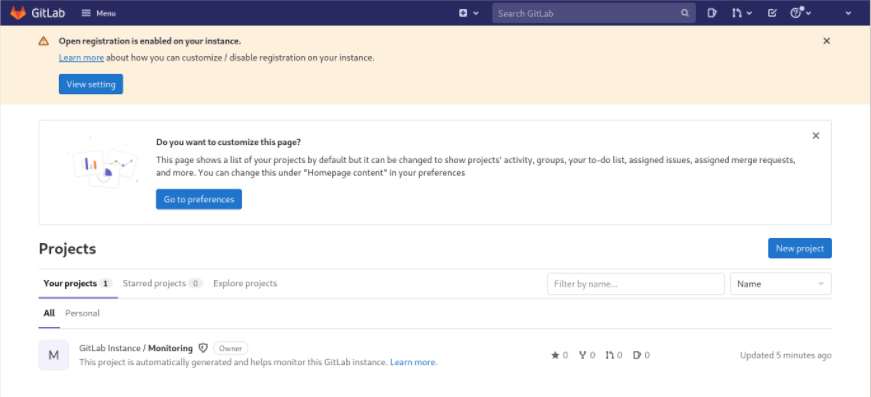
Upon successful login, such an interface welcomes you.
Conclusion:
In the following article, you have learned how to install GitLab on Debian 11.