
Here, we will learn how to install Zimbra mail with Ubuntu 18.04. Zimbra is an open-source email server utility. Zimbra collaborations suite is a good but cost-effective alternative for MS O365, G Suite, or other email services. Day-to-day user management, calendar management can be managed with Zimbra. Even ven file sharing and chatting can be managed easily with the collaboration suite. Zimbra does not support Ubuntu 20.04 or 21 as of now. To learn Zimbra installation with CentOS, you can refer to our article.
Key features
- Email – A user friendly interface. Deleted items could be kep in trash upto 30 days.
- Calander- Team management, day management, attachements possible.
- Zimbra chat- For intractive communicaiton chat avaiable within Zimbra.
- Task List- Effective day management, to do list managment make things easy.
- Briefcase – Store data on cloud, even files can be attached directly from briefcase.
- Rich documentation – Detailed documentations are available officially and even from communities.
Prerequisites
Ubuntu 18.04.
40 GB of storage or more based upon your email server requirements.
Ci5 processor with 8GB RAM.
Installation
Configure the DNS server first.
Prepare system
# systemctl disable systemd-resolved
# systemctl stop systemd-resolved
# sh -c 'echo nameserver 8.8.8.8 >> /etc/resolv.conf'
Install DNSMASQ
# apt install dnsmasq
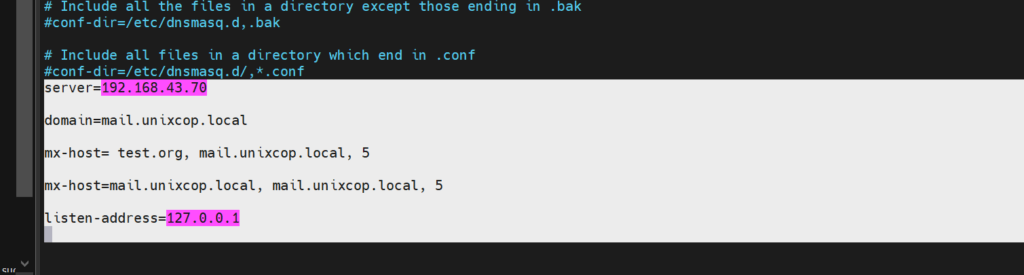
Edit file to define server parameters.
# nano /etc/dnsmasq.conf
Copy and paste the following lines at bottom of the file.
server=192.168.43.70

domain=mail.unixcop.local

mx-host= test.org, mail.unixcop.local, 5

mx-host=mail.unixcop.local, mail.unixcop.local, 5

listen-address=127.0.0.1
Then, Restart services.
# systemctl restart dnsmasq
So, get Ubuntu 21.04 server ready. Update server.
# apt update
Then, define Hostname. In our example, the hostname will be mail.unixcop.local
# echo mail.unixcop.local > /etc/hostname
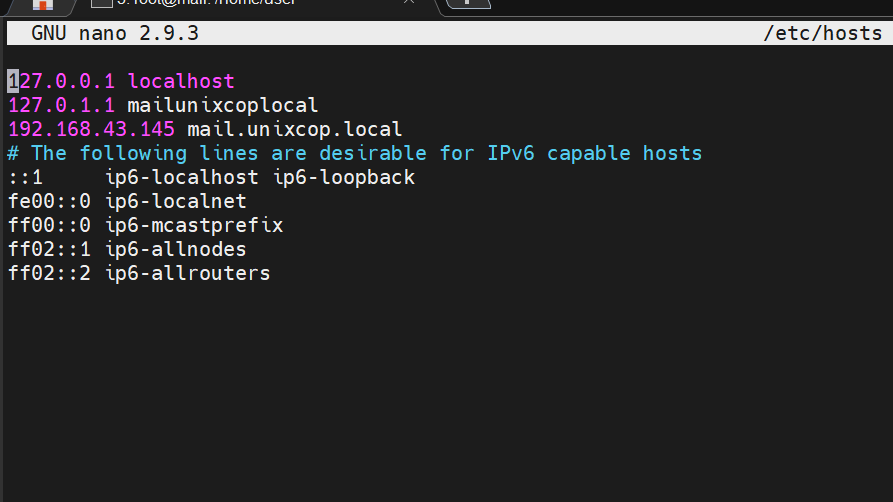
Add hostname in /etc/hosts file. IP address here, for our scenario, is 192.168.43.145
Install the Zimbra collaboration suite for the email server.
Download package from this link.
# wget https://files.zimbra.com/downloads/8.8.15_GA/zcs-8.8.15_GA_3869.UBUNTU18_64.20190918004220.tgz

Extract downloaded package.
# tar -xvf zcs-8.8.15_GA_3869.UBUNTU18_64.20190918004220.tgz
After the folder is extracted, navigate to the folder.
# cd zcs-8.8.15_GA_3869.UBUNTU18_64.20190918004220
Then, run the script for installation.
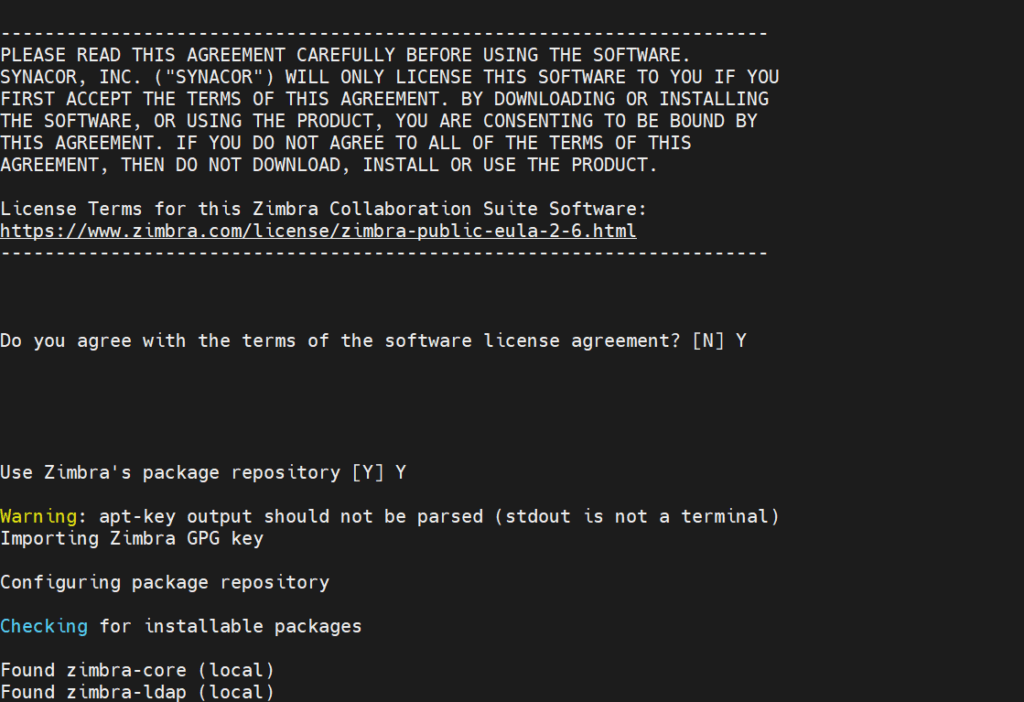
# ./install.sh
So, Accept user agreement, while installing the package.
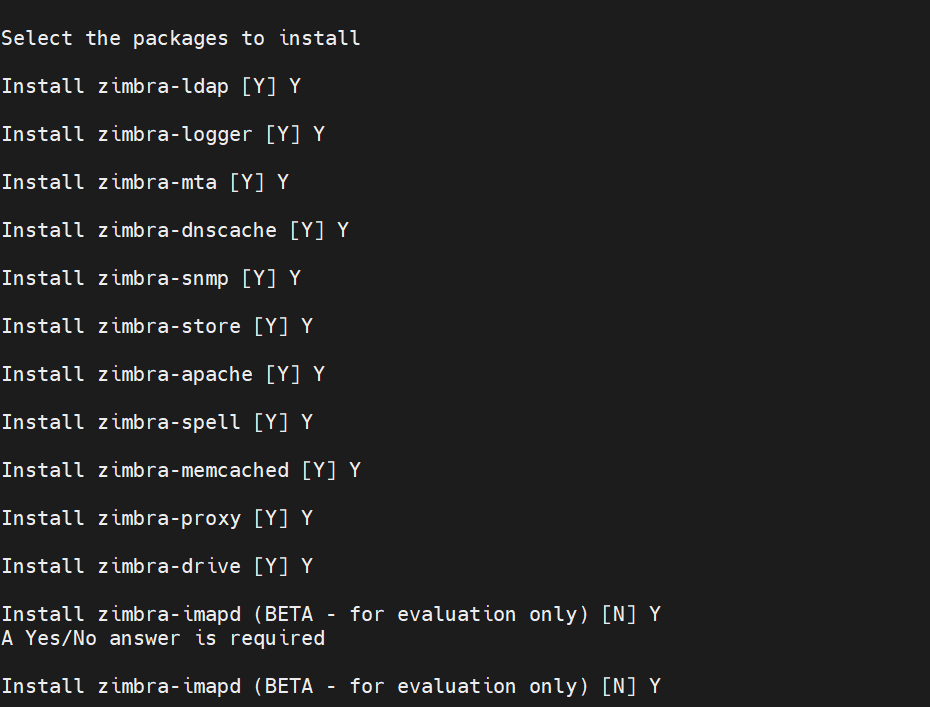
Then, select packages, you are willing to be available during installation.
The Zimbra mail installation will start after accepting all consents.
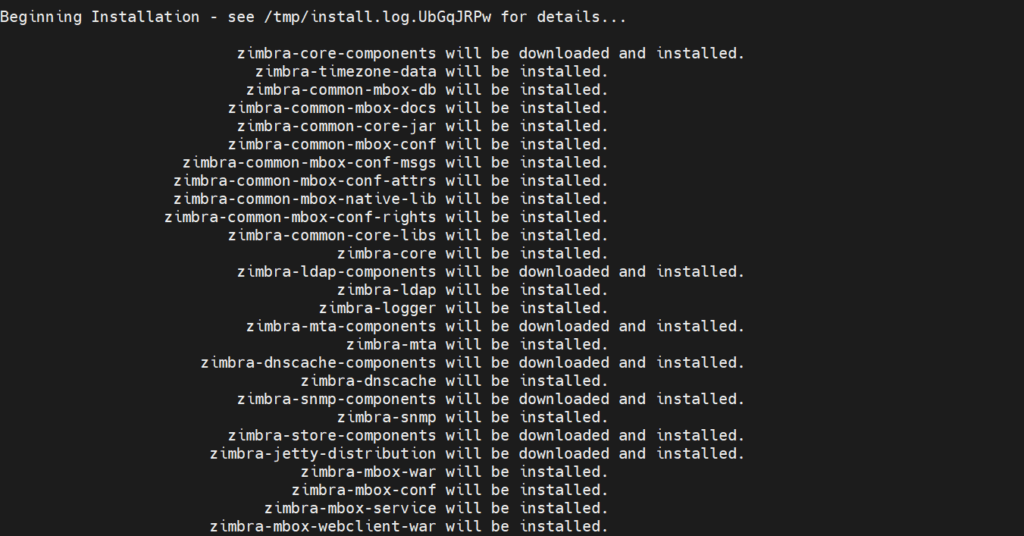
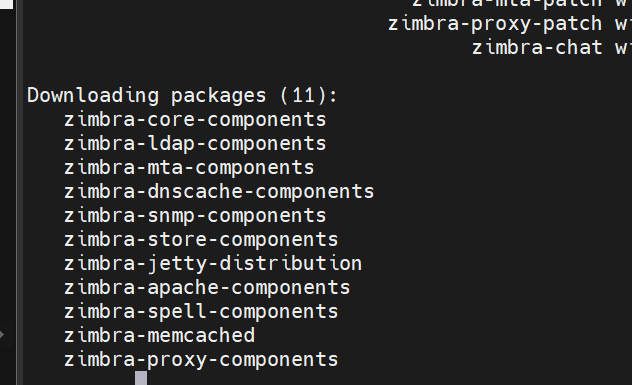
So, multiple packages will download, based on internet speed the step may take time.
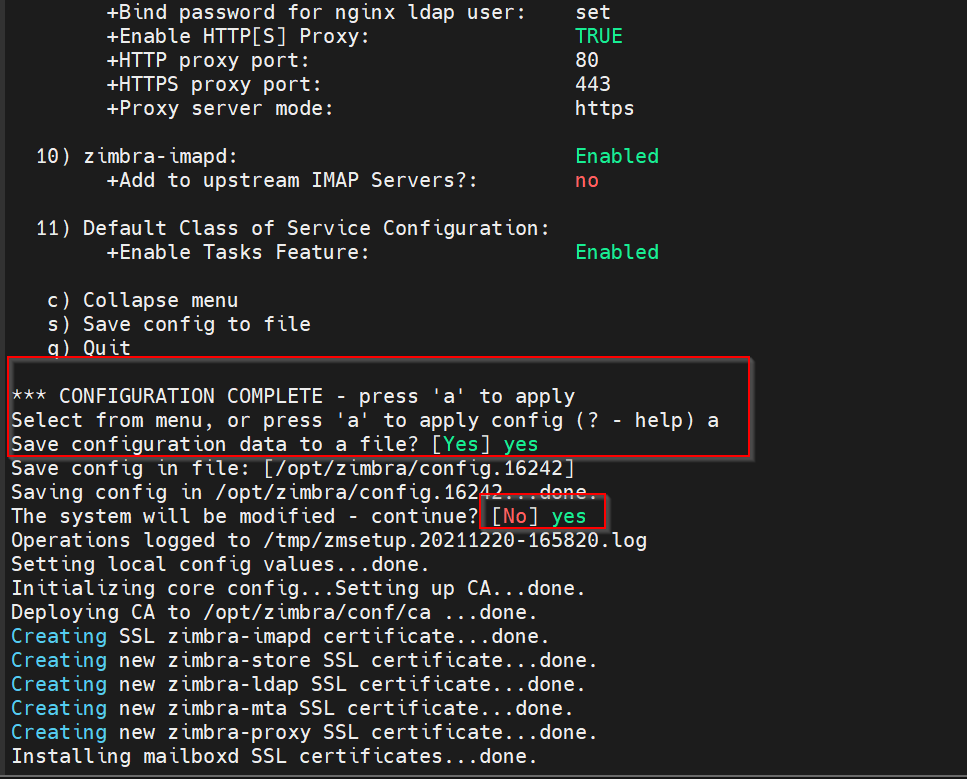
Download steps are over, a screen like below will appear. Press 7 Define admin password.

Next, define required parameters. Press ‘a’ to apply.
When all steps are over, you will be able to access the server on the web.
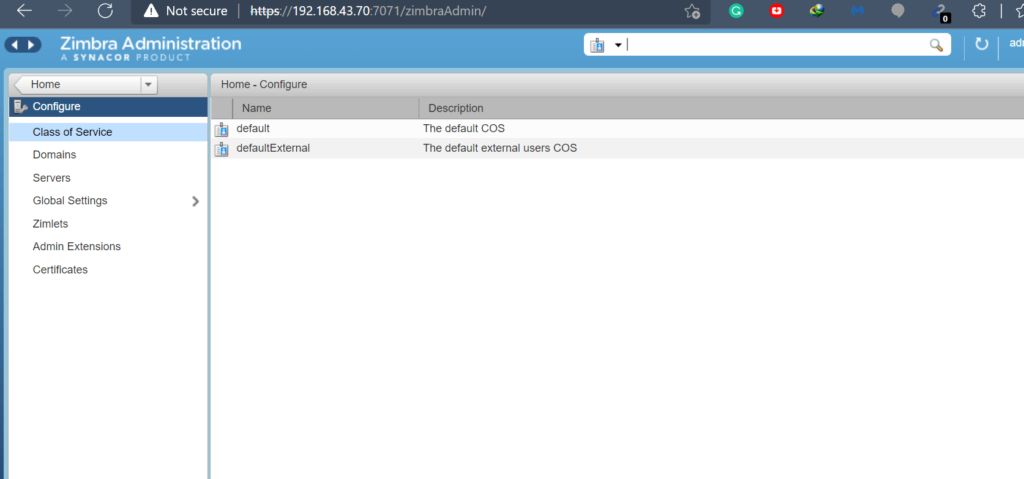
Open the browser and type the IP address with port 7071.
So, login with User ID ‘admin’ and password defined during installation.
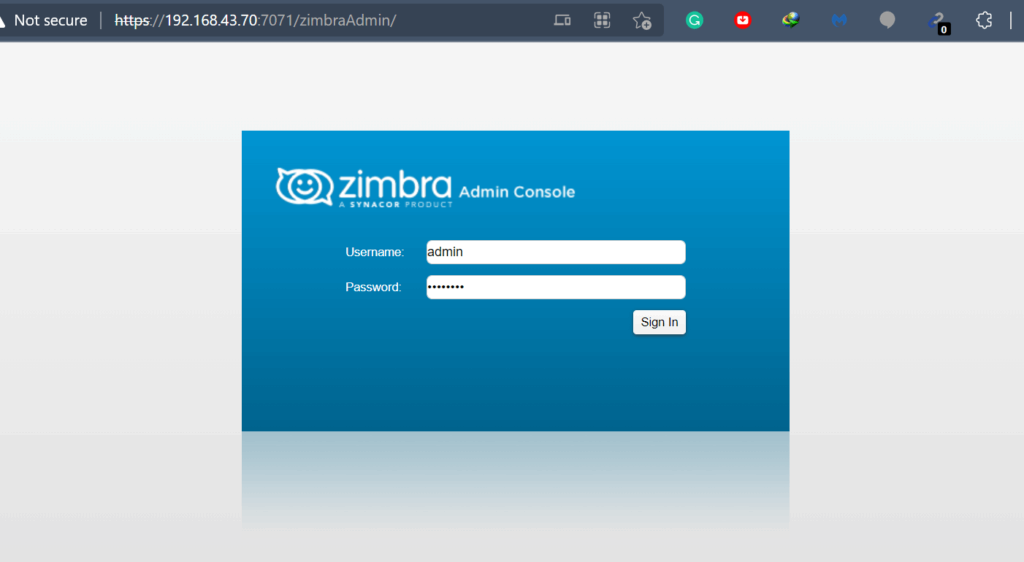
So, Services and users can be managed from here, Congratulations you have an up and running Zimbra Mail server here.
Finally, define your domain and email services. Stay tuned. 🙂