
Hello, friends. In this post, you will learn how to install Zeit on Ubuntu. This tool provides you with a simple graphical interface for scheduling tasks on Linux.
Written in C++ and with a QT interface, Zeit provides a graphical interface to schedule tasks using crontab and at. In short, it is a Qt frontend to crontab and at.
Some of its main features are:
- Add, edit and delete crontab tasks
- Also, you can add, edit and delete environment variables for crontab
- Add and delete at commands
And some others…
Although it is not so useful on servers, since they lack a graphical interface, the truth is that it could be quite useful on workstations and desktop systems.
Let’s go for it.
Install Zeit on Ubuntu 22.04
The application, as you can imagine, is open source and is available for you to compile it manually. However, on Ubuntu, there is a special repository that you can use to make the process easier.
First, open a terminal and update the whole system
sudo apt update
sudo apt upgrade
Then, add the repository in question
sudo add-apt-repository ppa:blaze/mainRefresh APT to apply the changes
sudo apt updateFinally, install Zeit on Ubuntu with this command:
sudo apt install zeitWhen finished, you can run it from the main menu.
Using Zeit to schedule tasks on Ubuntu
Before using the application, it is convenient to create a new system user
sudo adduser userThis allows not to affect the tasks of other users and thus to have optimal control over these tasks. Then, add it to the sudo group
sudo usermod -aG sudo userNow run it from the main menu.
When you do this, you will see this screen.
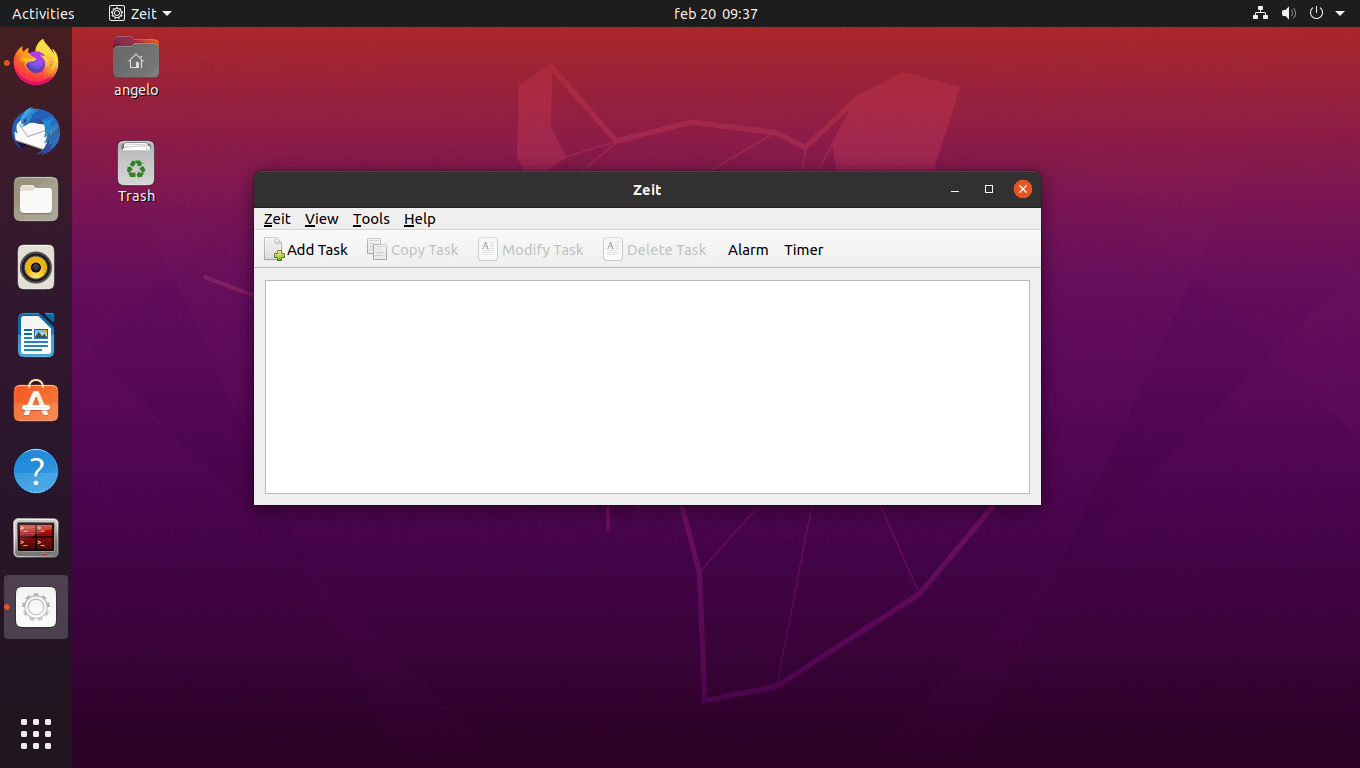
As you can see, it is a pretty simple graphical interface.
The main thing you can do with it is to create periodic and non-periodic tasks.
To create a non-periodic task, you have to click on the menu View > Nonperiodic commands or press CRTL + N Then, press the Add Command button.
You will see a screen like this
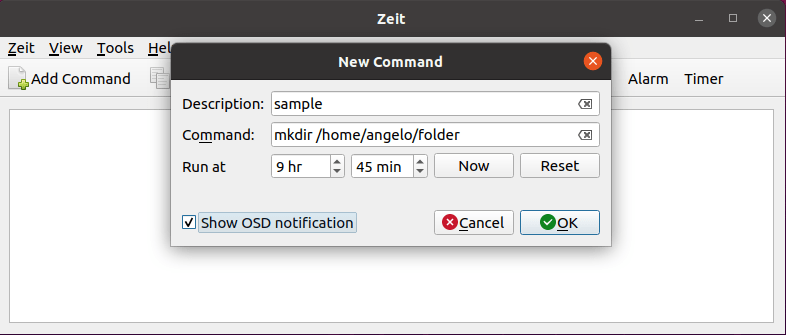
The displayed window is very explicit. Add a name, a description, and a command to execute, although it can also be the execution of a configuration script. Remember to indicate the exact time you want it to run, and it is recommended that it displays a notification.
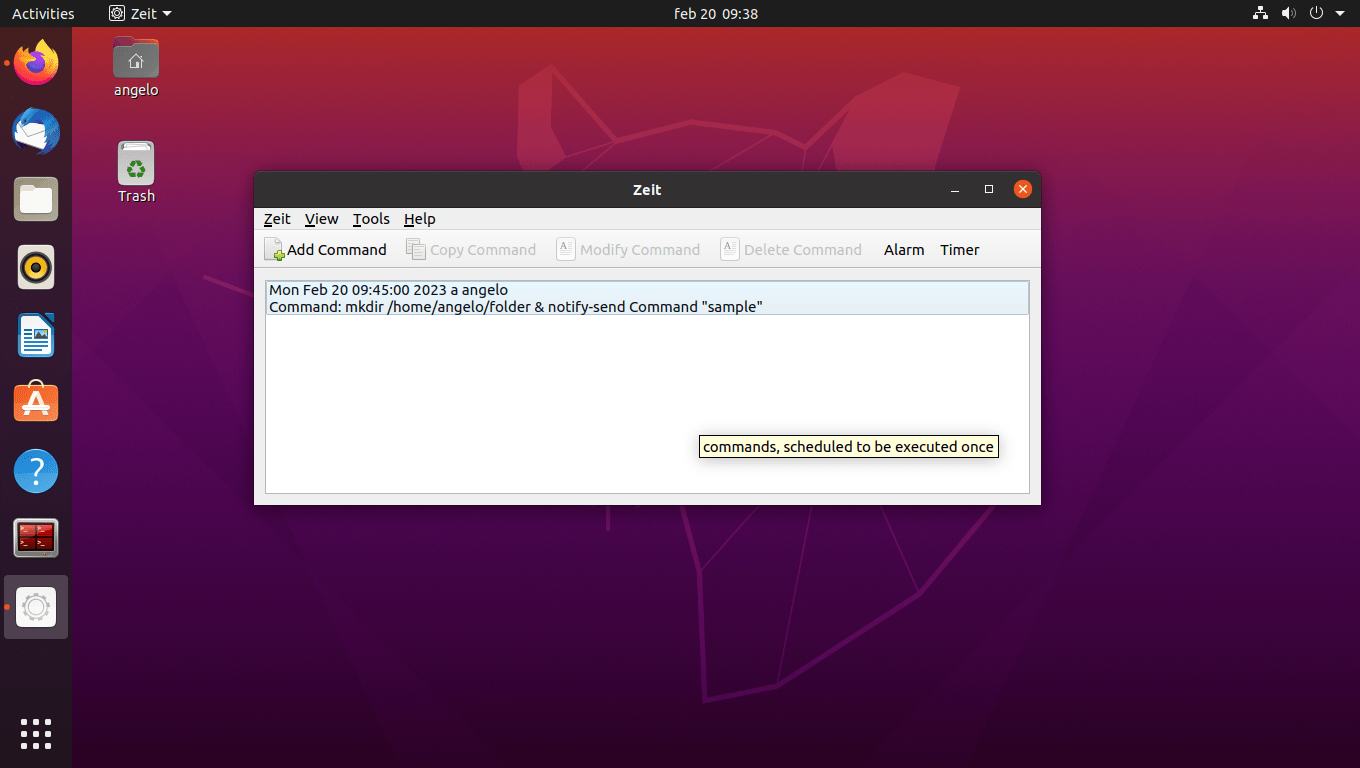
At the end you will see the task scheduled and ready. Furthermore, by pressing the Delete Command button, you can delete it.
In the case of periodic tasks, go back to the View menu and select Periodic Task Then click on Add task.
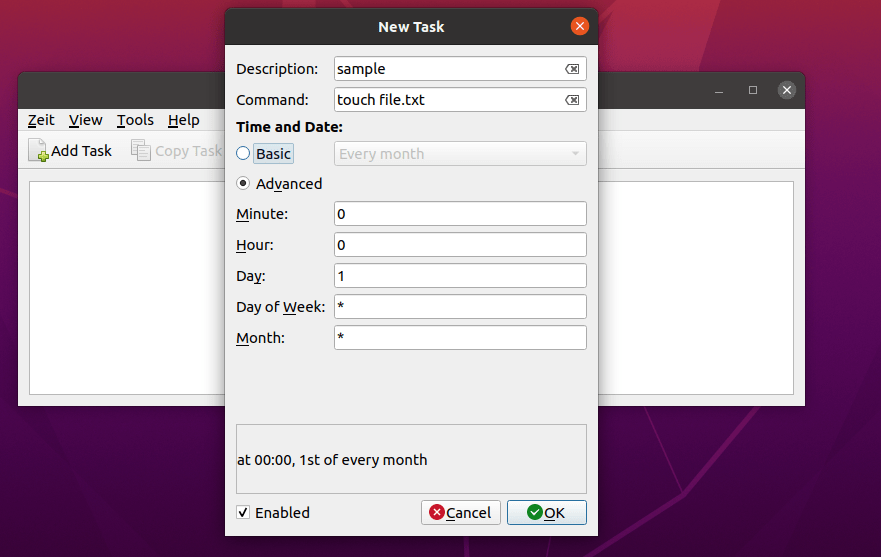
Now you will see a more complex screen. Here you will have to name the task, type the command and finally select the periodicity of the task. Basically, you can select by month or every so often or go further and manually set how often the task will be done.
Furthermore, when you are done, click OK to confirm your changes.
Uninstall Zeit on Ubuntu
If you would rather not use it anymore, then you can remove it from the system
sudo apt remove zeitYou can also remove the added repository
sudo add-apt-repository --remove ppa:blaze/mainAnd that’s it, no trace.
Conclusion
Scheduling tasks in the system helps with the automation of sometimes repetitive and time-consuming tasks. Zeit helps with this from a simple interface.