
In this article, we will show you how to install PhotoQt on Ubuntu systems.
PhotoQt is a simple yet powerful and good looking image viewer, based on Qt/QML, published as open-source, and completely free.
It is an image viewer that relies on an interesting operating concept inspired by smartphones. While the motif is displayed full-screen, all edges except the right one serve as a trigger (when touched with the mouse pointer) for a control implemented in other programs via menus and toolbars. For example, the left edge is used to display the metadata , while the lower edge shows a bar with a preview of neighboring images. This leaves plenty of space for the actual image. On the other hand, if you prefer keyboard control, you can use various pre-configured key shortcuts that can be reassigned if necessary.
Install PhotoQt
Follow the steps below to get started with Photoqt:
- Update your Ubuntu system packages with running the below command:
sudo apt update -y && sudo apt upgrade -y- Photoqt package is not available on Ubuntu base repository. So You can install it via APT PPA method by importing and installing the PPA as follows:
sudo add-apt-repository ppa:lumas/photoqt -y
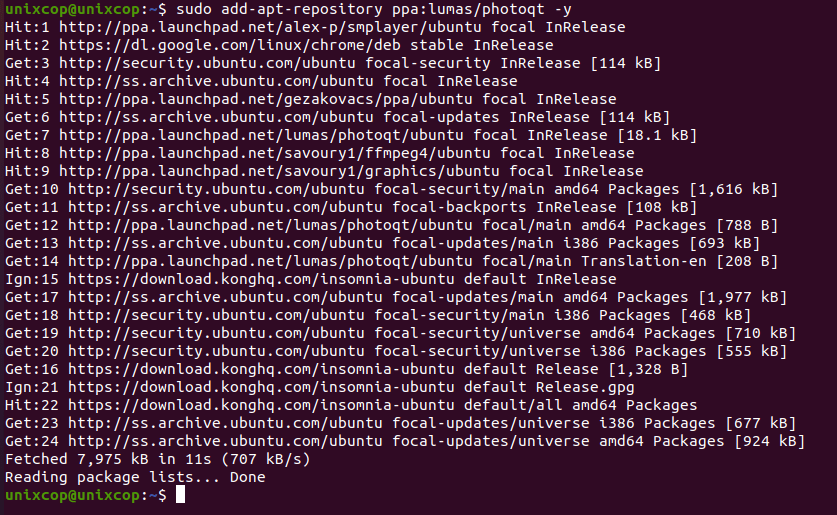
- Execute an APT update to reflect the newly imported PPA.
sudo apt update -y- Now install the application
sudo apt-get install photoqt -y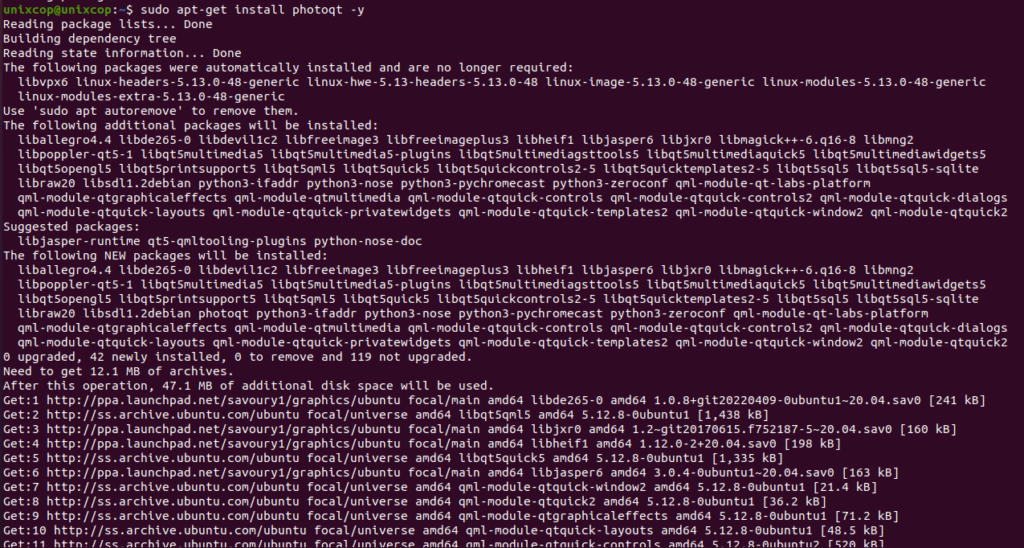
NOTE: Also you can install Photoqt with Flatpak
Flatpak, formerly known as xdg-app, is a utility for software deployment and package management for Linux. It is advertised as offering a sandbox environment in which users can run application software in isolation from the rest of the system.
- So install the Flatpak manager with running the following command:
sudo apt install flatpak -y- Enable Flatpak using the following command
sudo flatpak remote-add --if-not-exists flathub https://flathub.org/repo/flathub.flatpakrepo- Install Photoqt using the following flatpak command.
flatpak install flathub org.photoqt.PhotoQt -y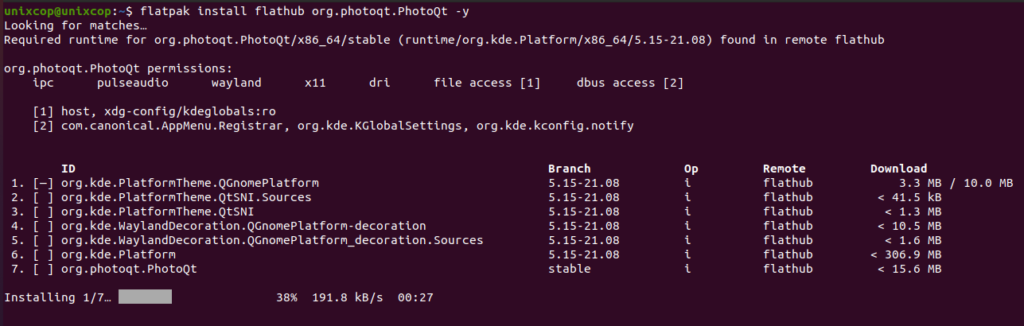
Access PhotoQt
- Access PhotoQt through the command line by running the command
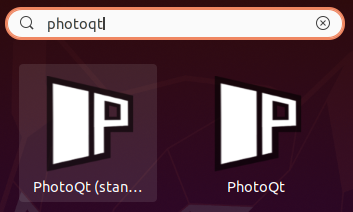
photoqt- Also you can search on the system search bar by typing PhotoQt as follows
- Alternatively, Flatpak users will need to launch using the command below:
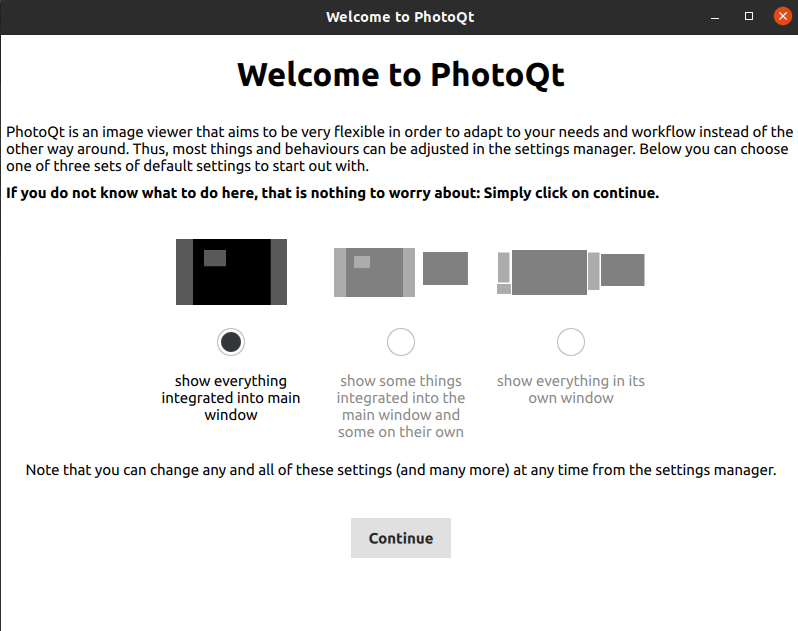
flatpak run org.photoqt.PhotoQt- Photoqt will open as shown below
- Click continue.
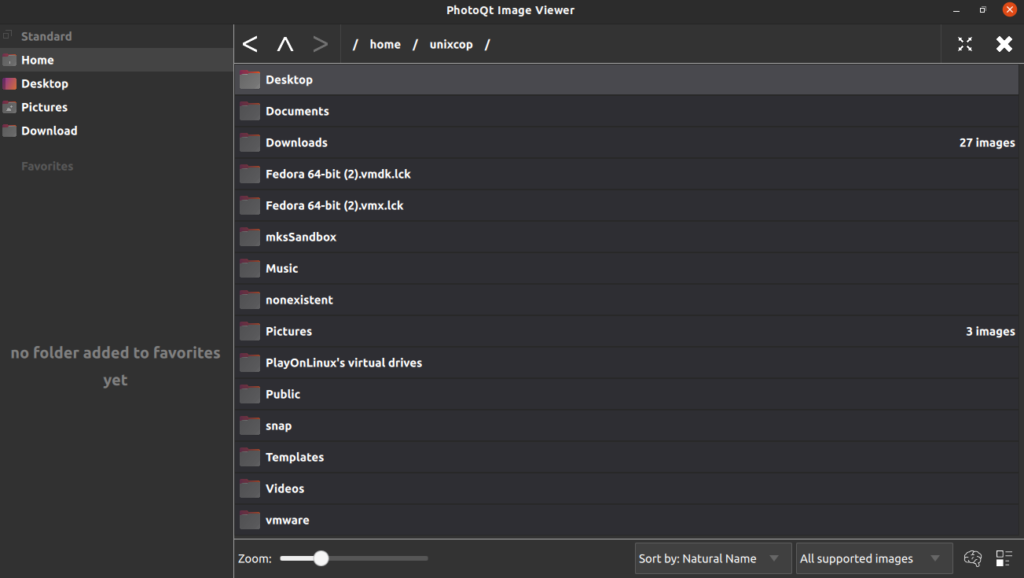
- Then, Here we go
How to Remove (Uninstall) PhotoQt
- Remove PhotoQt with APT Remove Method:
sudo apt autoremove photoqt -y
sudo add-apt-repository --remove ppa:lumas/photoqt -y- Remove PhotoQt with Flatpak Remove Method:
flatpak uninstall --delete-data org.photoqt.PhotoQt
flatpak remove --unused
Install PhotoQt -Conclusion
That’s it
Thanks.