Introduction
NextCloud is a self-hosted file share and collaboration platform. it works much like cloud applications like DropBox and Google Drive. It allows you to store and share your files in a secure and convenient manner across both desktop and hand-held devices such as smartphones.
In this guide, we are going to demonstrate how you can install NextCloud on Debian 11.
Step 1: Update Debian System Packages
# apt update -y && apt upgrade -y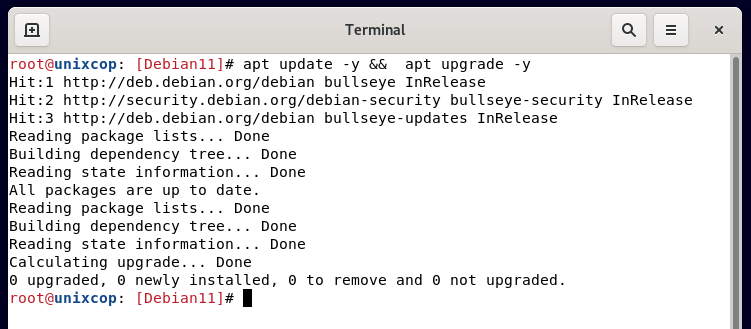
Step 2: Install LAMP Stack on Debian 11
We already saw that on this article :
Step 3: Create a NextCloud Database
Additionally, a database will be required to accommodate the installation files of Next Cloud during the installation process. For that reason, we shall create the NextCloud database as follows.
Log in to MariaDB as shown:
# mysql -u root -pNext, create the database.
CREATE DATABASE nextcloud_db;

GRANT ALL ON nextcloud_db.* TO 'nextcloud_user'@'localhost' IDENTIFIED BY 'StrongP@ssword';

FLUSH PRIVILEGES;

EXIT;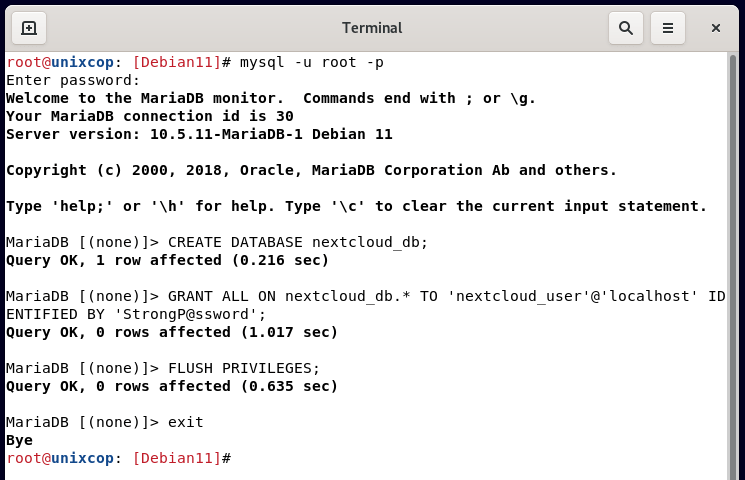
Step 4: Download Nextcloud
Now, it’s time to download Nexcloud. First, navigate to the temporary folder
# cd /tmpThen, download the zip file using the command.
# wget https://download.nextcloud.com/server/releases/nextcloud-22.1.1.zip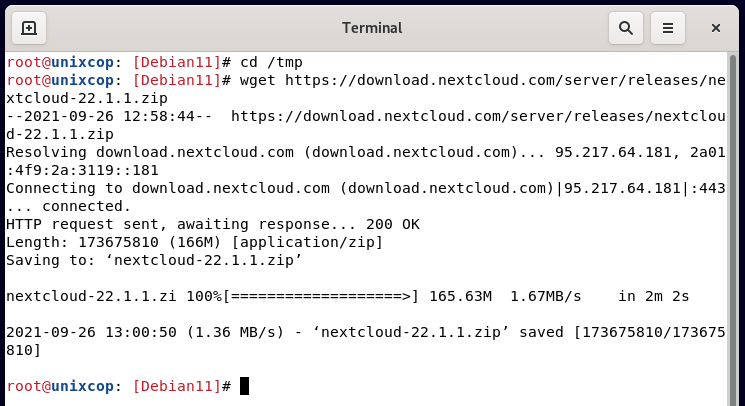
Next, unzip the compressed file using the command.
# unzip nextcloud-22.1.1.zipNext, move the unzipped folder to the webroot directory as shown
# mv nextcloud /var/www/htmlNow, navigate to the webroot directory and change the nextcloud folder ownership and permissions as shown.
# cd /var/www/html
# chown -R www-data:www-data nextcloud
# chmod -R 755 nextcloud
Step 5: Configuring Apache for Nextcloud
Also we need to configure the Apache webserver to serve Nextcloud web pages. To accomplish this, we will create a new virtual host :
# nano /etc/apache2/sites-available/nextcloud.confThen Paste the configuration below into the file and save :
<VirtualHost *:80>
   ServerName nextcloud.unixcop.com
   ServerAdmin [email protected]
   DocumentRoot /var/www/html/nextcloud
   <Directory /var/www/html/nextcloud>
	    Allowoverride all
   </Directory>
</VirtualHost>
Enable the Next cloud virtual host file as shown.
# a2ensite nextcloud.confAlso Restart the Apache web server, To apply the changes :
# systemctl restart apache2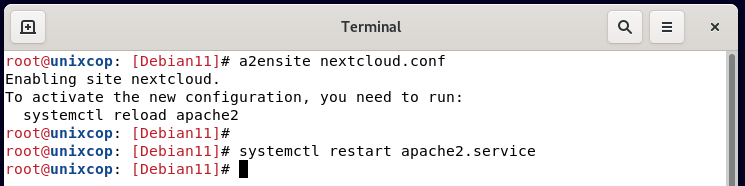
Step 6: Finalizing Nextcloud installation via a browser
To complete the next cloud installation, open your favorite browser and browse your server’s IP or url as shown.
http://nextcloud.unixcop.com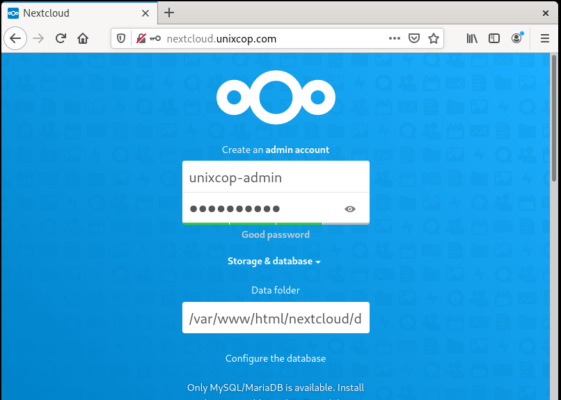
Once in this web page, create the admin accound that you will be using to adminstrate your nextcloud instance.
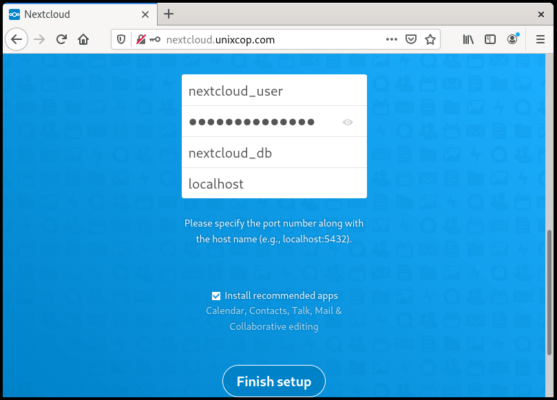
Then, type your database name, user and password, and click on Finish setup.
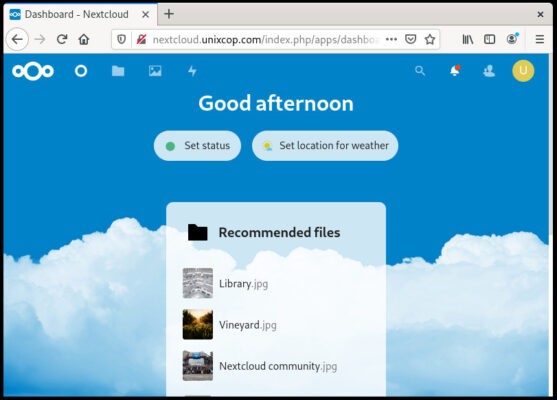
Finally, once the installation is complete, log into your Next Cloud webpage with the credentials you created during installation
We have come to the end of this tutorial. The ball is now in your court. Give it a try and tell us how it went.