
Today, we will discuss how to configure LAMP with Debian. The LAMP stands for Linux, Apache, MariaDB, and Linux. We will understand all of the installation procedures steps by step.
What are prerequisites?
In form of a prerequisite, we required a fresh installed Debian 11. Minimum 4 GB of RAM and 40 GB of storage will be good. I will use a virtual machine for demonstration purposes. In this demonstration, I will be using a virtual machine having IP address 192.168.135.128. The IP address may vary as per your local environment. Replace your settings if the IP address settings accordingly.
Step 1- Get envortmenet ready for LAMP server
While getting into the testing environment, I have faced a challenge in running an apt command line. The server keeps asking for OS DVD. Let’s resolve the issue.
Open sources.list
# vim /etc/apt/sources.list
Put a comment on the line containing Cdrom as the apt source, save, and exit.

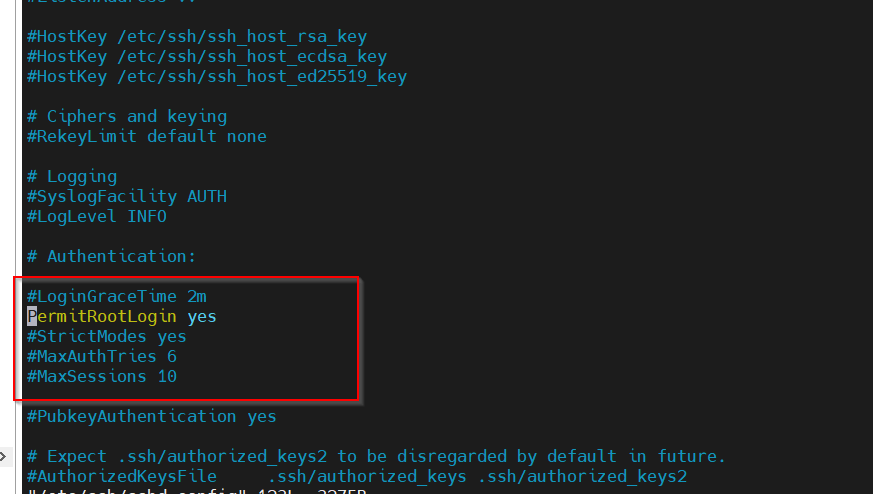
Enable ssh for root.
Open /etc/ssh/sshd_config and amend root permission settings. Search for PermitRootLogin and amend ‘yes’. Save and exit. Now you will be able to access root remotely for Debian.
# vim /etc/ssh/sshd_config
Step 2. Install Apache server.
Let’s start with the primary element of the LAMP server.
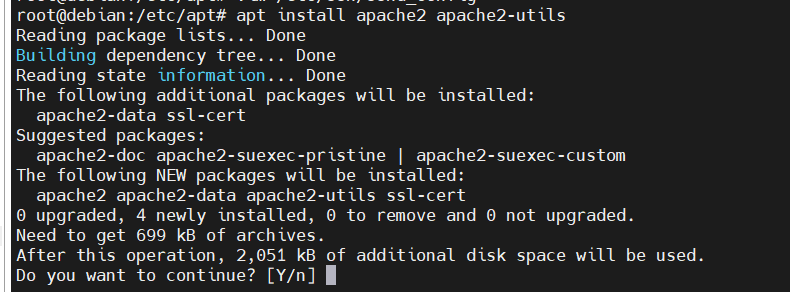
Install apache.
# apt install apache2 apache2-utils
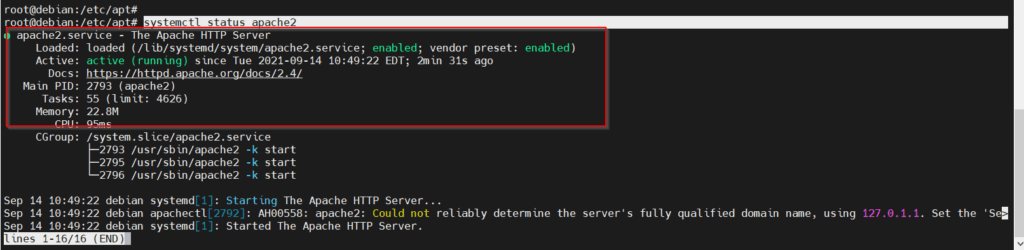
Check the status of running apache2 service.
# systemctl status apache2
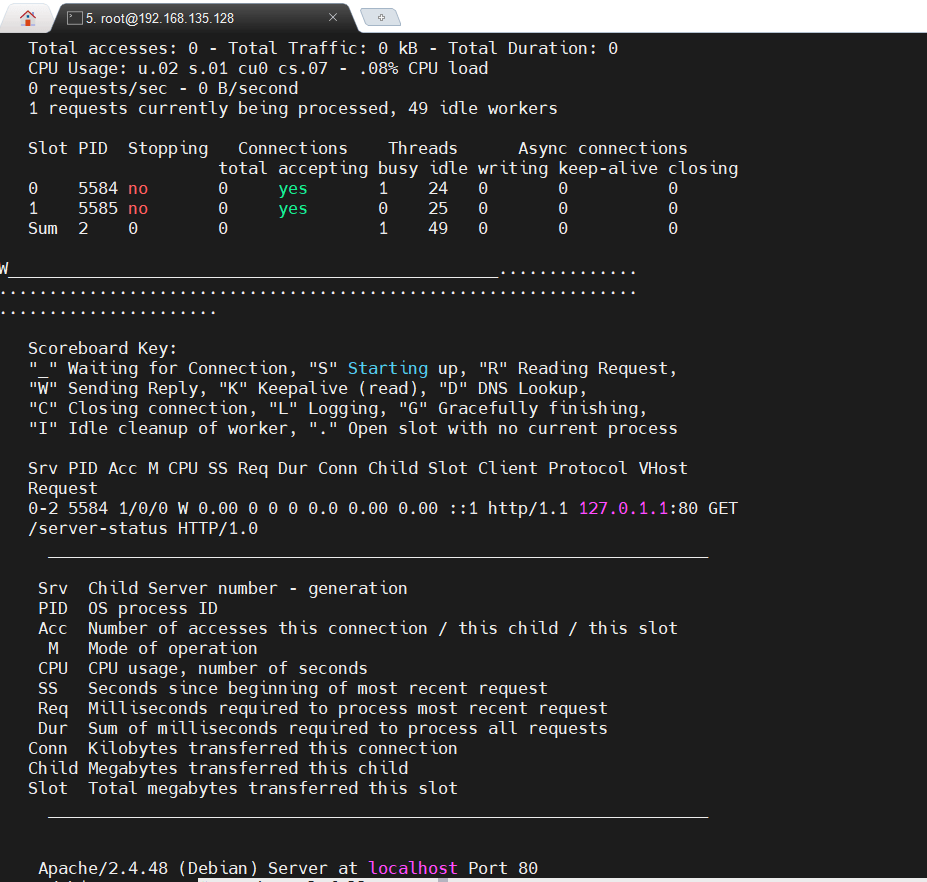
To check the full status of the apache server, you can run the following command.
# apache2ctl fullstatus
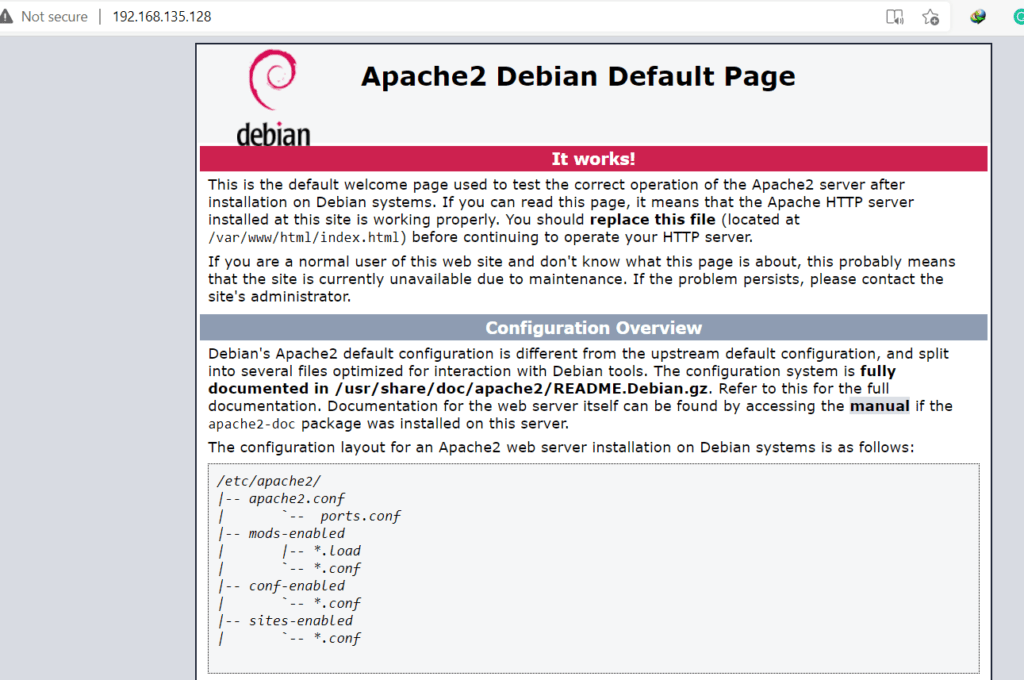
Have a look, if the apache2 server is running or not. If working should look something like below.
Step 3 Install MariaDB server.
MariaDB can be installed using the following command.
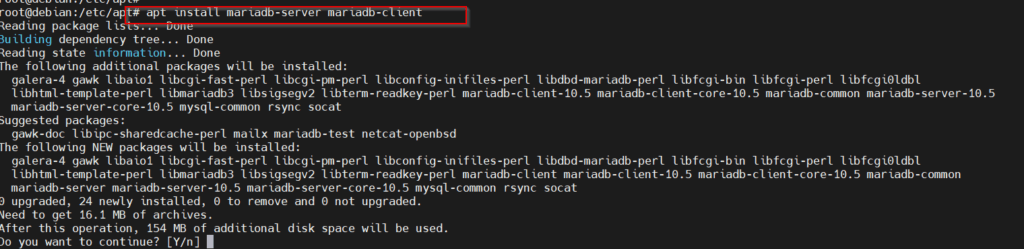
# apt install mariadb-server mariadb-client
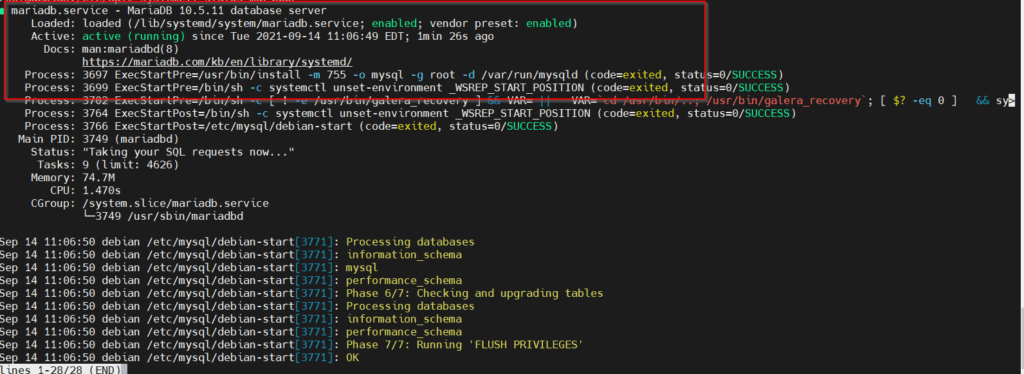
Check the status of the database server.
# systemctl status mariadb
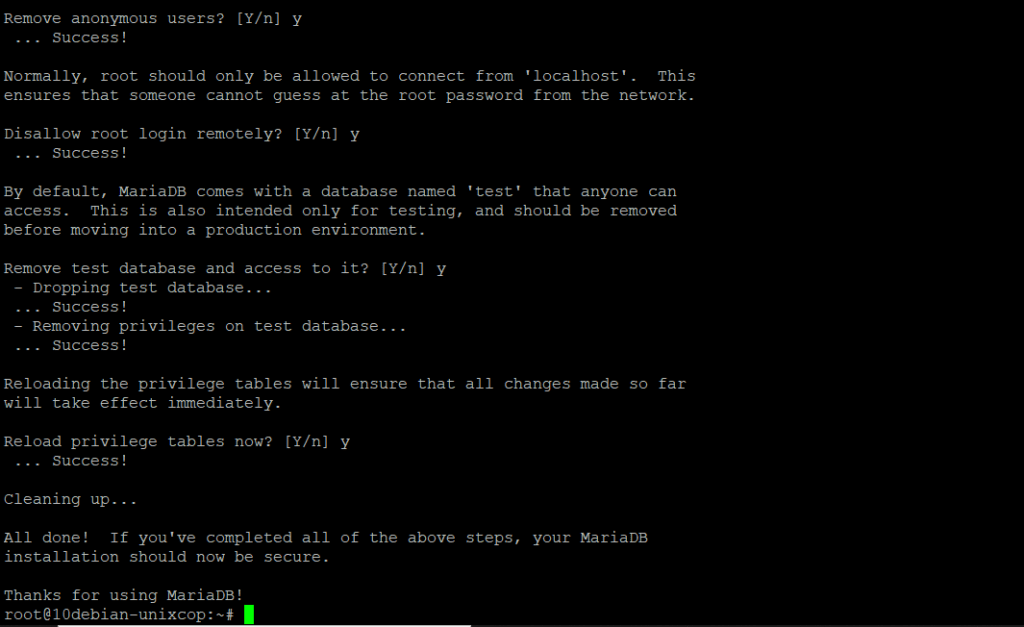
Assign a root password for the DB server.
# mysql_secure_installation

Here, we have installed the second component of the LAMP server.
change Mysql Root password
alter user 'root'@'localhost' identified by 'MyRootUserPassword';
alter user 'mysql'@'localhost' identified by 'MyMysqlUserPassword';
flush privileges;
quit;
Login to mysql
root@10debian-unixcop:~# mysql -u root   -p
Enter password:
Welcome to the MariaDB monitor.  Commands end with ; or \g.
Your MariaDB connection id is 64
Server version: 10.5.11-MariaDB-1 Debian 11

Copyright (c) 2000, 2018, Oracle, MariaDB Corporation Ab and others.

Type 'help;' or '\h' for help. Type '\c' to clear the current input statement.

MariaDB [(none)]>
Step 4. Install PHP.
Let’s install the last package required to get the LAMP stack complete.
Install required package for PHP.
# apt install -y php php-mysql libapache2-mod-php php-xml
It might not be there by default, enable the apache module.
# a2enmod php7.4
Output
Considering dependency mpm_prefork for php7.4:
Considering conflict mpm_event for mpm_prefork:
Considering conflict mpm_worker for mpm_prefork:
Module mpm_prefork already enabled
Considering conflict php5 for php7.4:
Module php7.4 already enabled
To test your LAMP stack, create a PHP script as follows.
vi /var/www/html/info.php
add  the code
<?php phpinfo(); ?>Open web browser, have a look if service is installed properly or not.
<IP_Addr>/info.php
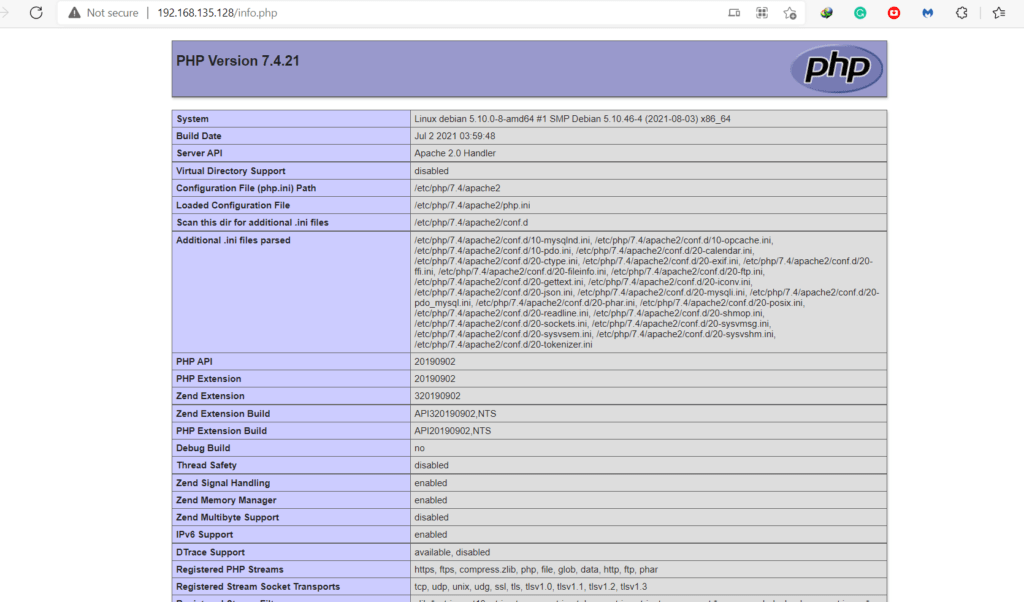
Here, we can see that we have installed all required LAMP components. You can set your securities or other parameters as per your need. In our demonstration, we have not set any firewall settings. But, it is recommended to keep your security settings intact. Make sure to keep only the required port open and you can disable services or ports which are not required.
Step 5. LAMP stack resource optimization
As we have installed all of the required application, let’s make sure all of them is working on system boot.
Enable apache2 service to keep running on boot.
# systemctl enable apache2
Tune MariaDB to keep on after reboot.
# systemctl enable mariadbStep 6. Install PHPMyAdmin
Download package
wget https://files.phpmyadmin.net/phpMyAdmin/5.1.1/phpMyAdmin-5.1.1-all-languages.zip
Unzip package
# unzip phpMyAdmin-5.1.1-all-languages.zip
Move phpMyAdmin package to /usr/local drive
# mv phpMyAdmin-5.1.1-all-languages /usr/share/phpmyadmin
mkdir /usr/share/phpmyamin/tmp
chmod 777 /usr/share/phpmyadmin/tmm
Add phpMyAdmin drive to the web group
# chown -R www-data:www-data /var/share/phpmyadminNow, copy the config.sample.nic.php config file to config.nic.php
# cp /usr/share/phpmyadmin/config.sample.inc.php /usr/share/phpmyadmin/config.inc.php
Here, we are required to generate a password. Let’s install the utility.
# apt-get install pwgen
Generate password and generate a secrete key
# pwgen -s 32 1

add secret key to config.inc.php
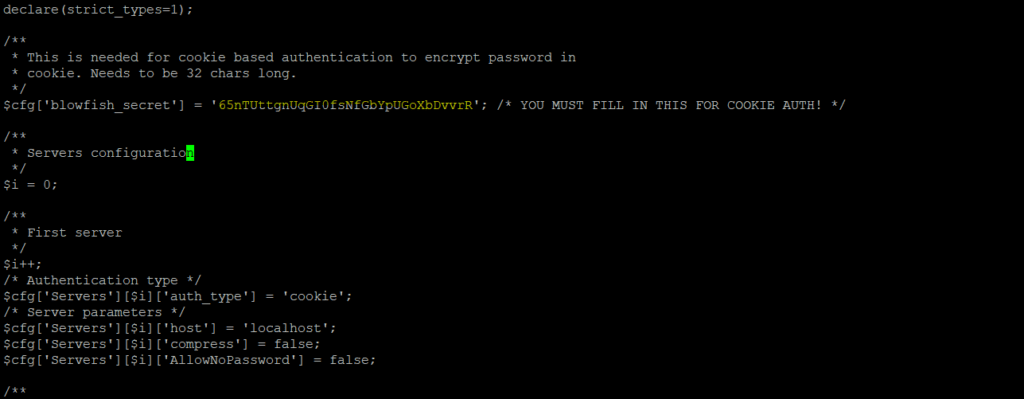
save and exit
Import the create_tables.sql to create tables for phpMyAdmin.
mysql < /usr/share/phpmyadmin/sql/create_tables.sql -u root -p
Login to MariaDB.
mysql -u root -pAdd the user and grant permission to phpMyAdmin’s database.
CREATE USER 'pma'@'localhost' IDENTIFIED BY 'pmapass';
GRANT ALL PRIVILEGES ON phpmyadmin.* TO 'pma'@'localhost' WITH GRANT OPTION;
FLUSH PRIVILEGES;
EXIT;
Now, create phpmyadmin apache alias
# vim /etc/apache2/sites-available/phpmyadmin.conf
Alias /phpMyAdmin /usr/share/phpmyadmin
Alias /phpmyadmin /usr/share/phpmyadmin

<Directory /usr/share/phpmyadmin/>
   AddDefaultCharset UTF-8

   <IfModule mod_authz_core.c>
     # Apache 2.4
     <RequireAny>
      Require all granted
     </RequireAny>
   </IfModule>
   <IfModule !mod_authz_core.c>
     # Apache 2.2
     Order Deny,Allow
     Deny from All
     Allow from 127.0.0.1
     Allow from ::1
   </IfModule>
</Directory>

<Directory /usr/share/phpmyadmin/setup/>
   <IfModule mod_authz_core.c>
     # Apache 2.4
     <RequireAny>
       Require all granted
     </RequireAny>
   </IfModule>
   <IfModule !mod_authz_core.c>
     # Apache 2.2
     Order Deny,Allow
     Deny from All
     Allow from 127.0.0.1
     Allow from ::1
   </IfModule>
</Directory>
Enable the virtual host with the below command.
a2ensite phpmyadminSave and exit.

Create MySQL creds for phpMyAdmin
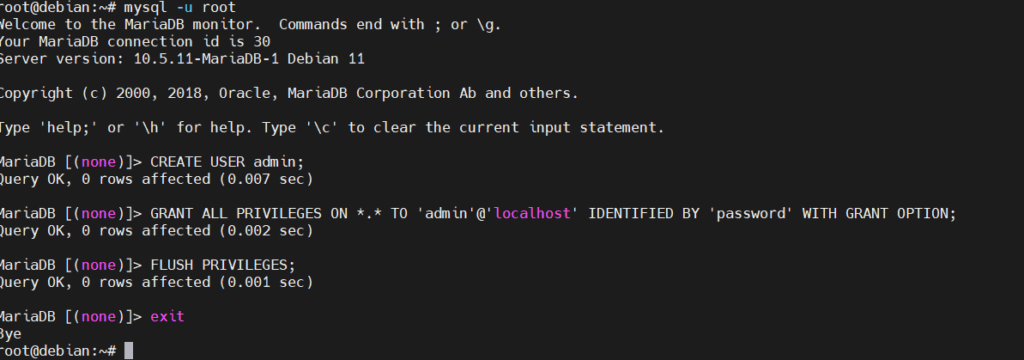
MariaDB [(none)]> CREATE USER admin;
Query OK, 0 rows affected (0.004 sec)

MariaDB [(none)]> GRANT ALL PRIVILEGES ON *.* TO 'admin'@'localhost' IDENTIFIED BY 'password' WITH GRANT OPTION;
Query OK, 0 rows affected (0.002 sec)

MariaDB [(none)]> FLUSH PRIVILEGES;
Query OK, 0 rows affected (0.001 sec)

MariaDB [(none)]> EXIT;
Bye
Restart web service
# systemctl restart apache2
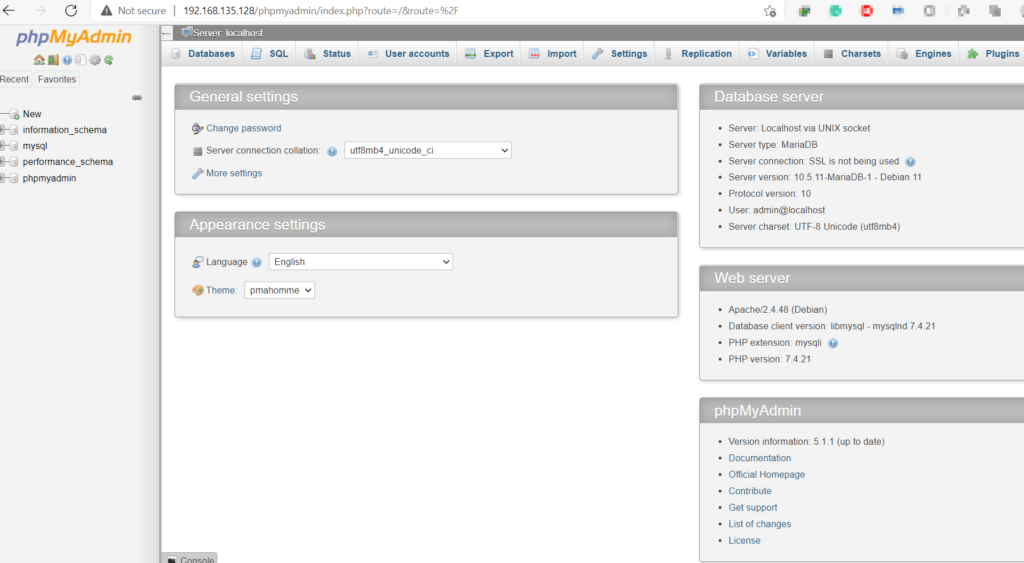
Open PHPMyAdmin panel in your local browser <IP_Addr>/phpmyadmin
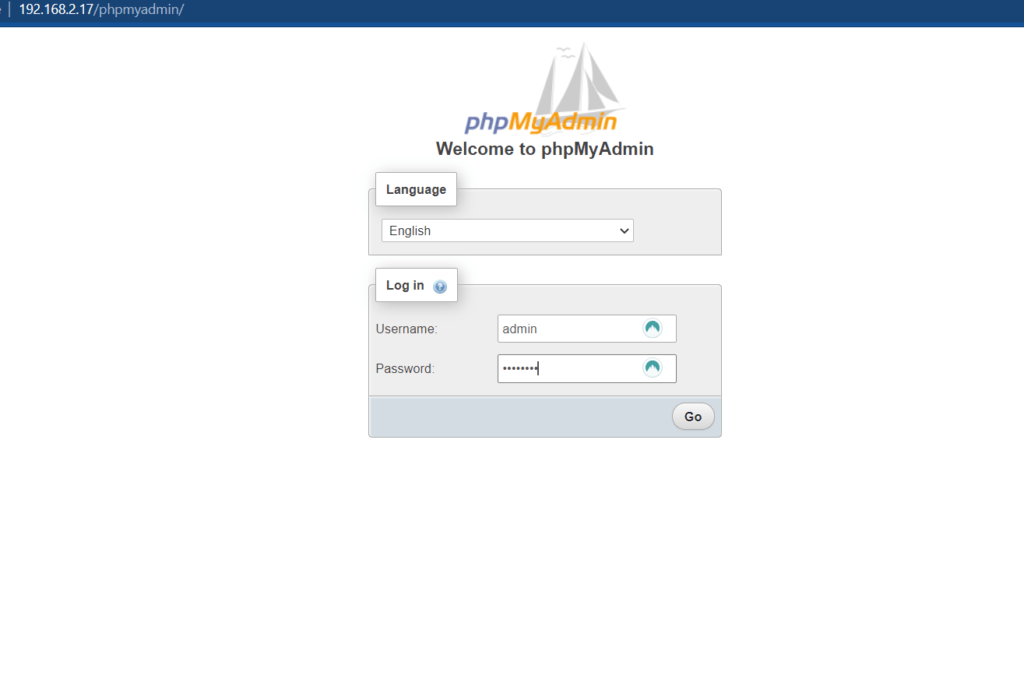
Login with credentials created in the previous step ( admin : password ) and you can configure your environment now.

Conclusion
We can conclude the configuration of the LAMP stack with Ubuntu with few things to consider. Sometimes ssh is not allowed for root. We have shown how to enable that for root. Cross-check that you are able to install the package using a mirror and not only a local DVD. Sometimes you may require to install the lynx package for the apache2 service. I will try to create some articles on ‘hardening of web services where we will discuss SSL certificates, port security, and password authentication. Stay tuned.