
Hello, friends. Happy New Year. Mattermost is an incredibly good tool and in this post we will talk about it. Besides this, you will learn how to install Mattermost on Debian 11.
Quickly what is Mattermost?
Mattermost is an Open-Source application that facilitates communication between people and teams. It defines itself as the open-source and deployable private cloud alternative to Slack.
Thanks to Mattermost, it is possible to articulate communications in public or private groups, in which we can also exchange all kinds of documents in an agile and organized way. In addition to this, it has many integrations such as GitLab, GitHub, Jenkins, or social networks, Facebook and Twitter.
Mattermost is best used on a private server where team members have access to it via the Internet. This way, they can communicate with each other from anywhere.
Slack is excellent but thanks to Mattermost we can do the deployment ourselves in a private cloud.
Let’s start.
Install MariaDB on Debian 11
Mattermost requires a database manager such as MariaDB to support and keep track of the data being generated. So, open a terminal and update the system
apt update
apt upgrade
For this, post, we will use the root user, but it will also work using the sudo command.
Then install MariaDB.
apt install mariadb-serverThereafter, assign a password to the root user and secure the installation.
mysql_secure_installationAnswer And to all the configuration questions that will be displayed after assigning the root password.
Now it is necessary to create a new MariaDB database and user to be used by Mattermost.
Open the shell and create the database.
mysql -u root -p
CREATE DATABASE mattermost;
Now the user and password
GRANT ALL ON mattermost.* TO 'mmuser'@'localhost' IDENTIFIED BY 'password' WITH GRANT OPTION;Refresh the permissions and exit the shell.
FLUSH PRIVILEGES;
EXIT;
With this, MariaDB is ready for Mattermost.
Install Mattermost on Debian 11
Before installing Mattermost, create a new system user dedicated to the application.
useradd --system --user-group mattermostNow, thanks to the wget command, download it.
wget https://releases.mattermost.com/6.0.2/mattermost-6.0.2-linux-amd64.tar.gz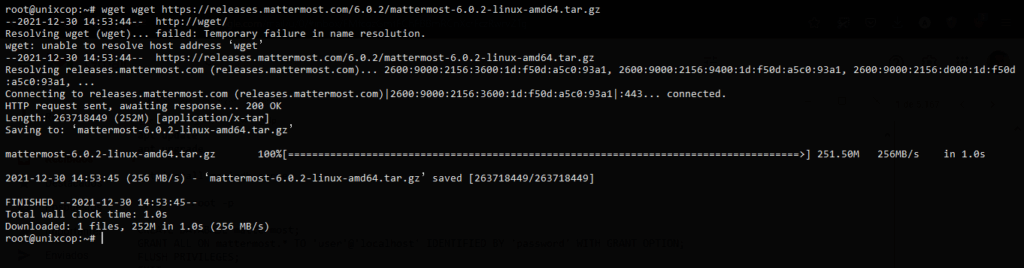
At the time of writing this post, the latest stable version of Mattermost is 6.0.2. Check which one it is and then, modify the command in question.
Decompress it to the /opt directory.
tar xvzf mattermost-6.0.2-linux-amd64.tar.gz -C /opt/Inside this directory, create a new folder for the application data.
mkdir /opt/mattermost/dataThen, make the entire Mattermost directory owned by the user and group we created.
chown -R mattermost:mattermost /opt/mattermost
chmod -R g+w /opt/mattermost
Before using it, we have to make some small configuration changes.
Configuring Mattermost before using it
Now we have to define certain parameters in the Mattermost configuration.
The configuration file is located in /opt/mattermost/config/config.json.
First make a backup of it:
cp /opt/mattermost/config/config/config.json /opt/mattermost/config/config/config.json.bakNow edit it:
nano /opt/mattermost/config/config/config.jsonInside this file, we have to configure
"SiteURL": "http://mattermost.unixcop.test", Which you have to replace with your domain. Then in the SqlSettings section.
"DriverName": "mysql",
"DataSource": "mmuser:password@tcp(localhost:3306)/mattermost?charset=utf8mb4,utf8&readTimeout=30s&writeTimeout=30s",
Be careful when editing the DataSource line because there you will define the MariaDB user, its password and the database name, as well as the host and port.
Save the changes and close the editor.
Now create a new service to better manage how Mattermost runs.
Create the configuration file
nano /lib/systemd/system/mattermost.serviceAnd add the following
[Unit]
Description=Mattermost
After=network.target
After=mysql.service
Requires=mysql.service

[Service]
Type=notify
User=mattermost
Group=mattermost
ExecStart=/opt/mattermost/bin/mattermost
TimeoutStartSec=3600
Restart=always
RestartSec=10
WorkingDirectory=/opt/mattermost
LimitNOFILE=49152

[Install]
WantedBy=mariadb.service
Save the changes, close the file. And to apply the changes run.
systemctl daemon-reloadNow start the Mattermost service
systemctl start mattermostEnable it to start with the system.
systemctl enable mattermostFinally, check its status.
systemctl status mattermost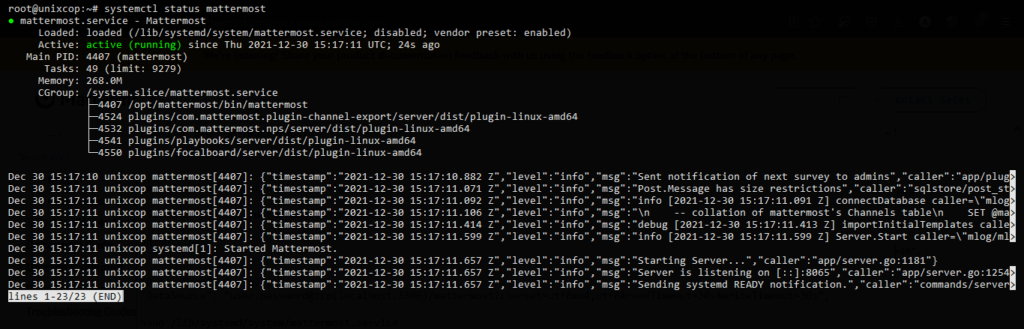
So, all is well so far.
Install Apache and turn it into a Reverse Proxy for Mattermost
To facilitate access to Mattermost, we need to install Apache and configure it as a Reverse Proxy.
So, install it
apt install apache2Enable all necessary modules
a2enmod rewrite
a2enmod proxy
a2enmod proxy_http
a2enmod proxy_wstunnel
And create a new configuration file.
nano /etc/apache2/sites-available/mattermost.confAdd the following
<VirtualHost *:80>

ServerName mattermost.unixcop.test

ProxyPreserveHost On

RewriteEngine On
RewriteCond %{REQUEST_URI} /api/v[0-9]+/(users/)?websocket [NC]
RewriteCond %{HTTP:UPGRADE} ^WebSocket$ [NC]
RewriteCond %{HTTP:CONNECTION} \bUpgrade\b [NC]
RewriteRule .* ws://127.0.0.1:8065%{REQUEST_URI} [P,QSA,L]

<Location />
Require all granted
ProxyPass http://127.0.0.1:8065/
ProxyPassReverse http://127.0.0.1:8065/
ProxyPassReverseCookieDomain 127.0.0.1 mattermost.unixcop.test
</Location>

</VirtualHost>
From here the most important thing is ServerName that you have to put your domain, and it has to be equal to the one we have defined in the Mattermost configuration in the previous step.
Then enable the new configuration
ln -s /etc/apache2/sites-available/mattermost.conf /etc/apache2/sites-enabled/mattermost.confAnd restart apache to apply the changes
systemctl restart apache2Access to Mattermost on Debian 11
Thereafter, open your favorite web browser and go to http://your-domain and you will see the following
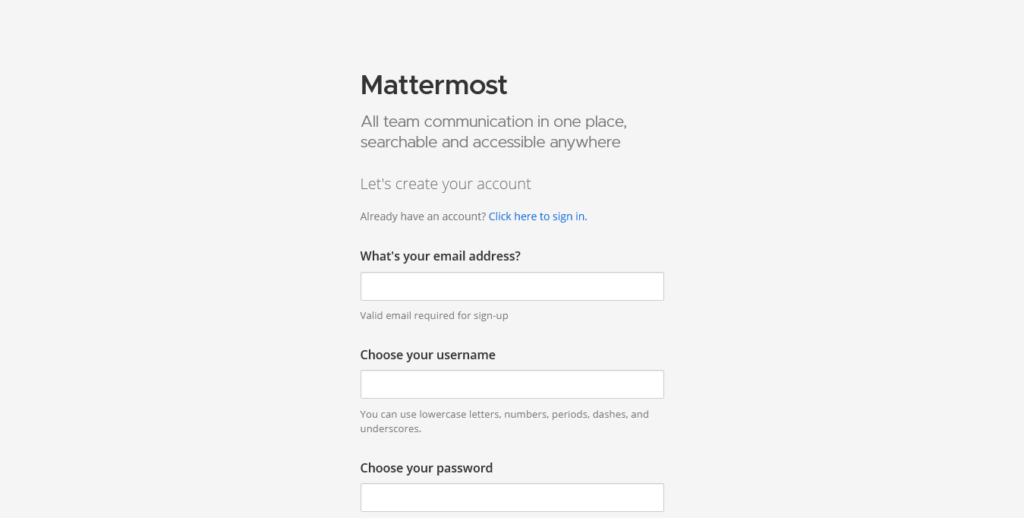
There you will have to enter your data and credentials.
And then you can enjoy Mattermost by creating groups or joining others.
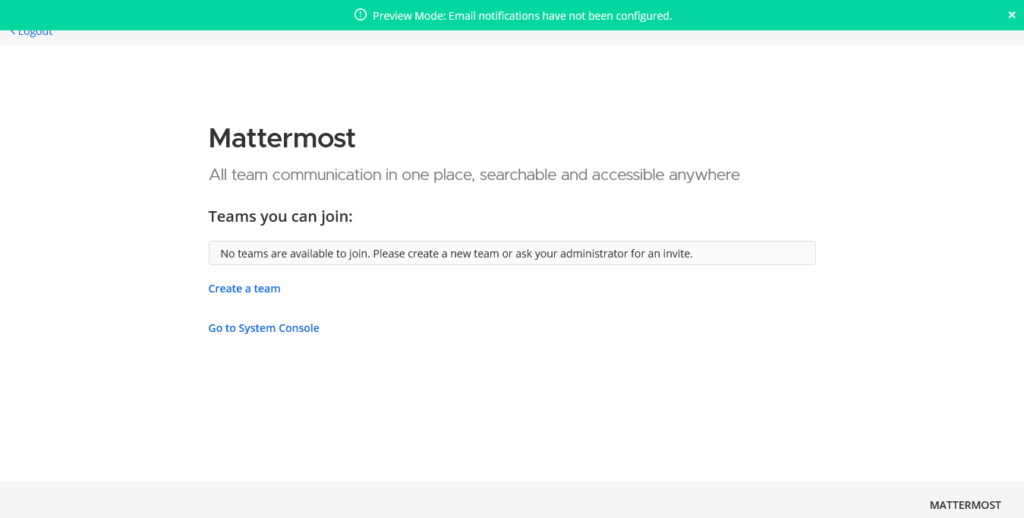
So, enjoy it.
Conclusion
In this post, we have learned how to install Mattermost on Debian 11 using the binary provided by the developers.