GitLab is a web based version control system and collaborative software development based on Git. Its features include things like the code repository, wiki or issue-tracking system. In this article I will show you how to install the Community Edition of GitLab on FreeBSD.
Let’s do it
Database
The only supported database is PostgreSQL. You can follow this tutorial if you don’t have one running: https://unixcop.com/how-to-install-postgresql-in-freebsd/ .
We will need the pgtrgm extension, if you don’t have the port postgresl_contrib, install it with:
# cd /usr/ports/databases/postgresql14-contrib
make install clean
If you are using packages install it with:
pkg add postgresql14-contribCreate a database user called git and the gitlab production database:
root@fbsd:~ # su postgres
$ psql
psql (14beta1)
Type "help" for help.

postgres=# CREATE USER git CREATEDB SUPERUSER;
CREATE ROLE
postgres=# ALTER ROLE git WITH PASSWORD 'superpass';
ALTER ROLE
postgres=# CREATE DATABASE gitlabhq_production OWNER git;
CREATE DATABASE
Next connect to the gitlabhq_production database and enable the extension pg_trgm:
postgres=# \connect gitlabhq_production
You are now connected to database "gitlabhq_production" as user "postgres".
gitlabhq_production=# CREATE EXTENSION IF NOT EXISTS pg_trgm;
CREATE EXTENSION
GitLab-ce
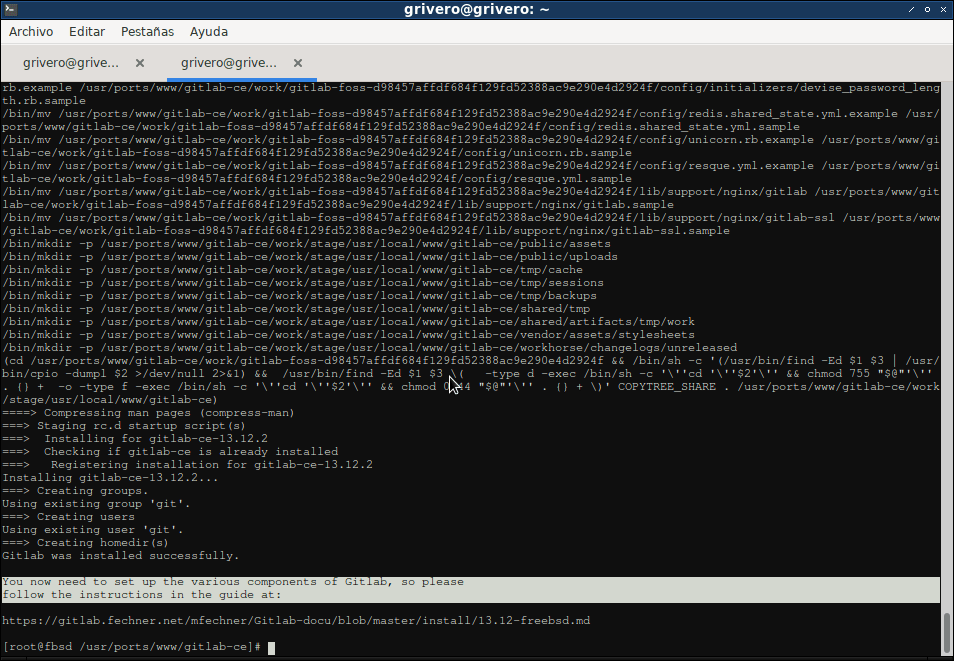
Now, lets compile gitlab-ce and its dependencies:
root@fbsd:~ # cd /usr/ports/www/gitlab-ce/
root@fbsd:/usr/ports/www/gitlab-ce # make install clean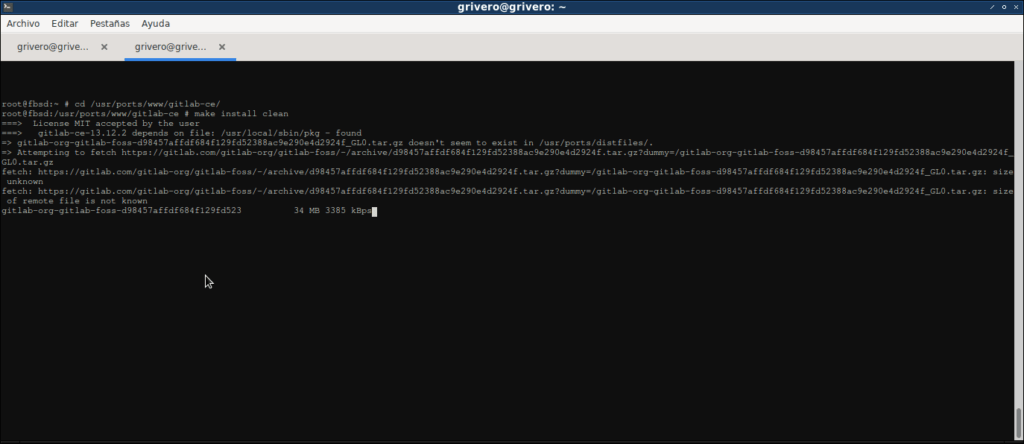
This will take more or less time depending on already installed ports. Follow the instructions on the screen. Te compilation of everything took a couple of hours in my slow computer:
Redis
Redis cache should be installed with the gitlab-ce port; if you haven’t installed run:
# cd /usr/ports/databases/redis
# make install clean
Add the following lines to the configuration file /usr/local/etc/redis.conf :
unixsocket /var/run/redis/redis.sock
unixsocketperm 770
This will enable and grant permissions to the redis socket. Now enable the redis services and start it:
# /usr/local/etc/rd.d/redis enable
# /usr/local/etc/rd.d/redis start
Add the git user to the redis group and we are done with redis configuration:
# pw groupmod redis -m gitGitlab preconfiguration
We need to do some extra work.
Change the home directory of git user
Gitlab expects the home directory of git user to be /usr/home/git . You can change it with:
# chsh gitAs I don’t like the vi program, I’ll change to ee with this command:
# EDITOR=/usr/bin/ee chsh git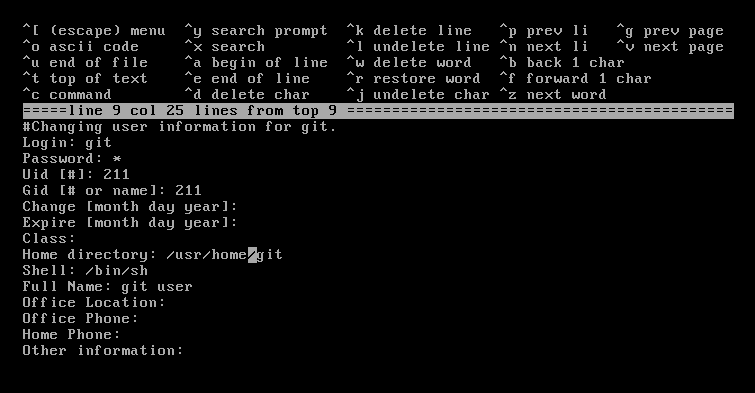
Configure gitlab
Go to the gitlab installation directory and edit the config file:
# cd /usr/local/www/gitlab-ce
# ee config/gitlab.yml 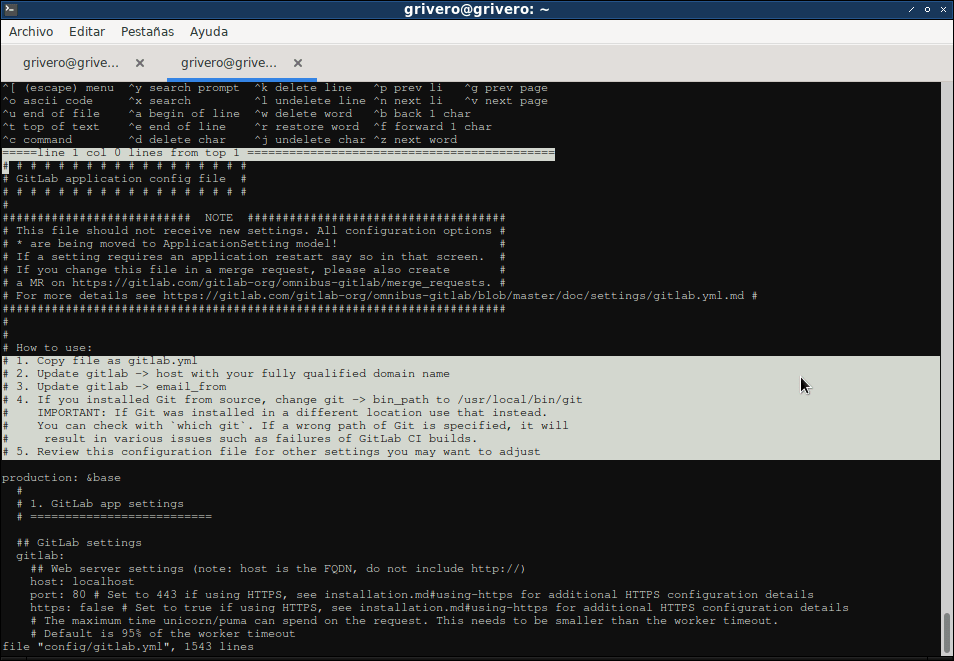
So, I’m changing host:localhost → host: 192.168.122.234 (my IP as I don’t have an FQDN in this testing vm), and not using https for this tutorial. And for email_from I’m using a generic noreply@localhost. You can search for those items by pressing ctrl-y in the ee editor.
In config/unicorn.rb set the number of workers to at least the number of cores:
# ee config/unicorn.rbChange to git user and run the following:
# su - git
$ git config --global core.autocrlf input
$ git config --global gc.auto 0
$ git config --global repack.writeBitmaps true
$ git config --global receive.advertisePushOptions true
The first is for the web editor that needs autocrlf; the second it’s because GitLab will run ‘git gc’ when needed; the third enables packfile bitmaps; and the last one enables push options.
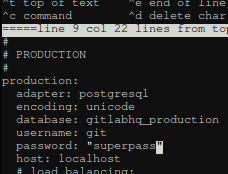
Configure the database settings in config/database.yml:
Initialize de DB
Give temporary write permissions to the git user:
# chown git /usr/local/share/gitlab-shellInitialize the database with this command (as git user):
# su - git
$ cd /usr/local/www/gitlab-ce/
$ rake gitlab:setup RAILS_ENV=production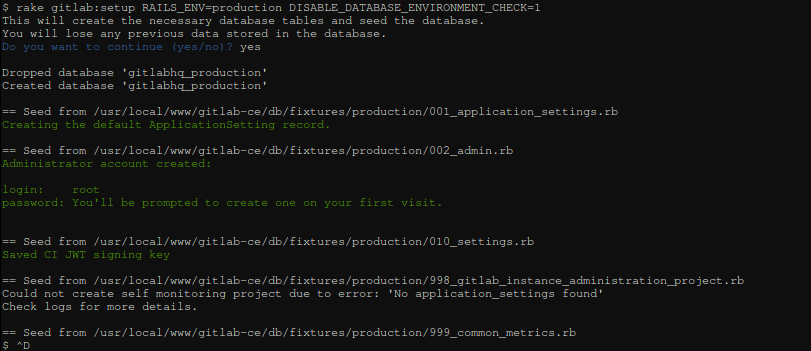
Get back to root user and undo the temporary permissions:
# chown root /usr/local/share/gitlab-shell We are almost there, let’s check if everything until now is configured correctly:
# su - git
$ cd /usr/local/www/gitlab-ce && rake gitlab:env:info RAILS_ENV=production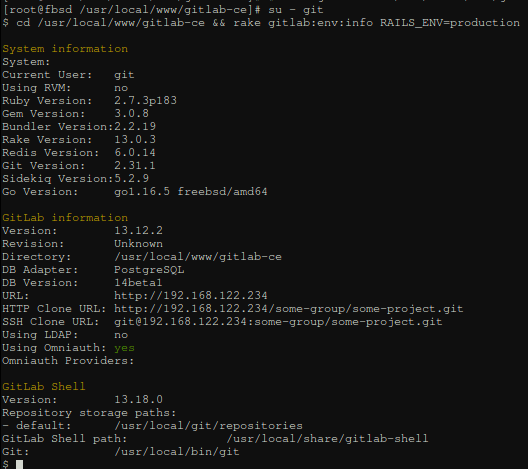
Now, continue (as git user) compiling GetText PO files and assets:
$ rake gettext:compile RAILS_ENV=production
Created app.js in /usr/local/www/gitlab-ce/app/assets/javascripts/locale/bg
Created app.js in /usr/local/www/gitlab-ce/app/assets/javascripts/locale/de
(...)
All files created, make sure they are being added to your assets.
If they are not, you can add them with this line (configurable):

//= require_tree ./locale
//= require gettext/all

$ yarn install --production --pure-lockfile
 yarn install v1.22.10
[1/5] Validating package.json...
[2/5] Resolving packages...
(...)
success Dependency postinstall check passed.
Done in 150.47s.
$ rake gitlab:assets:compile RAILS_ENV=production NODE_ENV=production
[long output that I didn't capture the begin because a distraction]
`gitlab:assets:fix_urls` finished in 31.47730386 seconds
`gitlab:assets:check_page_bundle_mixins_css_for_sideeffects` finished in 10.420508114 seconds
$ ^d
Now enable and start the GitLab service, run as root:
# /usr/local/etc/rc.d/gitlab enable
gitlab enabled in /etc/rc.conf
# /usr/local/etc/rc.d/gitlab start
Nginx
Ngninx is the officially supported web server. Install it with:
# cd /usr/ports/www/nginx
make install clean
The nginx configuration is pretty simple: include the configuration provided by gitlab by adding the following line within the http block in /usr/local/etc/nginx/nginx.conf:
include /usr/local/www/gitlab-ce/lib/support/nginx/gitlab;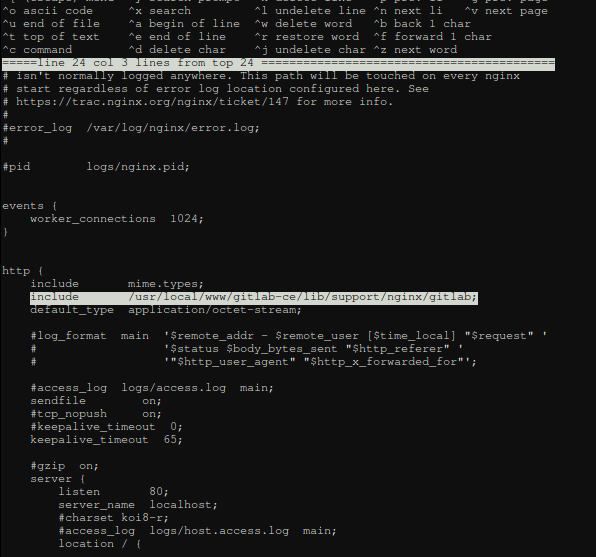
Enable and start Nginx:
# /usr/local/etc/rc.d/nginx enable
# /usr/local/etc/rd.d/nginx start
First login
As seen at the end of database initialization, you will be asked to change the root password:
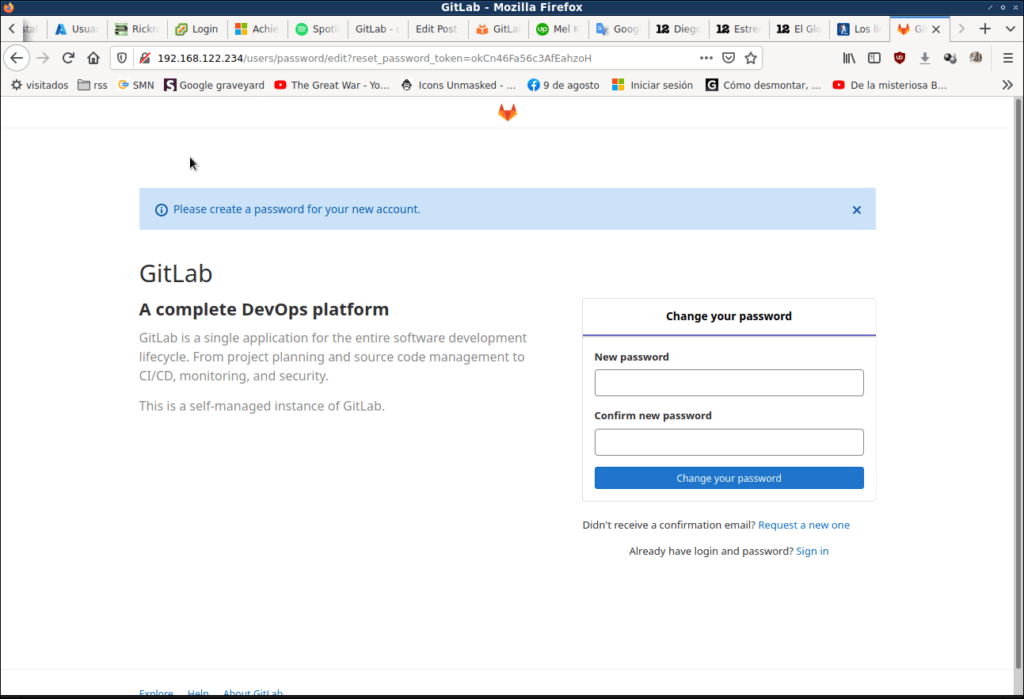
And this is it, you now can login with root user and the new password, and start working.
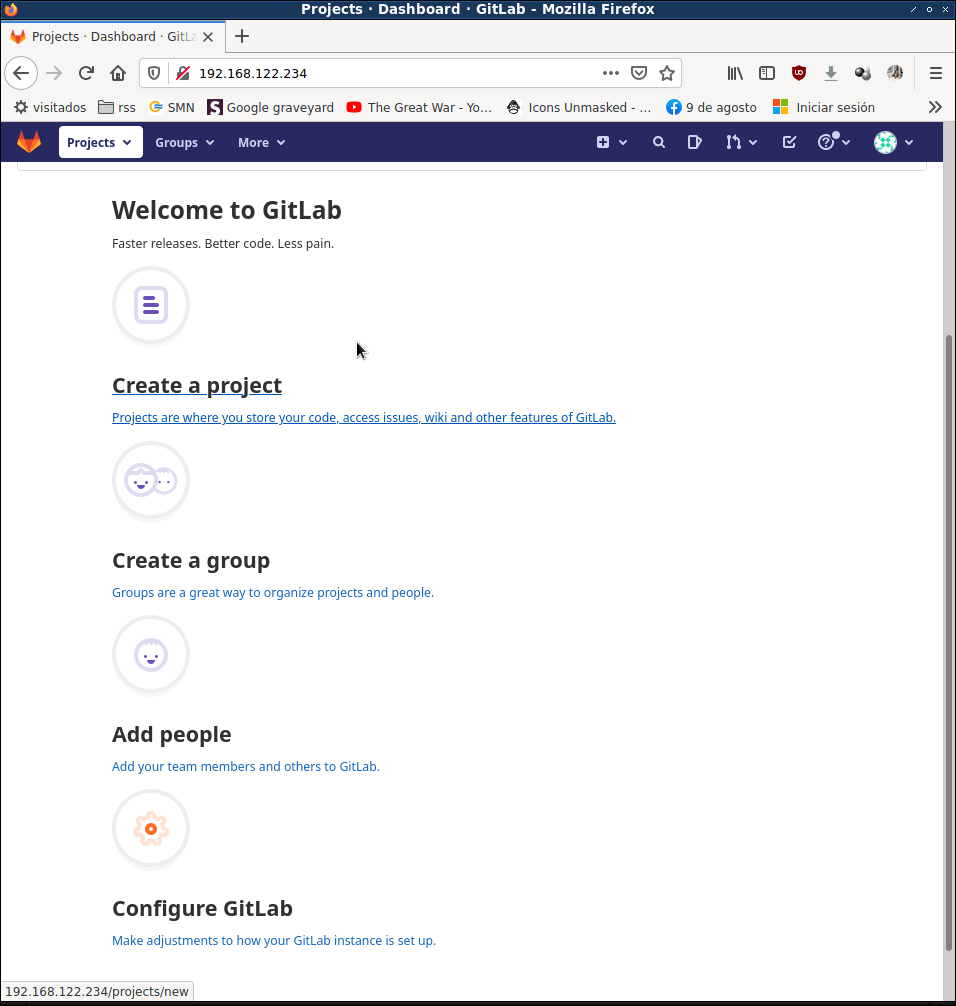
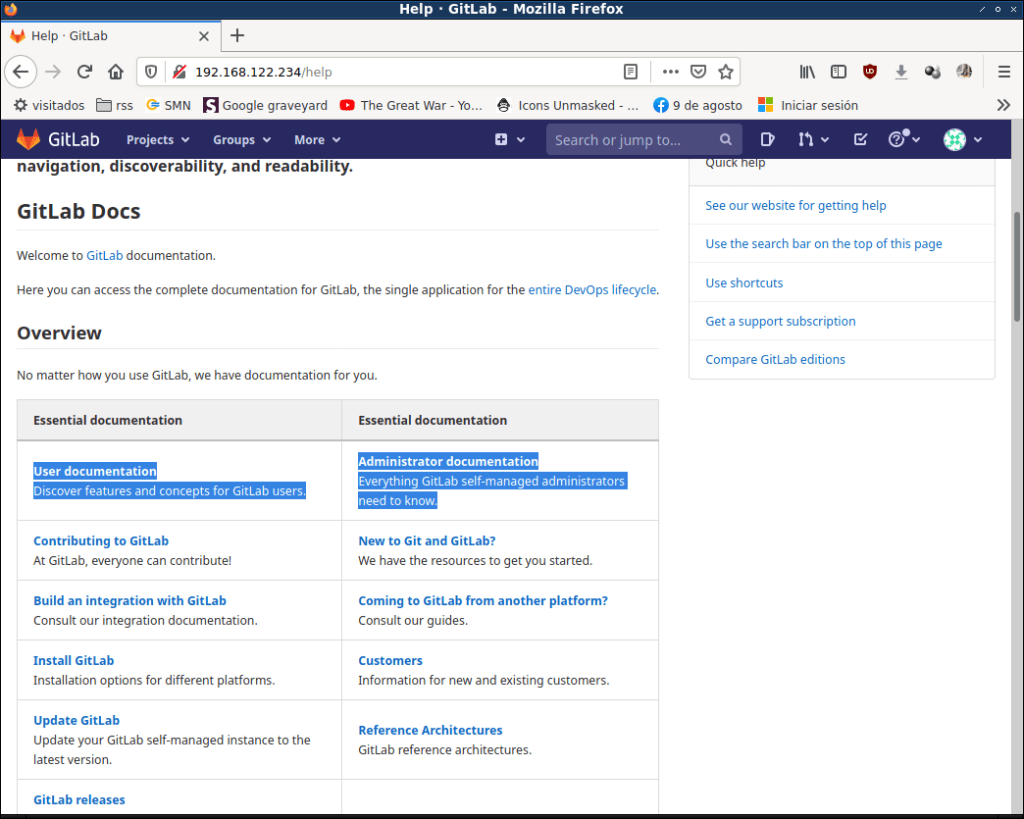
Where to go from here
As I always say: go to the documentation, in GitLab is included in the menu up-right of the screen:
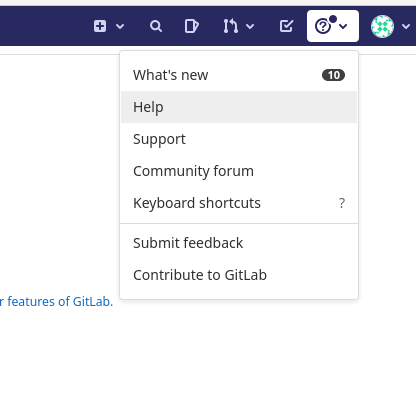
And in the next screen you will find some useful links like: