
Evolution is a powerful and feature-rich email client for Linux systems, providing a comprehensive set of tools for managing your email, calendar, tasks, and contacts. In this article, we will guide you through the step-by-step process of installing Evolution on Ubuntu 22.04 LTS, so you can enjoy its robust features and intuitive interface.
Install Evolution – Email client on Ubuntu 22.04 LTS
Step 1: Update the System: Before installing any new software, it is essential to ensure that your system is up to date. Open a terminal by pressing Ctrl+Alt+T and enter the following command:
sudo apt update && sudo apt upgradeThis command will update the package lists and upgrade any outdated packages on your Ubuntu system.
Step 2: Installing Evolution: Once your system is up to date, you can proceed with the installation of Evolution. Open the terminal again and type the following command:
sudo apt install evolution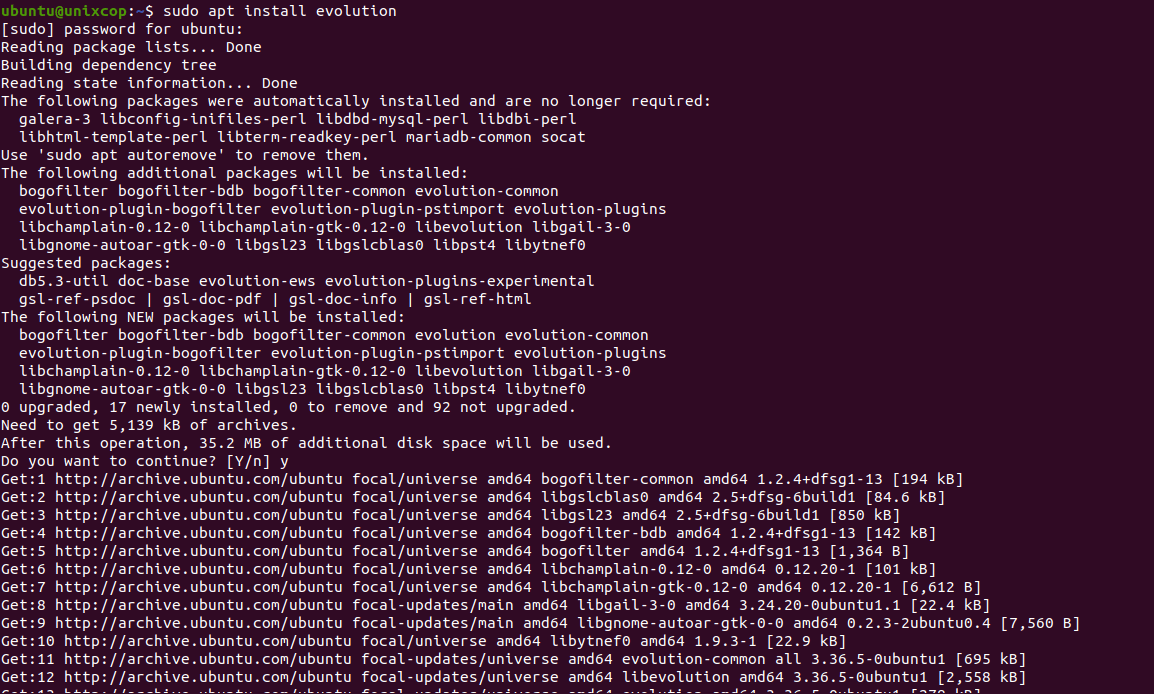
Ubuntu’s package manager, APT, will fetch the necessary files from the official repositories and install Evolution on your system. You may be prompted to enter your password to authorize the installation process.
Step 3: Configuration and Setup: After the installation is complete, you can launch Evolution by searching for it in the applications menu or by running the following command in the terminal:
evolutionUpon launching Evolution for the first time, you will be greeted with a setup wizard. Follow the on-screen instructions to configure your email accounts, including providing your email address, password, and server details as shown below:
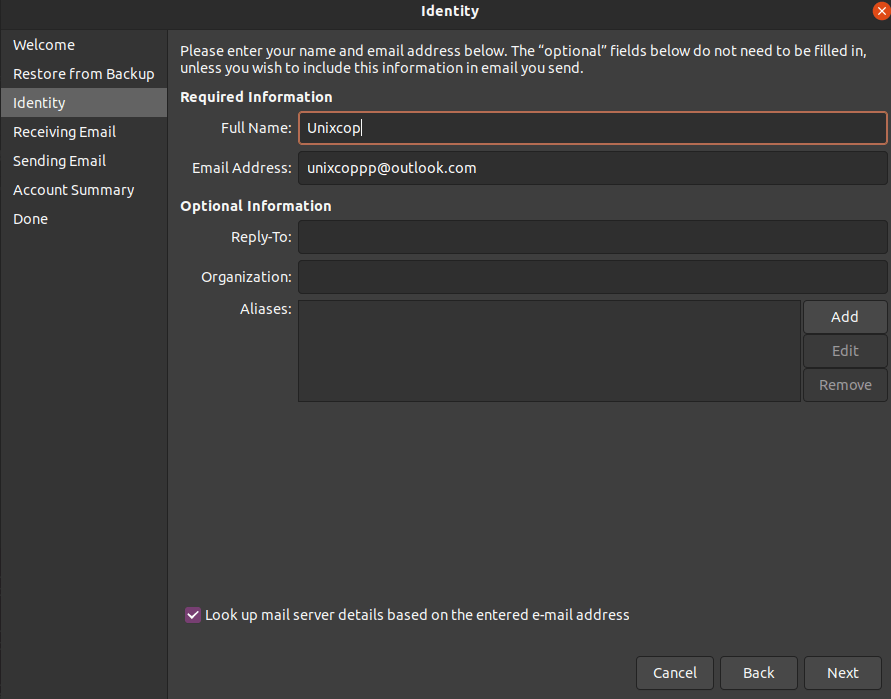
Evolution supports various email protocols, such as POP3, IMAP, and Exchange. Select the appropriate protocol for your email account and enter the necessary information. If you’re unsure about the server details, consult your email service provider’s documentation or contact their support.
Step 4: Importing Data: If you have existing email data from another email client, such as Thunderbird or Outlook, Evolution provides the option to import your data. During the initial setup wizard or by navigating to File > Import, you can select the relevant options to import your emails, contacts, and calendar events.
Evolution supports popular file formats for importing, including mbox, EML, and iCalendar. Choose the appropriate format and follow the prompts to import your data into Evolution.
Step 5: Customizing Evolution: Once you have successfully configured your email account(s) and imported your data, you can explore the various customization options offered by Evolution. You can personalize the user interface, set up filters and rules to organize your emails, and configure additional features like encryption and digital signatures.
To access the settings and customization options, navigate to Edit > Preferences. Here, you can adjust various aspects of Evolution according to your preferences and requirements.
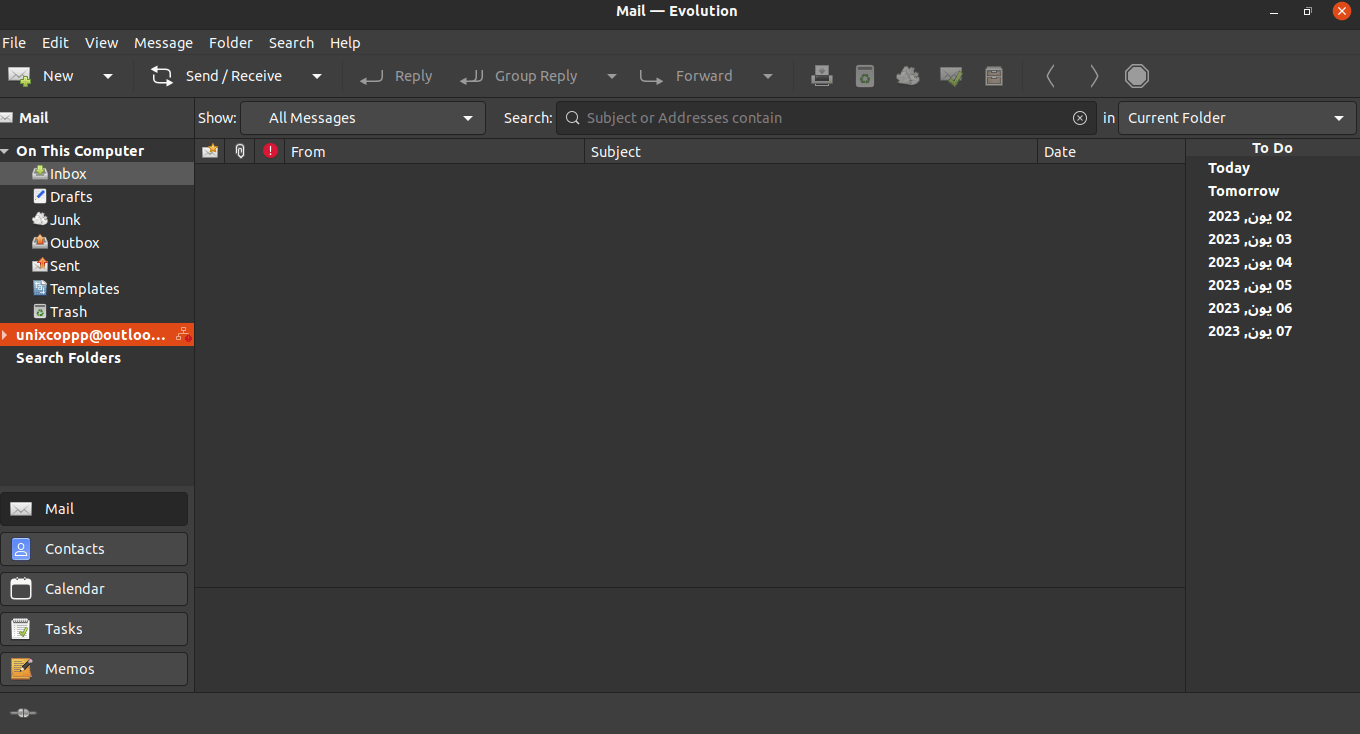
Conclusion: By following these steps, you can easily install and set up Evolution – the versatile email client – on your Ubuntu 22.04 LTS system. Evolution provides a comprehensive set of tools to manage your email, calendar, tasks, and contacts, making it a reliable choice for personal and professional use.
Remember to regularly update Evolution and your Ubuntu system to benefit from the latest features, security patches, and bug fixes. With Evolution installed, you can enjoy a seamless email experience on your Ubuntu 22.04 LTS machine.