
Hello, friends. In this post, you will learn how to install Baikal on Ubuntu 22.04 and create your own Calendar server. Let’s go.
According to Baikal website
Baïkal is a lightweight CalDAV+CardDAV server. It offers an extensive web interface with easy management of users, address books and calendars. It is fast and simple to install and only needs a basic php capable server. The data can be stored in a MySQL or a SQLite database.
One of the great advantages it offers is that it is open source and being created with web technology, you can install it without problems in many web servers. In addition to this, it is designed so that customers can access from the mobile (Android, iOS) or from the web browser.
But it is also excellent because it allows full integration with Thunderbird, so many companies will see it with good eyes.
Create your own Calendar server with Baikal
Before proceeding with the installation of Baikal, you need to update the whole system. So log in with your root user and run.
sudo apt update
sudo apt upgrade
Then, proceed to install a LAMP server. Remember that Baikal requires PHP 7+ and a database manager like MariaDB.
To achieve it all in one command, run this
sudo apt install apache2 mariadb-server php8.1 libapache2-mod-php php8.1-intl php8.1-curl php8.1-curl php8.1-mbstring php8.1-gd php8.1-exif php8.1-cgi php8.1-xml php8.1-mysqlnd unzipNext, make sure that ports 80 and 443 are open in the firewall
sudo ufw allow 80
sudo ufw allow 443
This is enough for now.
Preparing a database for Baikal
The goal of this post is to install Baikal on a sample environment. Of course, you can always improve the steps and increase the security. For example, you can check this post, where we detail more the installation of MariaDB on Ubuntu 22.04
So, access the console
sudo mysql -u root -pNow create a new database for Baikal. Assign it the name you want.
CREATE DATABASE baikal;Then the user, his password, and the permissions on the new database
GRANT ALL PRIVILEGES ON baikal.* TO 'user'@'localhost' IDENTIFIED BY 'pss';Refresh permissions
FLUSH PRIVILEGES;And finally exit the console.
exit;MariaDB is ready for Baikal.
Download Baikal on Ubuntu 22.04
Now we can download Baikal. The usual way is to do it from the /tmp/ directory.
cd /tmp
wget https://github.com/sabre-io/Baikal/releases/download/0.9.3/baikal-0.9.3.zip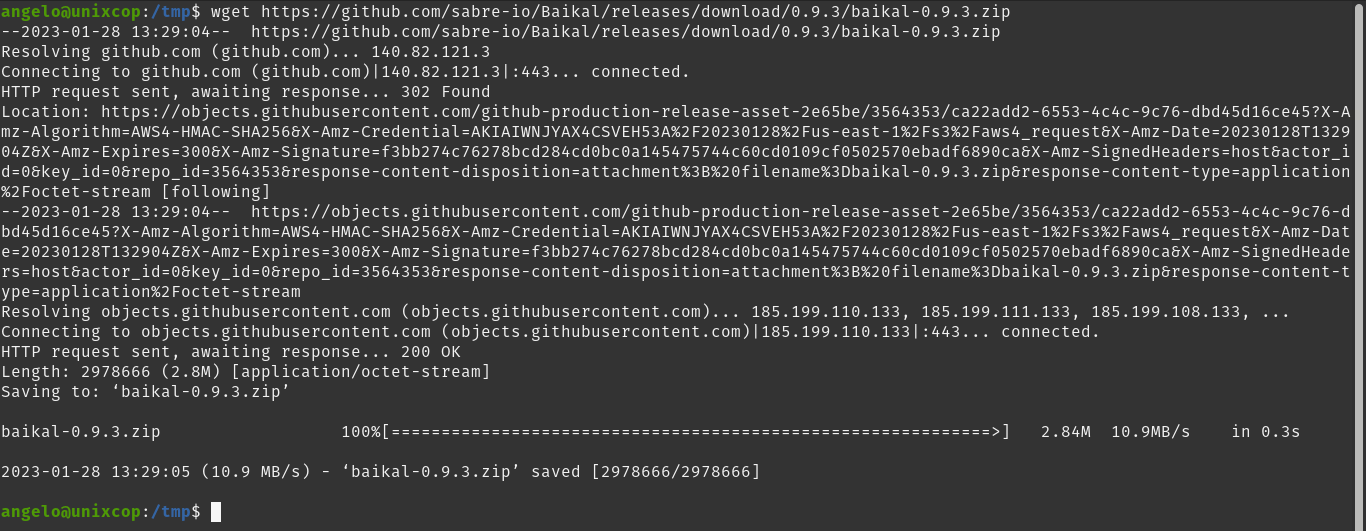
At the time of writing this post, the latest version is 0.9.3 You should first make sure you know which is the latest version at this link.
Now unzip the file
sudo unzip baikal-0.9.3.zipAnd move it to the Apache root directory
sudo mv baikal /var/www/html/baikalMake Apache the owner of the folder and give it the correct permissions.
sudo chown -R www-data:www-data /var/www/html/baikal
sudo chmod -R 755 /var/www/html/baikal
Next, create a new Virtualhost for Baikal.
sudo nano /etc/apache2/sites-available/baikal.confAdd the following
<VirtualHost *:80>

    DocumentRoot /var/www/html/baikal/html
    ServerName calendar.unixcop.com

    RewriteEngine on
    RewriteRule /.well-known/carddav /dav.php [R=308,L]
    RewriteRule /.well-known/caldav  /dav.php [R=308,L]

    <Directory "/var/www/html/baikal/html">
        Options None
        AllowOverride None
        Require all granted
    </Directory>

    <IfModule mod_expires.c>
        ExpiresActive Off
    </IfModule>

</VirtualHost>
Modify the values to suit your server as ServerName Save the changes and close the editor.
Then, enable the new site, the rewrite module and restart Apache.
sudo a2ensite baikal
sudo a2enmod rewrite
sudo systemctl restart apache2
Install Baikal on Ubuntu 22.04
When you access your server via web browser, the installation process will start. You will see this first screen.

There, set the administrator password and various settings.
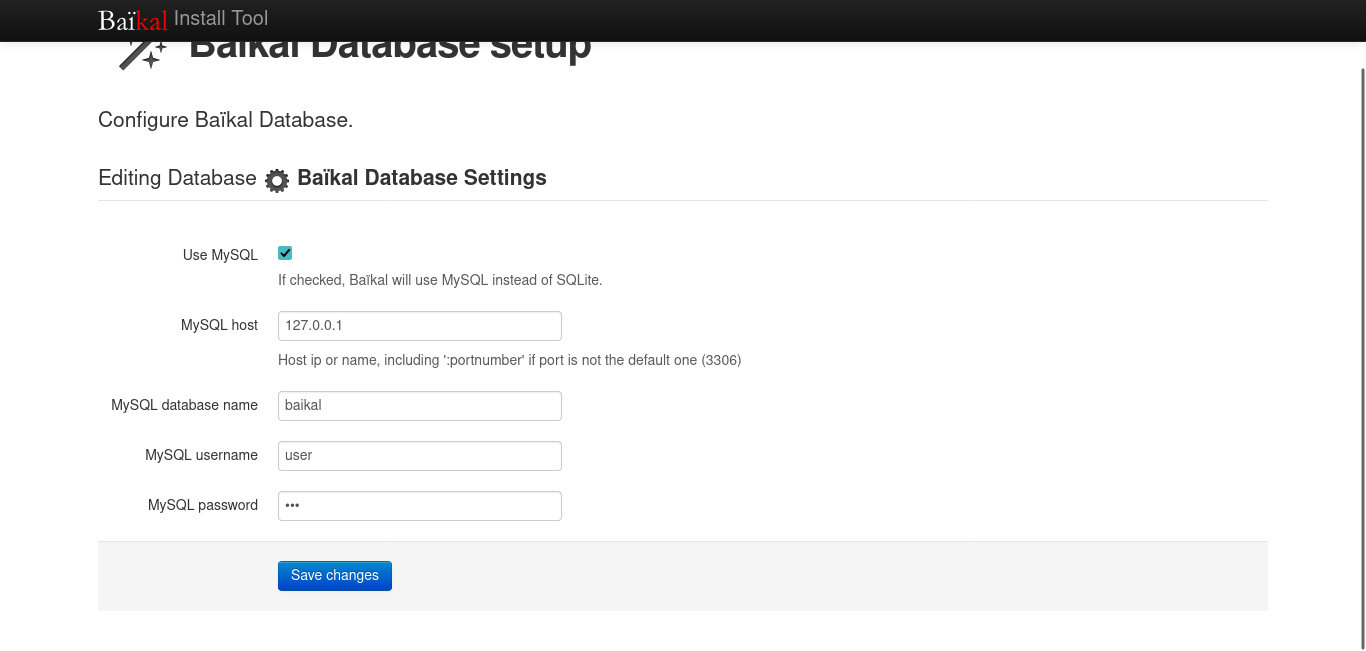
Then, set the database parameters that we have created.
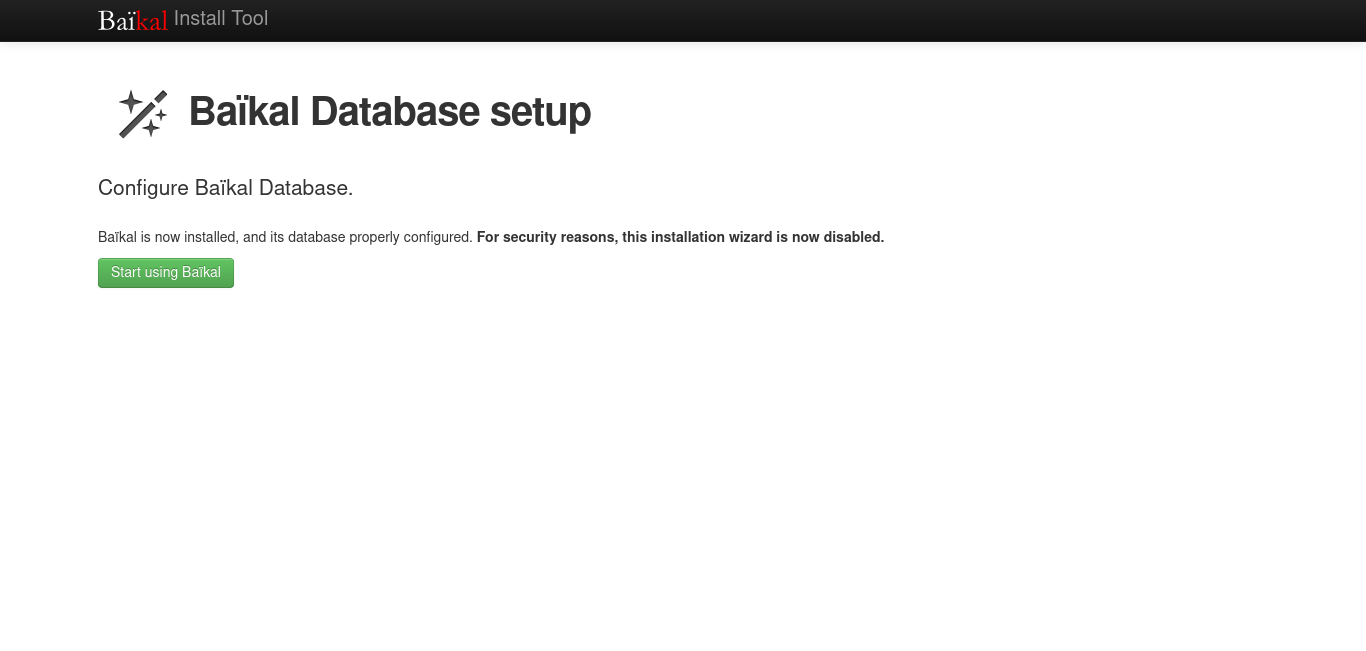
If all goes well, you will see this screen.
Now log in with the newly created password.
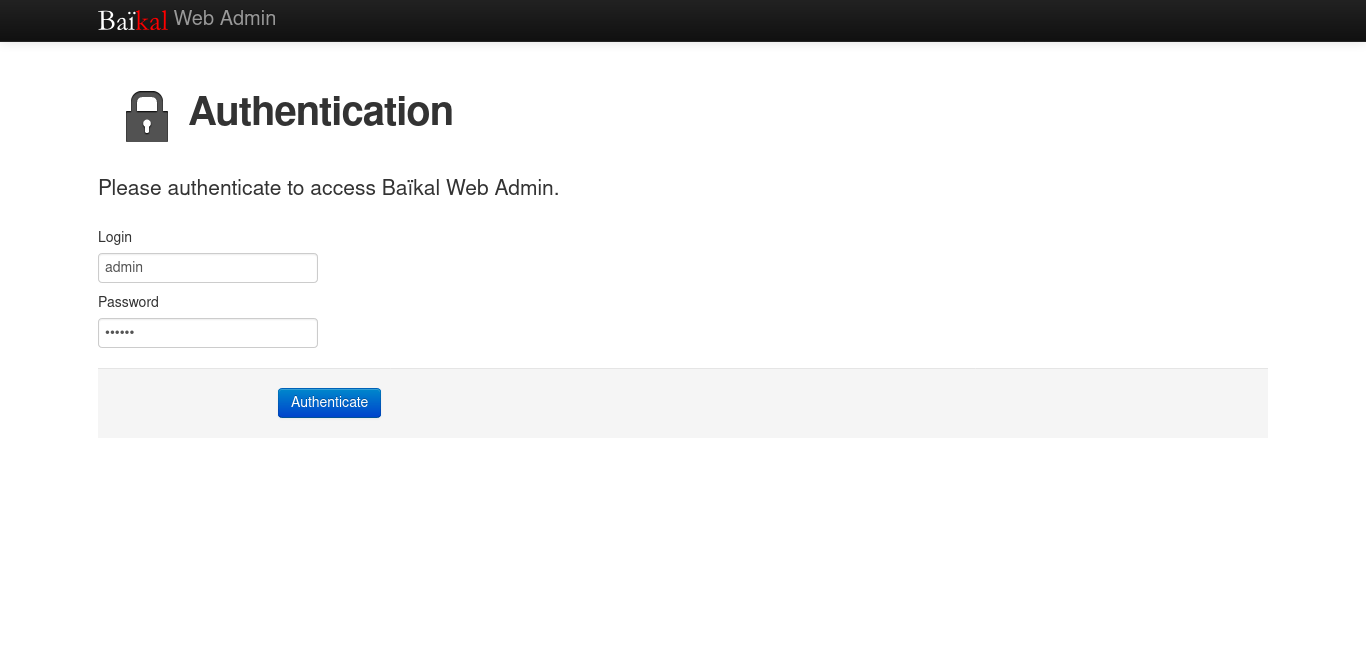
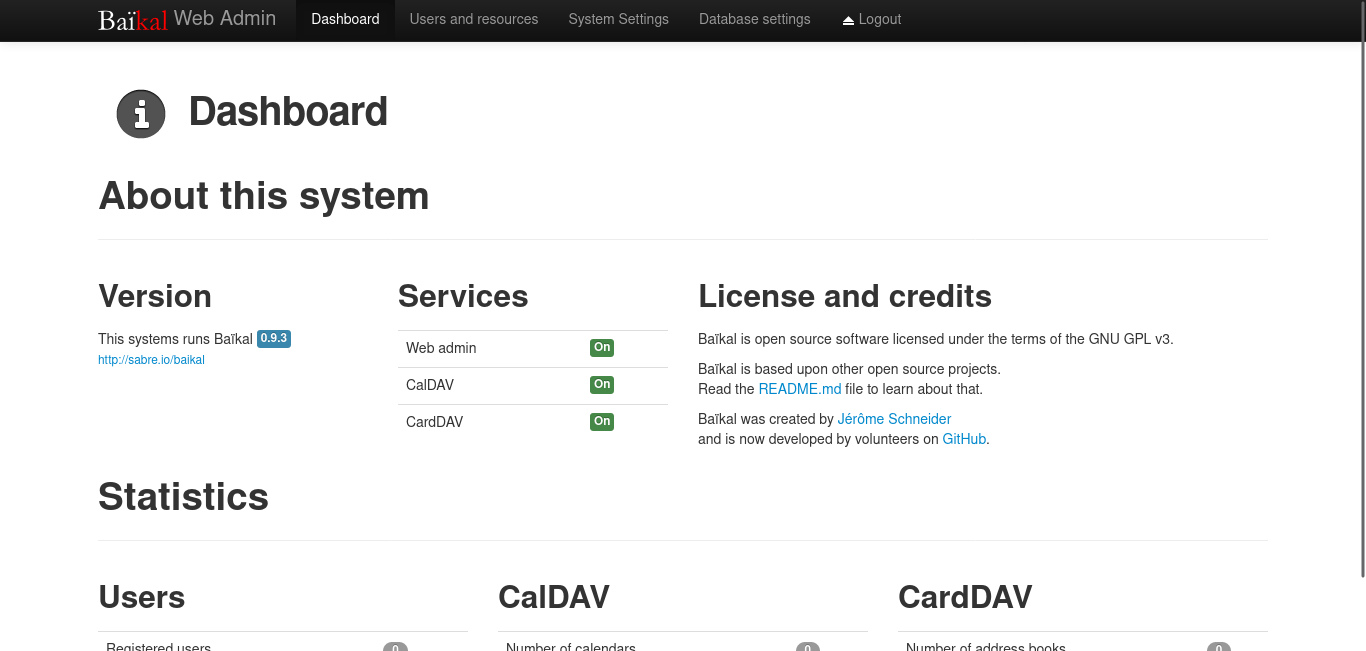
Finally, you will see the dashboard.
Thanks for this,
A straightforward setup that works. I only wish I’d found it before I lost a couple of hours trying the composer route.