In this article I show how to install Devuan using the installer included in the desktop-live iso, refractainstaller. In a previous article I’ve showed how to install it using the net-install ISO.
From the devuan site: Devuan GNU+Linux is a fork of Debian without systemd that allows users to reclaim control over their system by avoiding unnecessary entanglements and ensuring Init Freedom.
Booting the system
Get the desktop-live ISO from here: https://www.devuan.org/get-devuan ; next burn in a DVD or mount it on a virtual machine and boot your computer. After a while you will see the XFCE desktop ready to use:
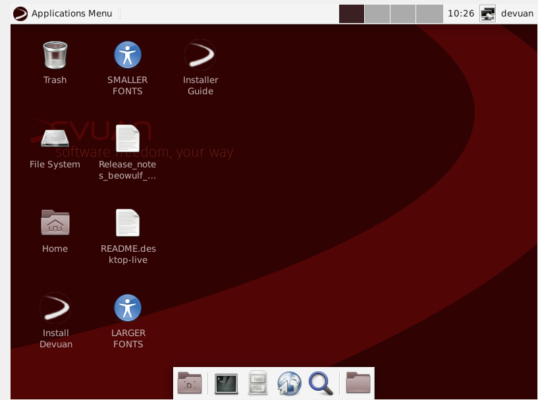
Here you can try the OS and software included without installing. When you are ready to install it, double click on the Install Devuan icon, an informative message will popup, click Continue.
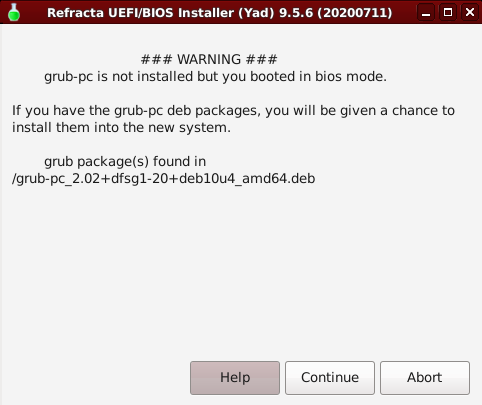
In my case, I’m installing in a VM on VirtualBox, the next window is a warning about not using uefi, but also is a notice that the installer can install the grub-pc bootloader.
Installation Options
The next screen will ask for the installer options. Some of them (like ‘create a new separate /home’) speak by themselves, others I will try to explain.
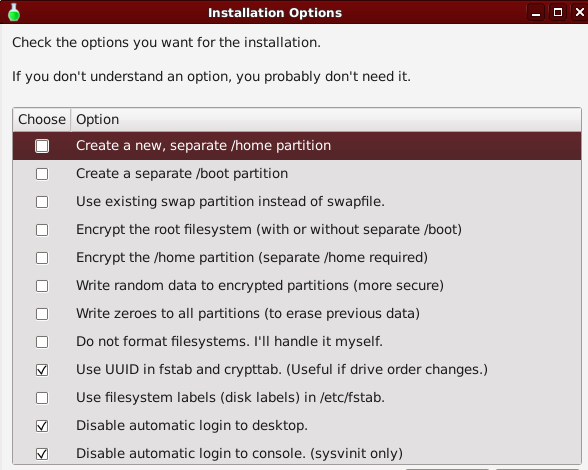
Use existing swap partition instead of swapfile: if you have already some linux installed, probably already have a swap partition that the installer can use, else it creates a file to use as swap area.
Write zeroes to all partitions: when you format a partition the system just creates a new filesystem without actually erasing anything. By filling with 0s all the previous data will be deleted.
Do not format fileystems: this option gives you more flexibility when creating the filesystems.
Use UUID in fstab and cryptab: a disk can change it’s name from sda to sdb, sdc,… use Universally Unique IDentifier to ensure that an fstab entry refers always to the same partition on the same disk.
Partitioning disks
Next step is to partition your disk. The installer show three options:
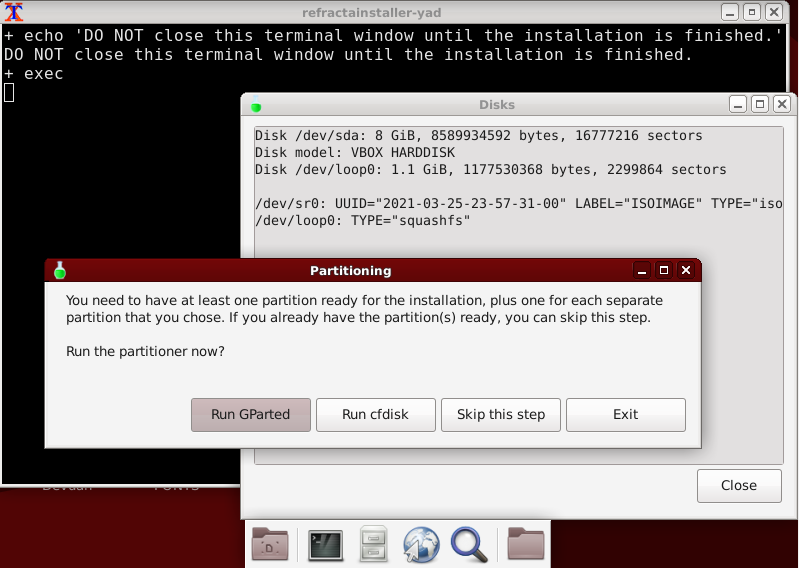
Run Gparted: with gparted you can resize, move or delete the existing partitions, as well create new ones. If your computer already have an operating system installed, I recommend gparted.
Run cfdisk: this is simple a text program where you can create and delete partitions. I’m working on a new VM with a clean disk, this is my choice for this tutorial because is faster than gparted.
Skip this step: If your partitions are ready.
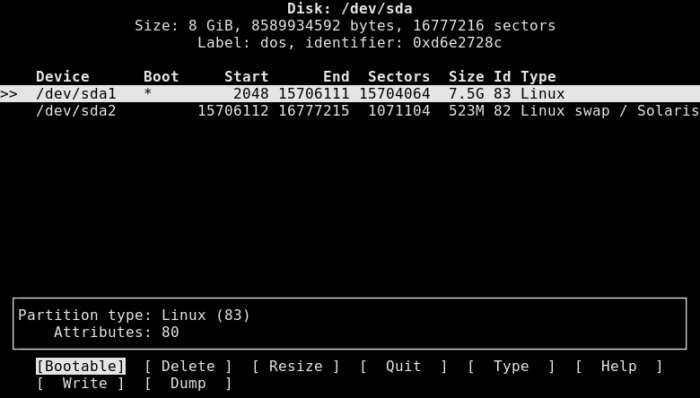
With cfdisk I created just two partitions: one for the system, other for the swap area. The you’ll be asked for a filesystem for the partition.
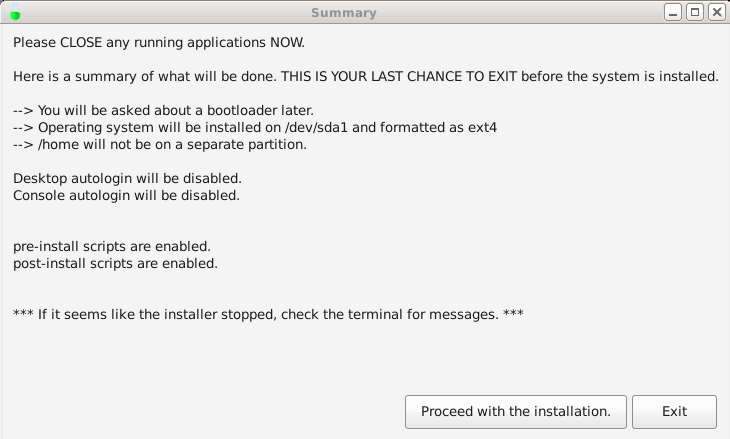
Last steps
After creating the filesystems, the installer shows a last warning and a summary of what will be done:
Locales and key map
Before the file copying starts, you’ll be asked on:
The city or country where you live to set the timezone.
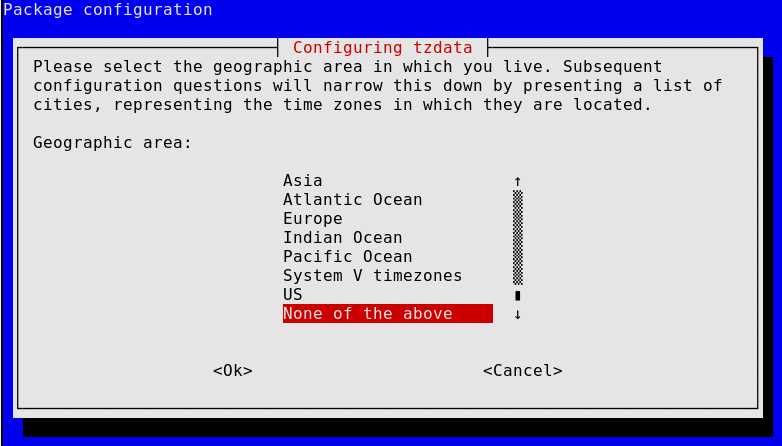
Your language to generate language files
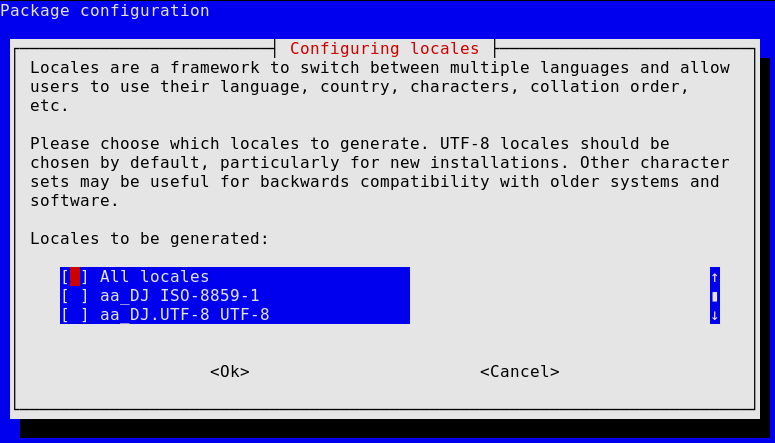
The next screen asks for the default locale.
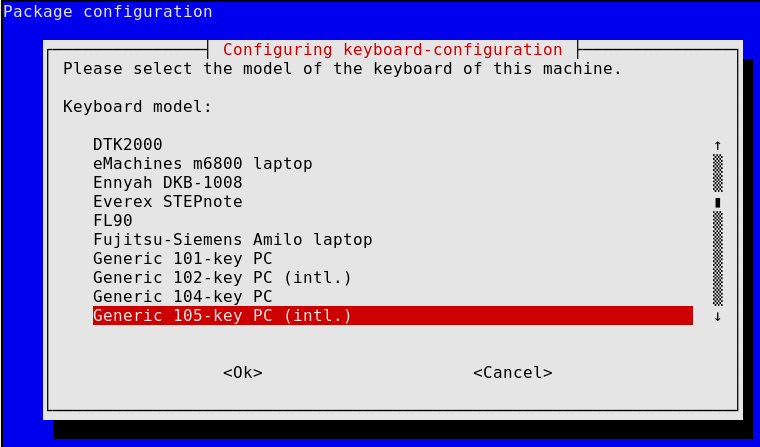
Then the installer asks for the keyboard model:
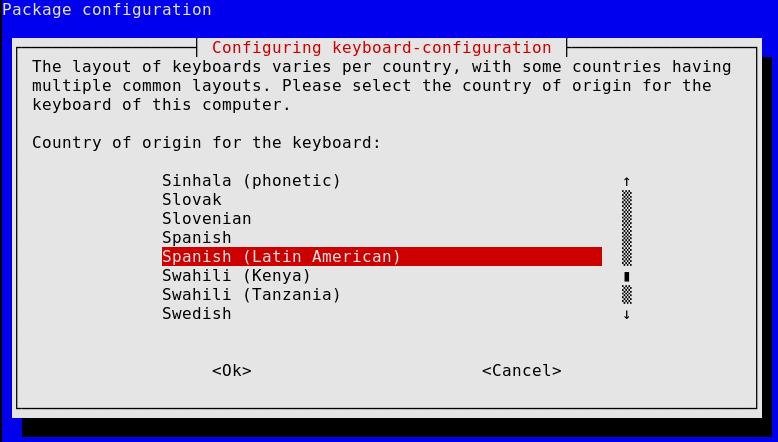
The keymap to use:
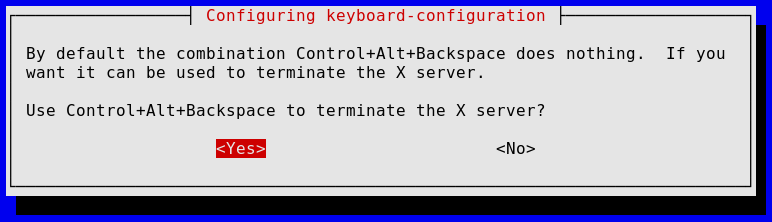
And if you want to enable ctrl-alt-backspace to kill the xserver. I always though this is the default and not something that is configurable, so I said yes:
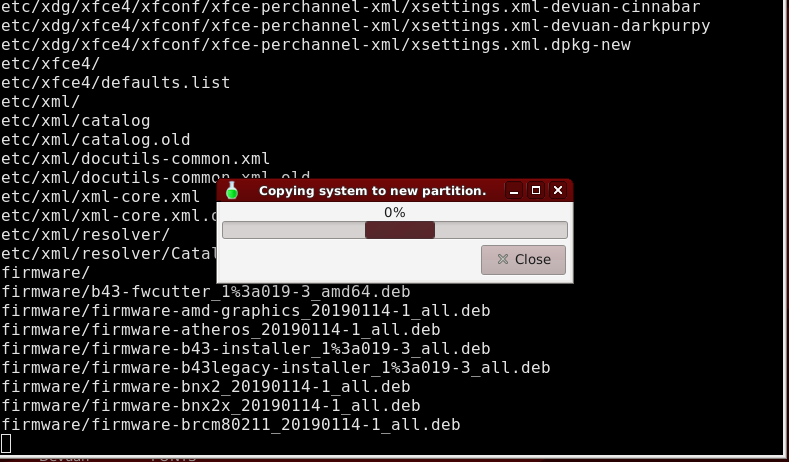
Coffee time
Finally -but not lastly- the files copying begins. This copy takes enough time to prepare a coffee, or as we do in Argentina (and Uruguay, southern Brazil and Paraguay), prepare some mates while you wait.
Bootloader
The installer again will present three options now:
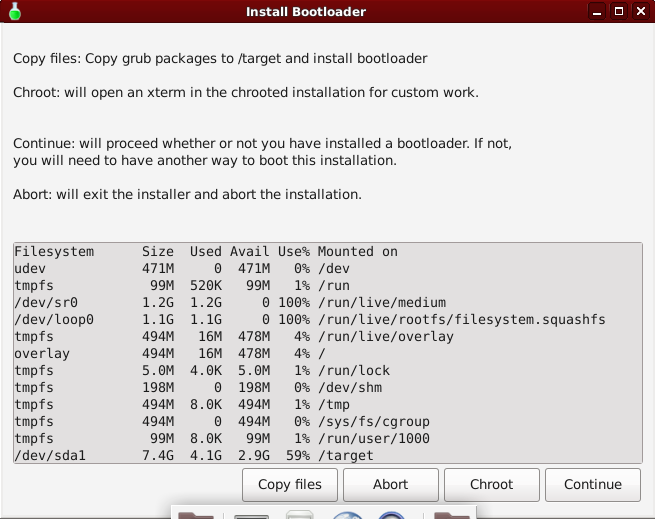
Just choose copy files and then Continue. If you want to do it by hand or use other bootloader than grub, choose Chroot.
Hostname and users
Lastly, you need to set the hostname and create a non-root user. You can also choose if said user will can escalate his privileges with sudo or don’t.
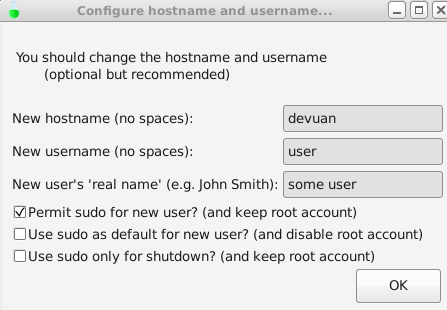
Choose good passwords for the new user and root and this is it. After the reboot you can create more users of course.