Let’s see how to install Devuan, a for of Debian GNU/Linux free of systemd as is main feature. This is the first article of a series of two on installing Devuan.
Download
For this tutorial, I’m installing the Beowoulf 3.1 release, and using the netinstall disk image to download just what I need. There are other options:
- desktop-live: to test devuan without installing as other live CDs. After try it you can also use the refracta installer to install on disk. My next article about Devuan will cover this installer.
- netinstall: the one I’m using here, needs a good internet connection or at least some patience
- server: suitable for server installations. There are other CD images with some desktops (xfce, mate and cinnamon) and additional software
- desktop: a DVD image for full offline installations
- minimal-live: console-based recovery tool
You can choose your image and download from here: https://www.devuan.org/get-devuan
Installing
The devuan installer is pretty similar to the Debian installer. In another article I will write about the refracta installer. So, I’ve set up a new virtual machine on Virtualbox and started
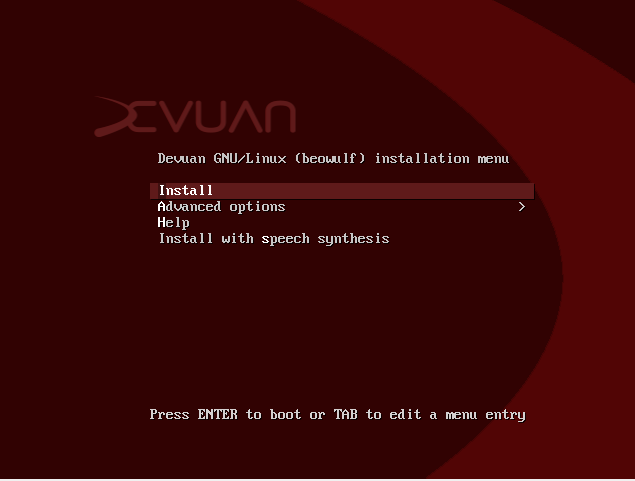
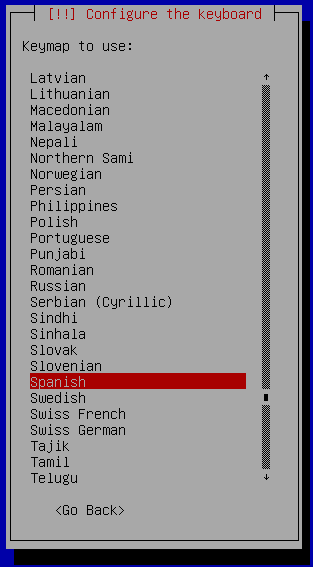
Just choose install and in the next screens first you should choose your language, location and keyboard distribution:
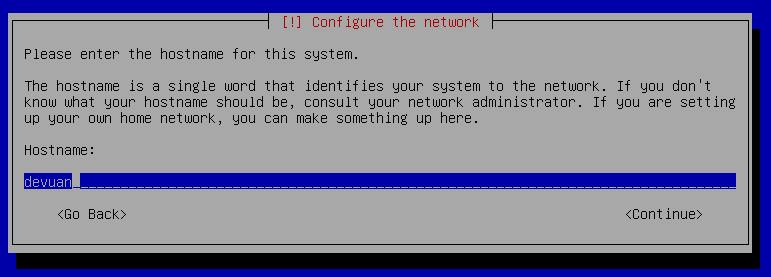
Secondly the installer will load other components and try to autoconfigure the network:
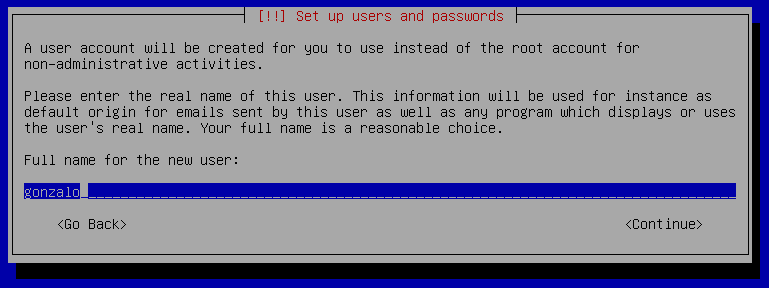
Now, with the network configured, the third step is to set root password and create a non-root user:
Disk partition
The fourth step is to partition the disk:
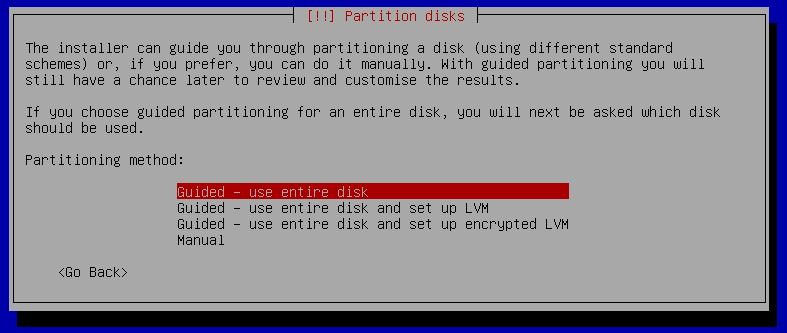
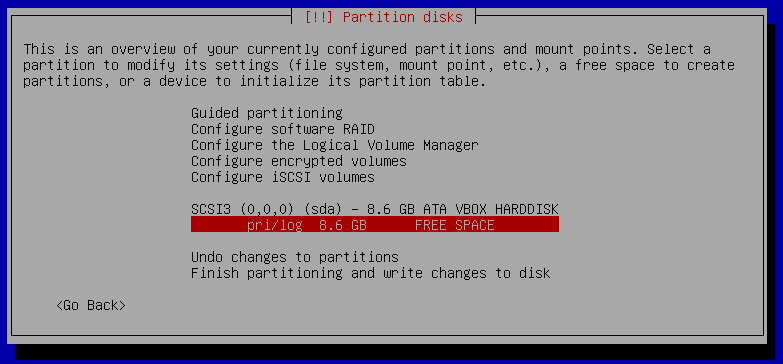
If you have a new disk choose create an empty partition table and in the next screen press enter over the “FREE SPACE” option:
I rather put all the files in one root partition than create individual /home, /usr or /var. But this is a mater of your own choice. Anyway, leave room for a swap partition when choosing the size.
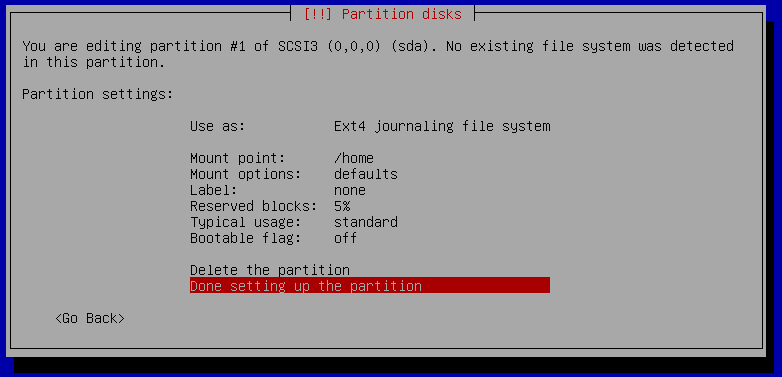
If you, as me, choose to use just one large root partition, change the mountpoint to / instead of /home, also set the bootable flag as On. If you want to use another filesystem you can change it here; the next screenshot will show the available options.
The last step on this section is to create a swap area. Press enter over the remaining free space to create another partition.
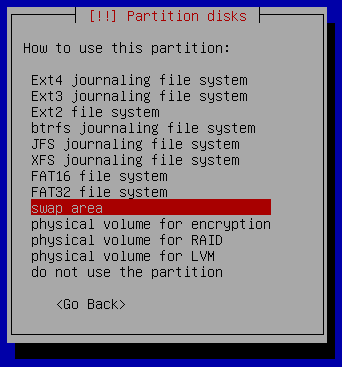
Press enter in the “Use as:” option and choose “swap area”.
The last step is to press enter in the option “Finish partition and write changes” to commit the changes, you’ll se a last warning:
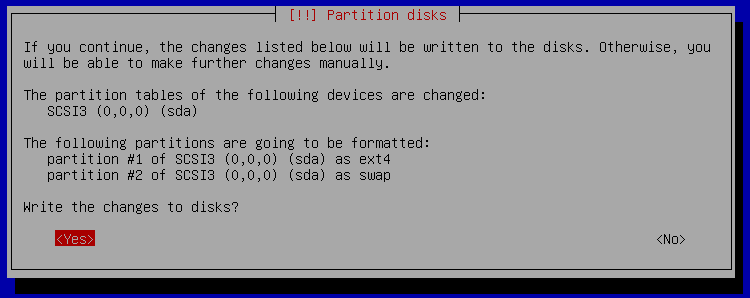
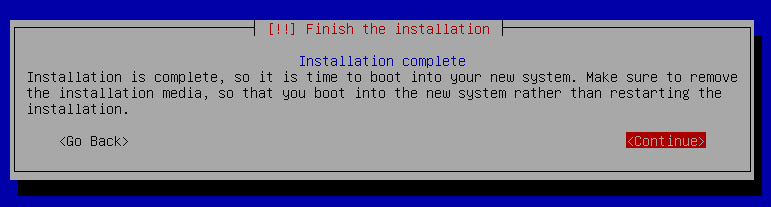
This is the no return point. The installer now will partition the disk, format the partitions to create the filesystems and install the base system. Go for a coffee in the meanwhile and we continue in a couple of minutes.
Software installation
When the base system is installed and while drinking that coffee, it’s time to set the package manager:
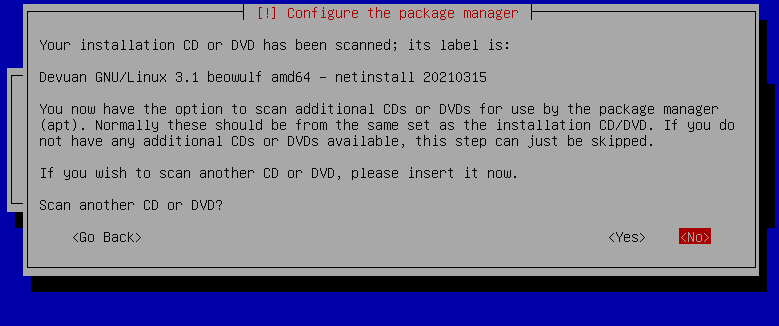
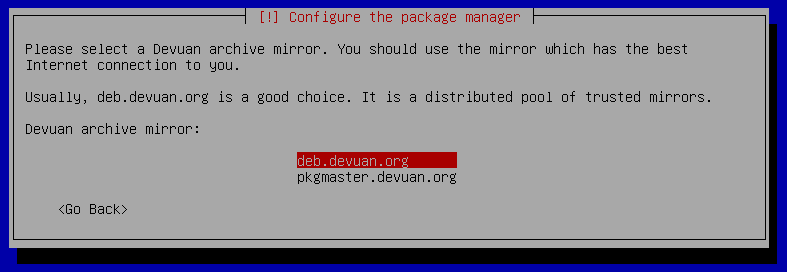
This is usefull for offline installations, I wouldn’t scan another disc because I’m using netinstall. And because of netinstall I need to choose a Devuan archive mirror for the repos:
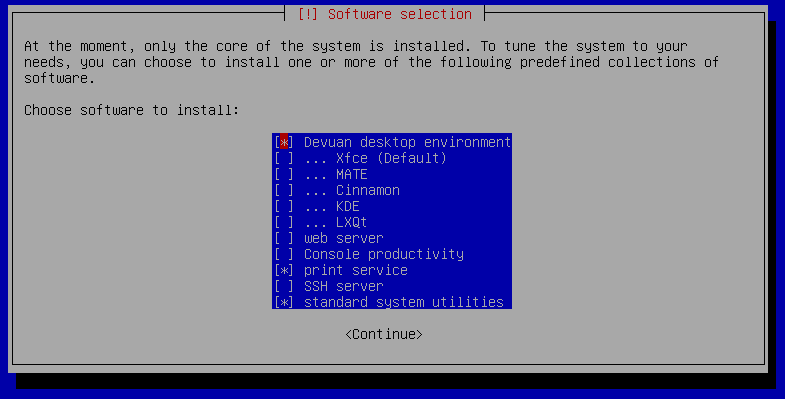
The last step in this section is to choose a desktop and/or other “tasks” (a group of packages) to install:
Init and bootloader
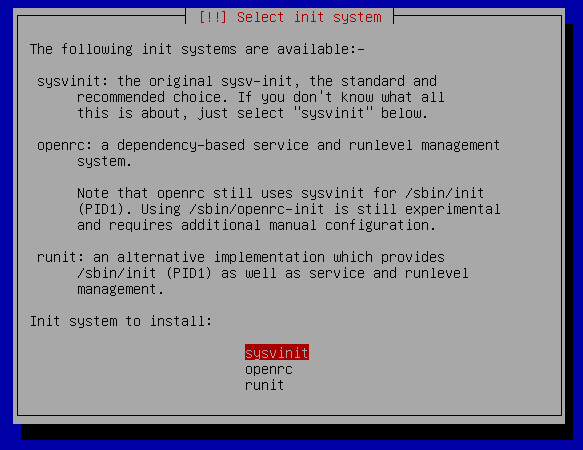
Devuan doesn’t include systemd, but let’s you choose an init system between sysvinit (the standard in linux distributions before systemd); openrc which I been using in gentoo without noticing several differences, and runit which I haven’t tried yet. When in doubt, go with the default or recommended:
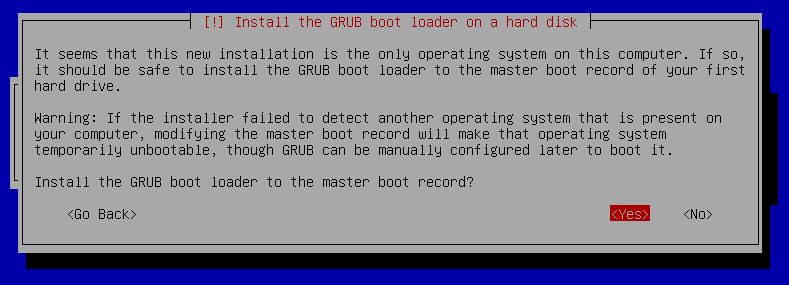
The last step is to install the grub bootloader:
And this is it how to install devuan, now continue to reboot the computer and start working with Devuan.