
Hello, friends. In this post, you will learn how to install Syncthing on Ubuntu 20.04 This cool tool allows us on our server to have instant access to one or more folders on many devices. So we are talking about a synchronization tool.
So, let’s go for it.
Introducing to Syncthing
According to Syncthing website
Syncthing is a continuous file synchronization program. It synchronizes files between two or more computers in real-time, safely protected from prying eyes.
So as we have read we will be able to synchronize folders from different devices. This comes in handy if we have a VPS where we can manage everything related to privacy.
Syncthing boasts of being private and secure and this is because none of your data is ever stored anywhere else other than on your computers. Another reason why the application is secure is that all communication is secured using TLS.
Now how is the identification of each device? well, every device is identified by a strong cryptographic certificate. So this guarantees that the devices are explicitly added by us.
In addition to this, Syncthing uses open source technology so we can be sure of its robustness. Moreover, the application as such is open source and we can examine its source code on Github so there will be no surprises with possible backdoors.
Being a very powerful tool it is quite simple to use. What we have to do is to add devices through an ID that we have to copy on the other device.
This device can be a computer but also mobile because Syncthing is available for Android and other systems like macOS or Windows.
So, let’s go for it and install it on Ubuntu 20.04
Install Syncthing on Ubuntu 20.04
On the official site of the application, we find the instructions to add the APT repository that we can use for Ubuntu 20.04.
So, open a terminal or in an SSH session, make sure to update the distribution completely.
sudo apt update
sudo apt upgrade
Then install some necessary packages
sudo apt install curl gnupg apt-transport-https
Next, add the GPG key
sudo curl -s -o /usr/share/keyrings/syncthing-archive-keyring.gpg https://syncthing.net/release-key.gpg
Now add the repository to the system
echo "deb [signed-by=/usr/share/keyrings/syncthing-archive-keyring.gpg] https://apt.syncthing.net/ syncthing stable" | sudo tee /etc/apt/sources.list.d/syncthing.list
Refresh APT and finally install the application by running
sudo apt update
sudo apt install syncthing
Working with the Syncthing service
When the application is correctly installed, then we have to start it and make it run with the system. This way we won’t have to start it manually with every reboot and we will avoid data loss because of this.
However, unlike other services, we have to specify our user in the command in the following way
sudo systemctl enable [email protected]
In my case, the command would be
sudo systemctl enable [email protected]
Now start the service so that Syncthing can work.
sudo systemctl start syncthing@angeloservice
Remember to replace angelo with your username
After this, it is recommended to check the status of the service with the following command
sudo systemctl status [email protected]
You will see an output similar to this
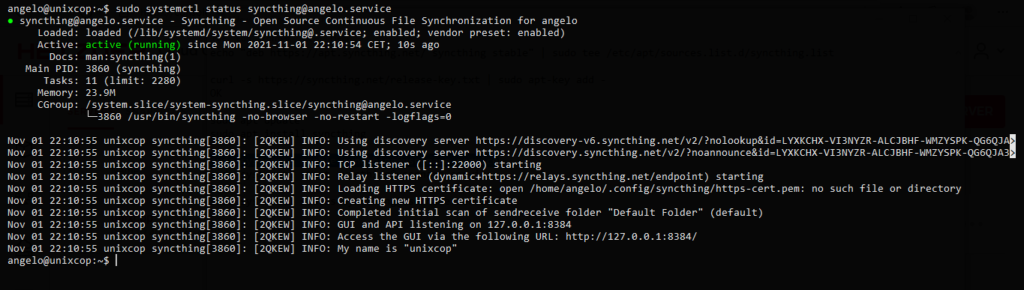
This way, Syncthing is installed and you can access the web interface from http://127.0.0.1:8384.
Configuring Syncthing on Ubuntu 20.04
If you have installed Syncthing on a server then the above address will not work. This is because by default Syncthing is set up for local connections, but if you install it on a VPS or virtual machine then we have to play around with the configuration.
So, go to the .config/syncthing/ folder which is where the main configuration of the application is.
cd .config/syncthing/
In there you will find a file called .config.xml which is where all the Syncthing configuration is. Before editing it, it is a good idea to back it up.
cp config.xml config.xml.bak
And now if you edit it
nano config.xml
And in the <gui> section and specifically in the <address> directive is the address you have to modify. You can put the IP address of the server or the value 0.0.0.0.0.

Save the changes and close the editor.
To apply the changes, restart the Syncthing service.
sudo systemctl restart [email protected]
You will now be able to access the web interface provided by Syncthing.
Using the Syncthing web interface
After everything has been successfully configured, you can in a browser open the address http://your-server:8384 and you will see the following screen.
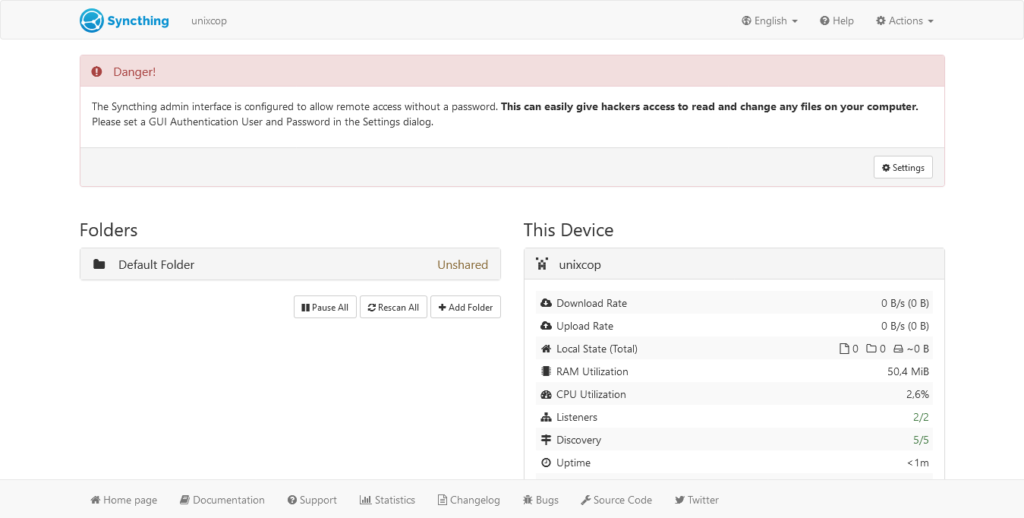
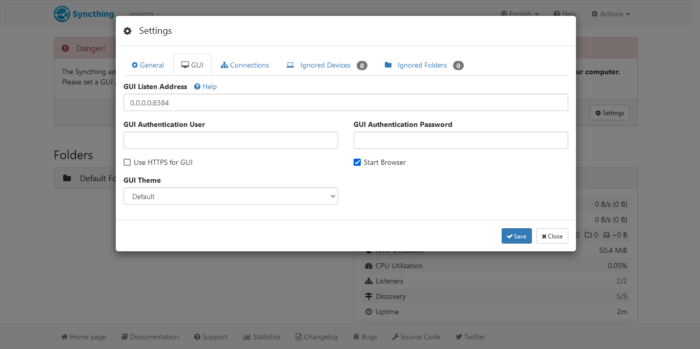
On it is the main Syncthing panel. The first thing you will see is the warning that there is no password defined for access to the interface. You can change this by clicking on the Settings button and then on the GUI tab.
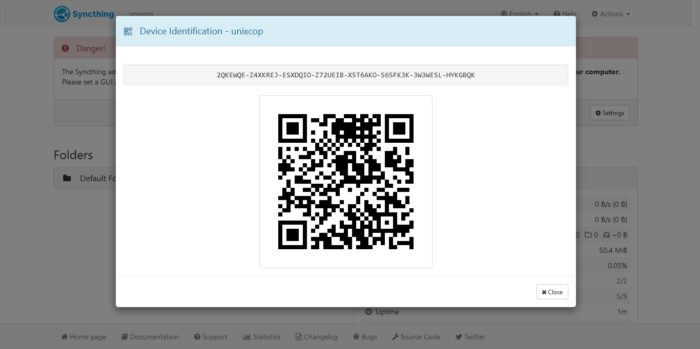
The next thing you need to do immediately is to know your ID which is the one we need to add to another device. To do this, click on Actions and then Show ID.
To add a new device to sync, you can do it by clicking on the Add Remote Service button under the computer information.
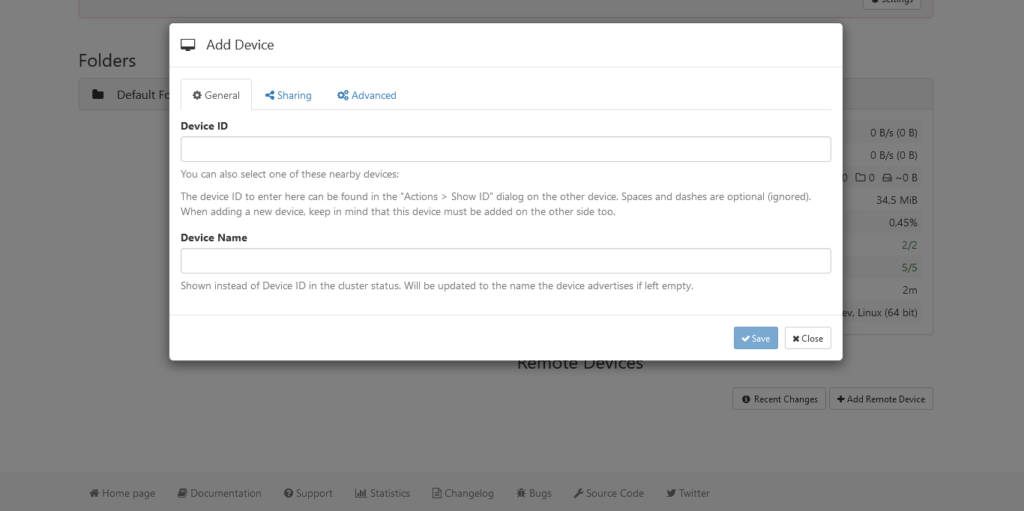
So, adding the device is as easy as entering the ID and setting the necessary options.
So, enjoy it-
Conclusion
Syncthing is a wonderful tool that can help us with the synchronization of folders across multiple remote devices and use it for tasks such as backup or sharing them. So, you know how to install Syncthing on Ubuntu 20.04