
Introduction
Multi-factor authentication (MFA; enclosing authentication, or 2FA, along with similar terms) is an electronic authentication process in which a user is given access to a website or application only after successfully introducing two or more pieces of evidence (or factors) to an authentication mechanism:
- Knowledge (something only the user knows).
- Possession (something only the user has).
- Inherence (something only the user is).
MFA protects user data—which may include personal identification or financial assets—from being accessed by an unauthorized third party that may have been able to discover, for example, a single password.
Why is multi-factor authentication necessary?
One of the most significant drawbacks of the traditional user ID and password logins is that passwords can be easily compromised, potentially costing organizations millions of dollars. Brute-force attacks are also a real threat, as bad actors can use automated password cracking tools to guess various mixtures of usernames and passwords until they find the correct sequence. Although locking an account behind several incorrect login attempts can help protect an organization, hackers have multiple other procedures for system access. This is why multifactor authentication is so important, as it can help reduce security risks.
Pluggable multi-factor authentication Module
PAM, which stands for Pluggable Authentication Module, is an authentication infrastructure utilized on Linux systems to authenticate a user. Because Google created an OATH-TOTP app, they also made a PAM that generates TOTPs and is fully compatible with any OATH-TOTP app, like Google Authenticator or Authy.
First, we need to add the EPEL (Extra Packages for Enterprise Linux) repo
# yum install google-authenticator qrencode-libs -y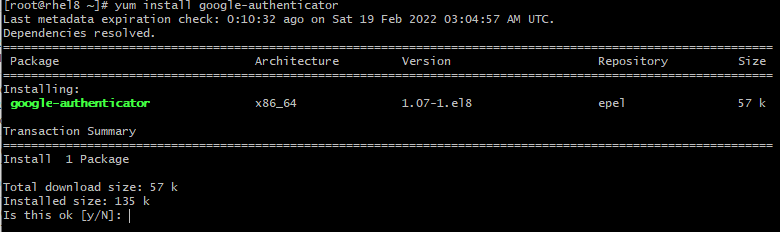
Run the initialization app
With the PAM installed, we’ll use a helper app that comes with the PAM to generate a TOTP key for the user you want to add a second factor. Unfortunately, this key is generated on a user-by-user basis, not system-wide. This means every user that wants to use a TOTP auth app will need to log in and run the helper app to get their key; you can’t just run it once to enable it for everyone (but there are some tips at the end of this tutorial to set up or require MFA for many users).
# google-authenticator -s ~/.ssh/google_authenticator
After you run the command, you’ll be asked a few questions. The first one asks if authentication tokens should be time-based.
Do you want me to update your "~/.ssh/google_authenticator" file? (y/n) yThis PAM allows for time-based or sequential-based tokens. Using sequential-based tokens means the code starts at a certain point and then increments after every use. Using time-based tokens means the code changes randomly after a specific time elapses. We’ll stick with time-based because that is what apps like Google Authenticator anticipate, so answer y for yes.
After answering this question, many outputs will scroll past, including a giant QR code. At this point, use your authenticator app on your phone to scan the QR code or manually type in the secret key. If the QR code is too big to scan, you can use the URL above the QR code to get a smaller version. Once it’s added, you’ll see a six-digit code that changes every 30 seconds in your app.
Now that Google’s PAM is installed and configured, the next step is to configure SSH to use your TOTP key. First, we’ll need to tell SSH about the PAM and then configure SSH to use it.
Configure ssh to multi-factor authentication with PAM
To begin, we’ll edit the sshd configuration file. Add the line below to /etc/pam.d/sshd.
# vi /etc/pam.d/sshd
auth     required     pam_google_authenticator.so secret=${HOME}/.ssh/google_authenticator
Install and configure Google Authenticator
Google Authenticator app is available for Android (in the Play Store) and iOS (in iTunes) to generate authentication codes. Download and install it.

Configure SSH Daemon to Use Google Authenticator
- Password authentication with 2FA
- Public key authentication with 2FA
# vi /etc/ssh/sshd_config
ChallengeResponseAuthentication yes
Save and close the file. Then restart SSH daemon for the change to take effect.
Now try to ssh to the server
