
Hello friends. We continue with a series of posts about Proxmox. This is an introduction to allow us to make basic use of this great tool. In this post, you will learn how to create a new virtual machine on Proxmox. Then you will be able to start with the real work with this tool.
So, let’s get to it, without further ado.
Create a new Virtual Machine on Proxmox
Let’s assume that we already have Proxmox installed on our server and that we already have an ISO image on the server.
In both cases, our posts will help you with it.
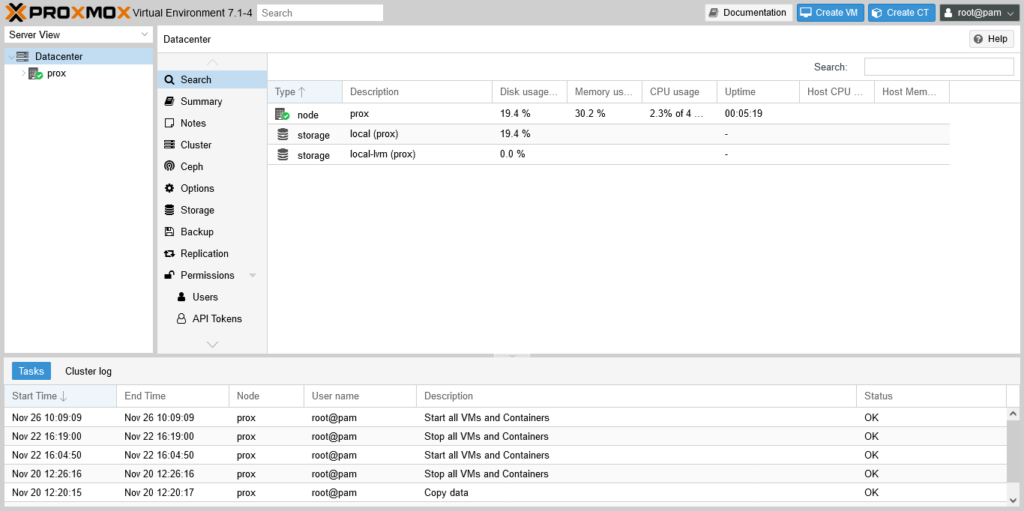
On the main screen of Proxmox, at the top, you will see a blue button that says Create VM click on it to start the process.
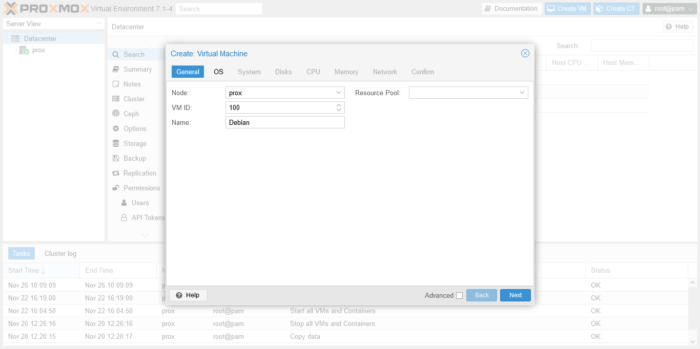
You will see a screen composed of several tabs that will contain the options for the creation of the virtual machine. The first one is called General where you will define the name and the node where it will be created.
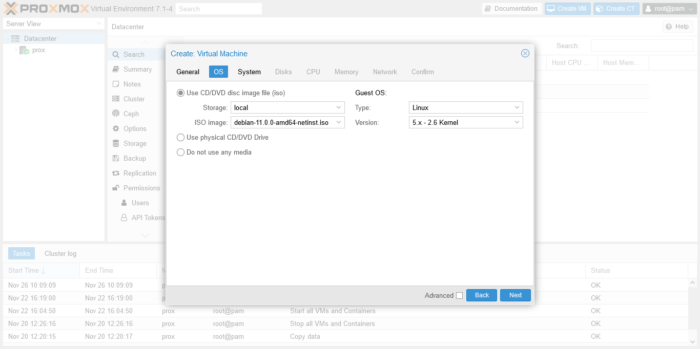
The tab OS is where you have to indicate the ISO image to use. As we have already uploaded an ISO image to the server, then we choose the option Use disc image file and in ISO image choose the image you prefer. Remember that for the images to appear, you have to have uploaded them before. In the Guest Host section it will recognize that it is Linux and a general kernel version.
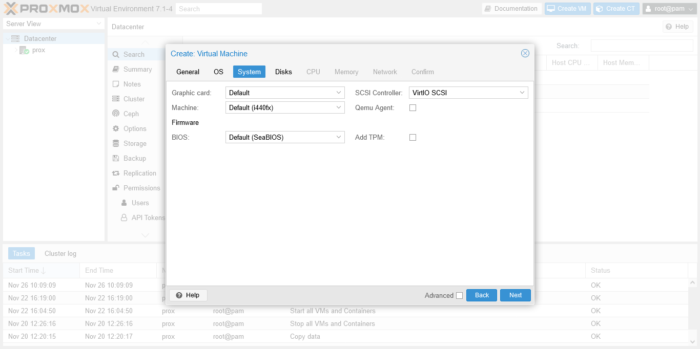
Then, in the System tab you define the technical characteristics of the system. For example, which graphics card to use and the firmware. Also, we can add TPM.
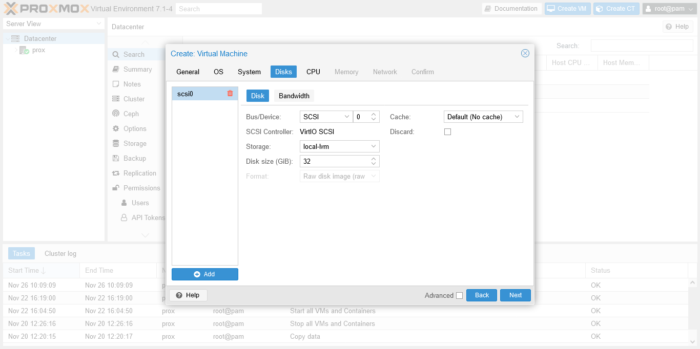
In the Disk tab we will have to choose the hard disk that the virtual machine will use. By default, a new one is created and we can change the size in gigabytes. Or define if it is local storage.
Continuing the process
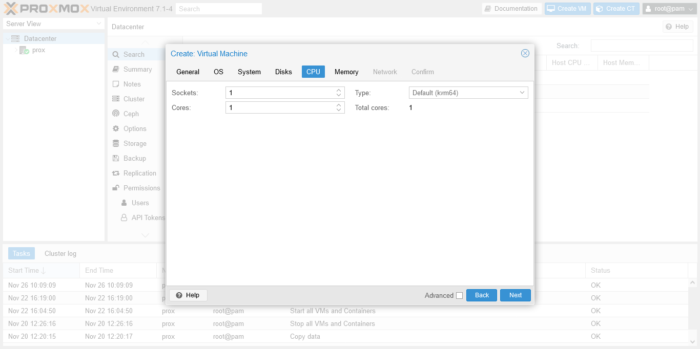
Then it is time to grant CPU resources to the virtual machine. You do this in the CPU tab.
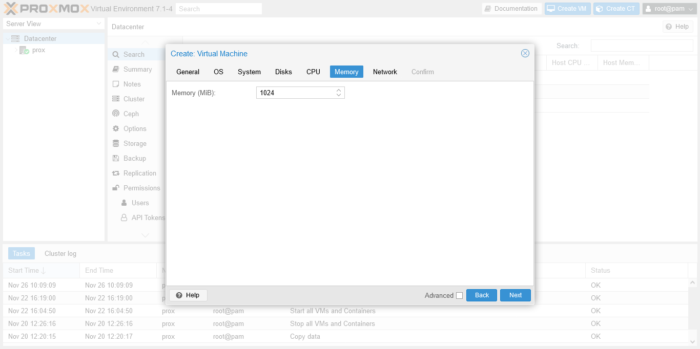
Next, define the amount of memory to use
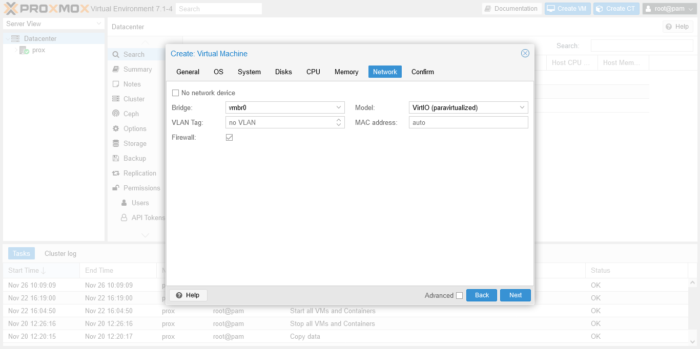
And in Network you can choose how the virtual machine’s network will behave. First, you can make it use no network at all. Or you can make it behave like another computer on the network, by selecting Bridge and choosing a network interface.
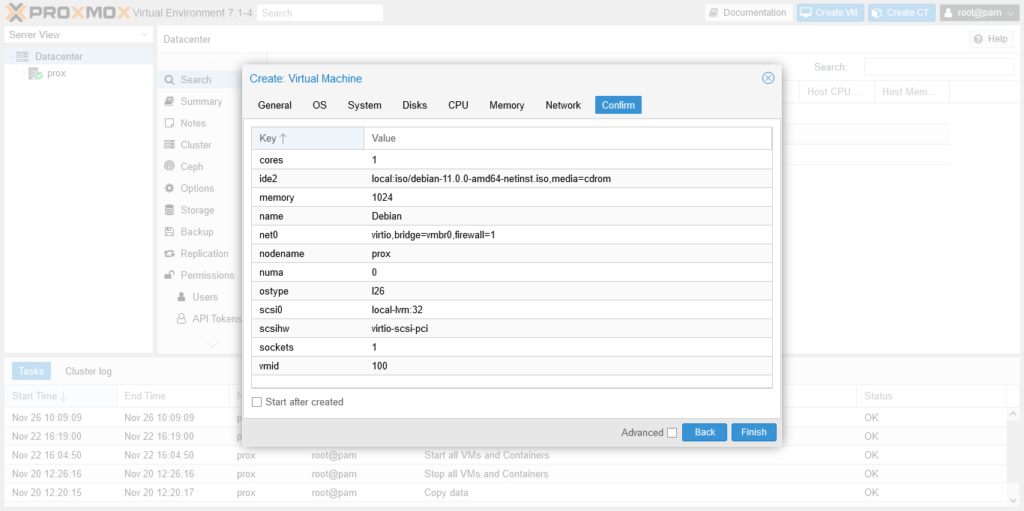
The Confirm tab gives a summary of the whole process and what will be done. If you agree, press the Finish button.
Testing the new Virtual Machine
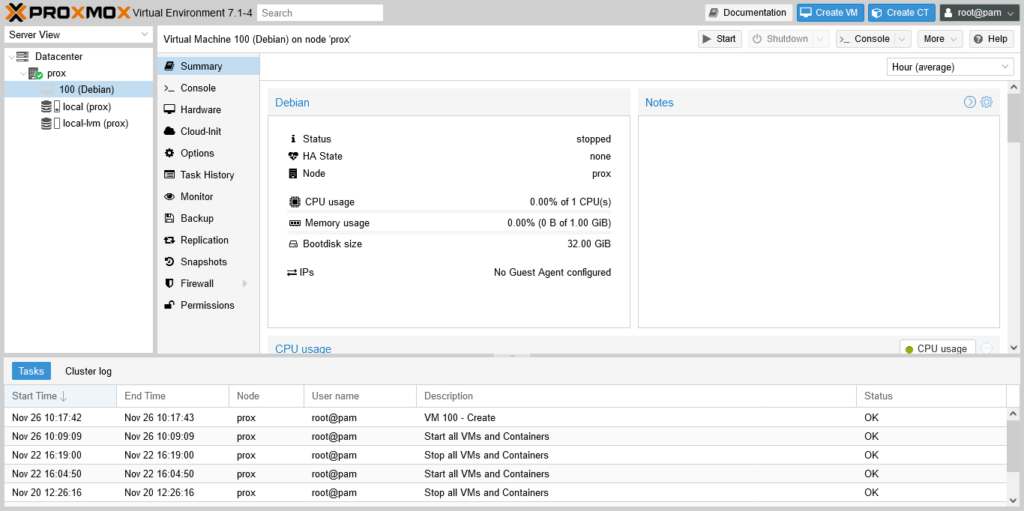
When the virtual machine is created, then you can see it in the main panel in the node section. There you can get information about the virtual machine.
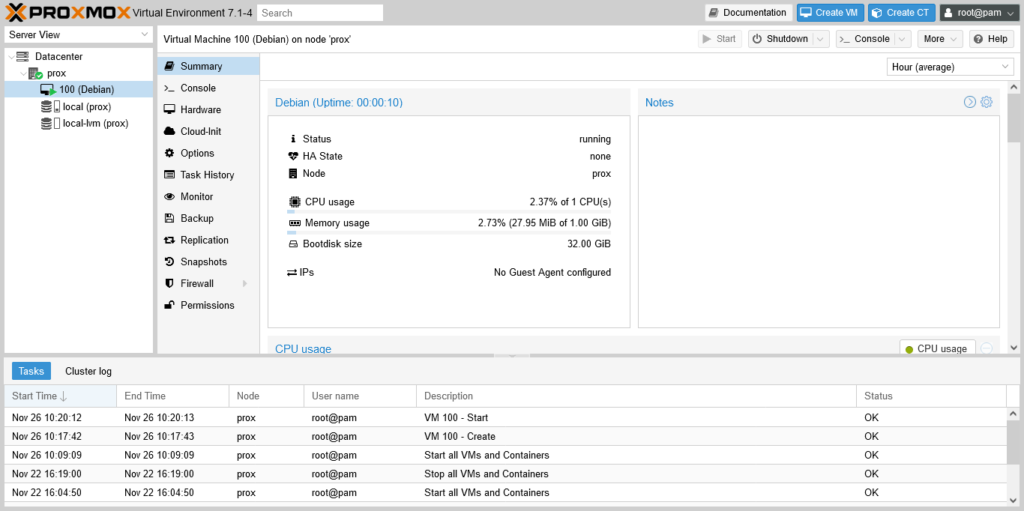
To start it, click on the Start button and it will automatically start and start resource usage statistics.
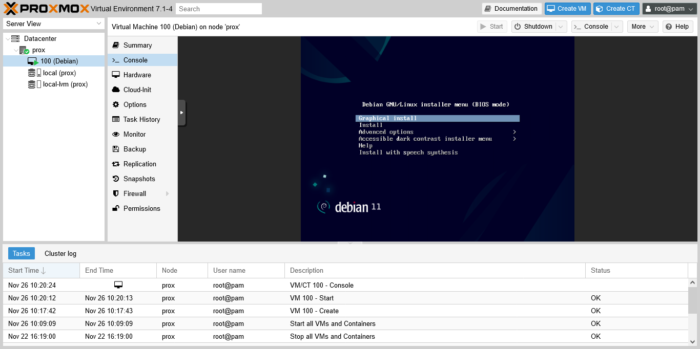
To see how it works, then, you can click on Console and watch it run.
So, enjoy it.
Conclusion
In this post, you learned how to create a virtual machine in Proxmox. This guide is a reference because thanks to Proxmox we will be able to have a lot of flexibility when creating and managing it.