
Hello, friends. In this post, you will learn how to install and use vnStat on Debian 11 to monitor the network in a quick and easy way without too much complexity.
According to the vnStat website:
vnStat is a console-based network traffic monitor for Linux and BSD that keeps a log of network traffic for the selected interface(s).
So, vnStat is not only oriented to Linux but also to BSD, which is another important system in networks and servers.
As it could not be otherwise, it is an open-source application whose source code can be audited without problems. You can even modify and fork it.
Some of its features are:
- Quick and simple to install and get running
- Gathered statistics persists through system reboots
- You can monitor multiple interfaces at the same time
- Also, it includes several output options
- summary, 5 minute, hourly, daily, monthly, yearly, top days
- optional png image output (using libgd)
- data retention duration is fully user configurable on the fly
And many more you can check on the project website.
Installing vnStat on Debian 11
For this post, I will show you how to install the latest stable version. To achieve this, we will compile the source code of the tool so that we don’t have any issues.
First, open your terminal and update the whole system
sudo apt update
sudo apt upgrade
Then, install the packages needed for the compilation.
sudo apt install build-essential gcc make libsqlite3-devNow download the vnStat source code using the wget command. Remember that when a new version of the tool arrives, this command will change. So check the website for the latest version first.
wget https://humdi.net/vnstat/vnstat-2.10.tar.gz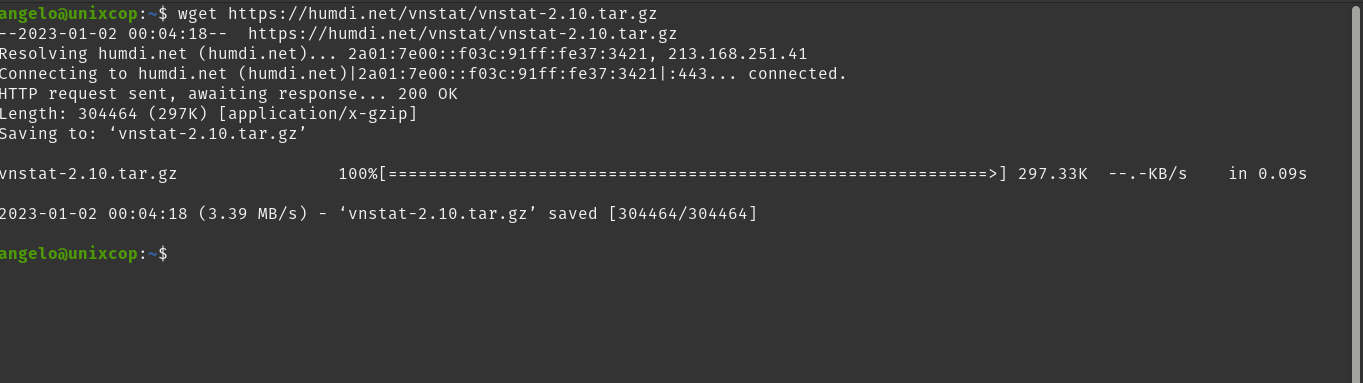
Now decompress it
tar -xvzf vnstat-2.10.tar.gz This will generate a folder named vnstat-2.10 or with the name of the version. Access it.
cd vnstat-2.10Now configure and prepare the build
./configure --prefix=/usr --sysconfdir=/etcThen create the package
makeAnd finally install it
sudo make install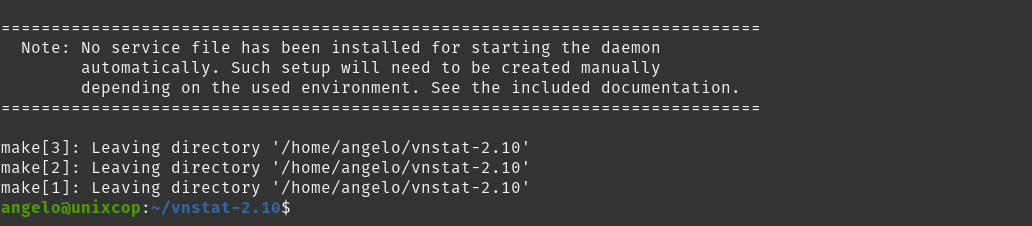
To check that everything is OK, you can deploy the vnStat version.
vnstat -vSample Output:
vnStat 2.10 by Teemu Toivola <tst at iki dot fi>.Now to use it.
Using vnStat to monitor the network
Before we start, we need to make vnStat run as a system service to work more comfortably. To achieve this, simply copy a configuration file that is already included with the source code.
cd
sudo cp -v vnstat-2.10/examples/systemd/simple/vnstat.service /etc/systemd/system/
'vnstat-2.10/examples/systemd/simple/vnstat.service' -> '/etc/systemd/system/vnstat.service' -> '/etc/systemd/system/vnstat.service'.
Now all that’s left is to start and enable the new service
sudo systemctl enable --now vnstatSample output:
Created symlink /etc/systemd/system/system/vnstatd.service → /etc/systemd/system/vnstat.service.
Created symlink /etc/systemd/system/multi-user.target.wants/vnstat.service → /etc/systemd/system/vnstat.service.
Next, check the status of the service
systemctl status vnstat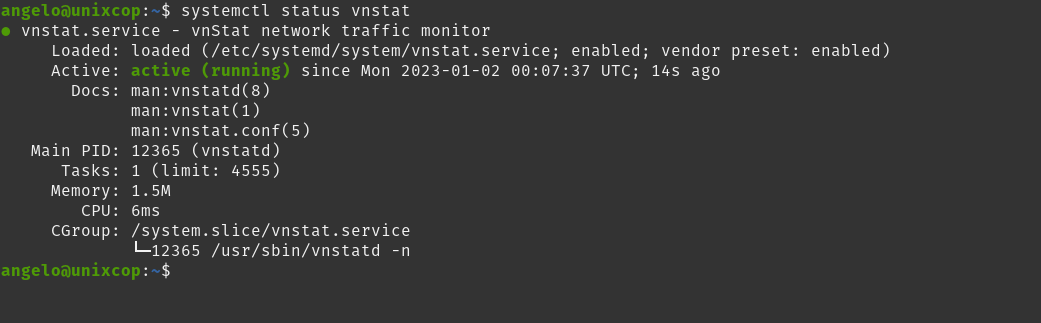
This should be enough.
If you run the vnstat command, you will notice that you will get this output on the screen
eth0: Not enough data available yet.This is because the program requires some time to run to get enough data to display.
But once there is enough data to display, you will see this screen
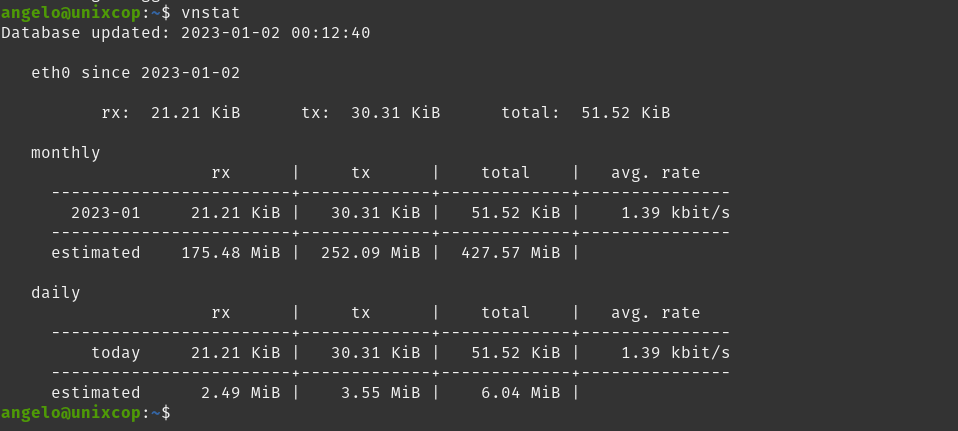
Since there is only one active network interface on my machine, then that is the one that will be displayed.
Although, with the -i parameter, you can specify an interface to monitor.
vnstat -i [interface]You can change the display by time or day
vnstat -ho
vnstat -d
If you want it to be in real time
vnstat -lOne thing to keep in mind is that vnstat works with a database. This will have to be cleaned occasionally to get more real data or to start monitoring another interface.
vnstat -i [interface] --remove --forceYou can also add again the deleted network interface
vnstat -i [interface] --addAs you can see, it is simple.
Conclusion
Monitoring is a complex process, but thanks to certain tools it can become more manageable. Today, you learned how to use vnstat to get quick information about your network interfaces.