
Hello, friends. In this post, we will help you to set a static IP address using Webmin. This is another post in a small series where we will explore this cool tool.
Webmin has many different options for managing a Linux server. One of these options is to define a static IP address that can be used to change a previously defined one or to switch from DHCP to a static address.
This process can be done using terminal commands. However, having webmin reduces the process to a couple of clicks.
So, let’s go for it.
Set a static IP address using webmin
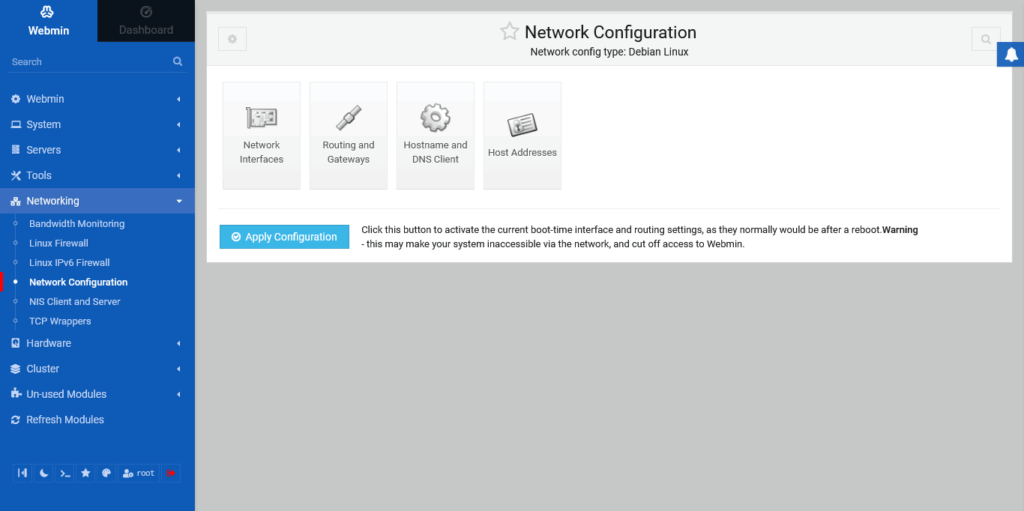
Starting from the Webmin dashboard, then on the left side we have to go to Networking > Network Configuration to access the following screen.

In it, you will have several options that you can use to configure everything related to the operating system network.
First of all, you have the Network Interfaces button which is where you can configure each of the interfaces. Click on the button.
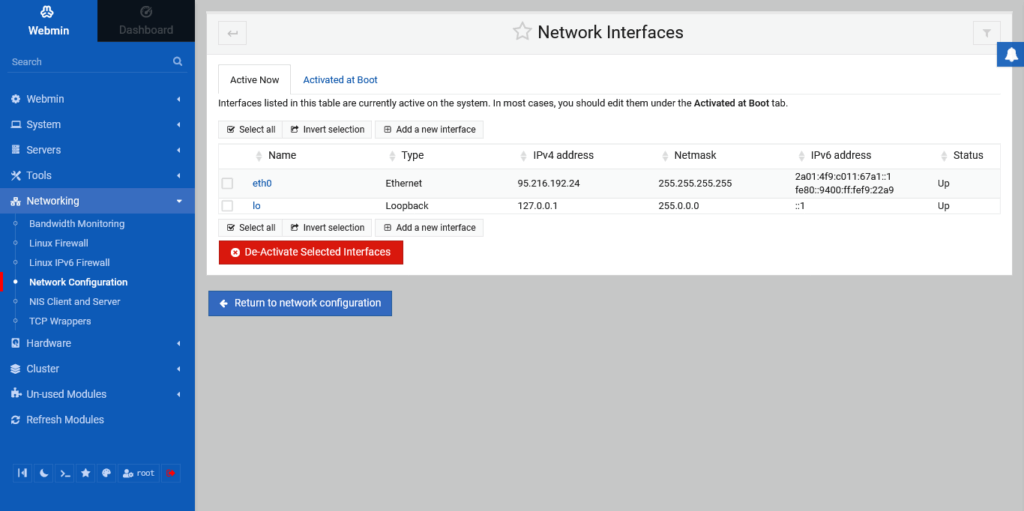
In the Active Now tab you will see a list of all the active network interfaces. There you can select one of them for configuration. Also, from this screen, you can add a new one and know the status.
To edit the configuration of any of them, you have to click on it. In this case, the one we are interested in configuring is eth0.
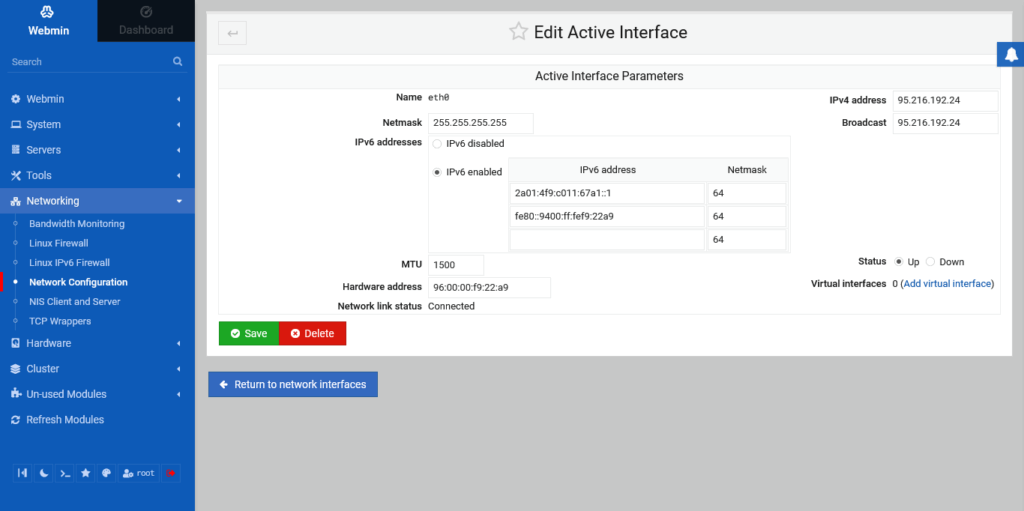
When you click on the interface, you will see an image similar to this one.
In it, we can define the static IP address, broadcast, and IPv6 options. Just modify the values as you see fit and click save.
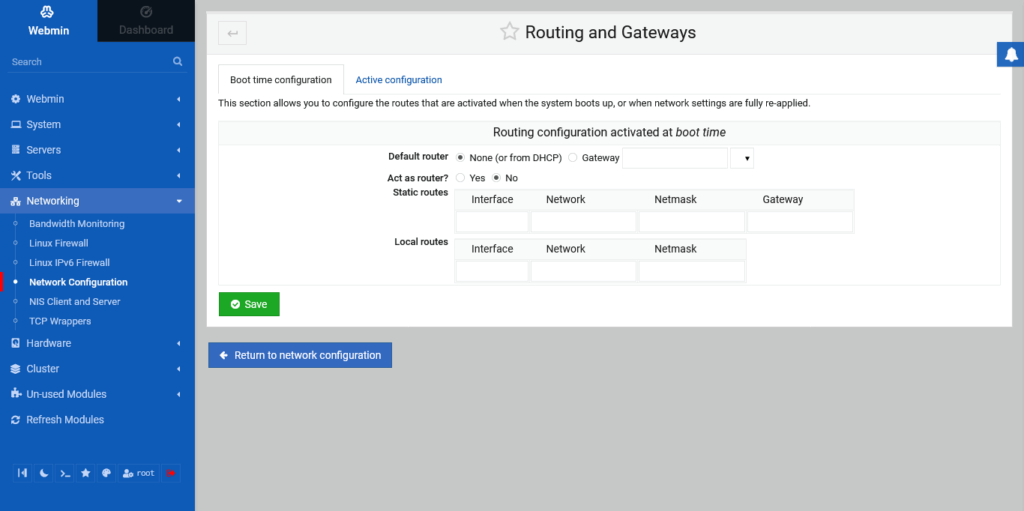
Then, click on Routing and Gateways in the main Network interfaces screen and there you will have other options to define such as the gateway and static routes. When you are done configuring what you have, click on save.
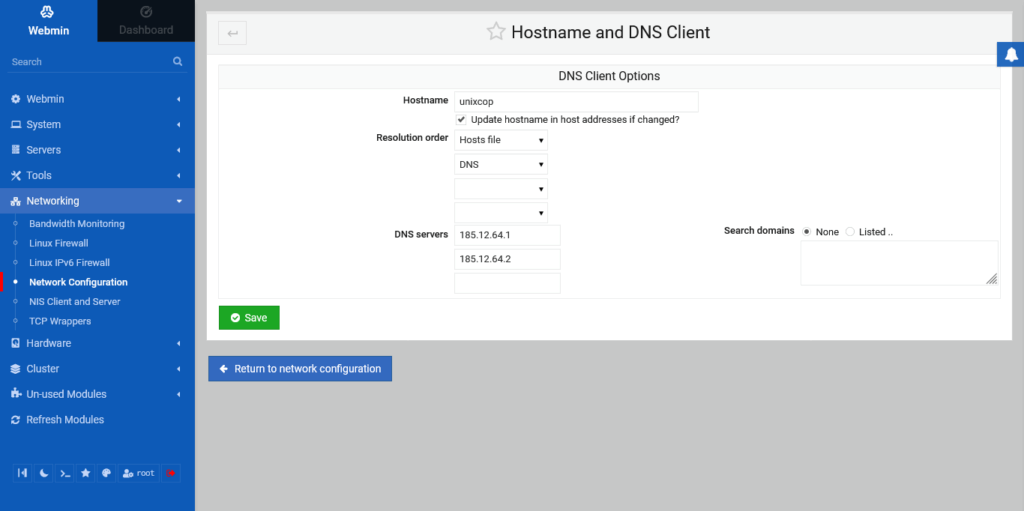
Now it is time to click on Hostname and DNS Client to set the DNS that our server will use. Here you can also change the hostname. When you are ready, click on Save.
In the end, to apply all the changes, you have to click on Apply Configuration.
So, enjoy it.
Conclusion
In this post, you learned how to change the static IP address using webmin. So we will have another way to do it, this time graphically.