
Hello, friends. In this post, you will learn how to perform a simple Debian monitoring using Monitorix.
Introduction
According to the Monitorix website
Monitorix is a free, open source, lightweight system monitoring tool designed to monitor as many services and system resources as possible.
With Monitorix you can perform system monitoring without a lot of hassle. And with the certainty that it consumes almost no resources and is easy to use.
Monitorix is an open-source project and, just like any other open-source project, anyone can contribute with his time and knowledge. So, you won’t have any licensing problems, and you will be able to use it in any circumstances.
Certainly Monitorix has been designed to perform a basic, simple, and fast monitoring of the Linux system, but it is useful on almost any server. For this reason, it is convenient to have it at hand to know how to use it.
What can Monitorix do?
Well, Monitorix can monitor:
- System load.
- Active processes.
- Memory allocation.
- LM-Sensors and GPU temperatures
- Nvidia and AMD Graphics
- Disk drive temperatures and health
- ZFS statistics
- Network traffic and usage
And many other things like mail server, FTP, and file systems. It even monitors database servers like PostgreSQL.
So, let’s go for it.
Install Monitorix on Debian
Fortunately, Monitorix provides great support for Debian and its derivatives, and that’s why you can find it in the official Debian repositories.
Therefore, open a terminal or connect via SSH to it and make sure to update the system
sudo apt update
sudo apt upgrade
Then, you can install it with the following command
sudo apt install monitorix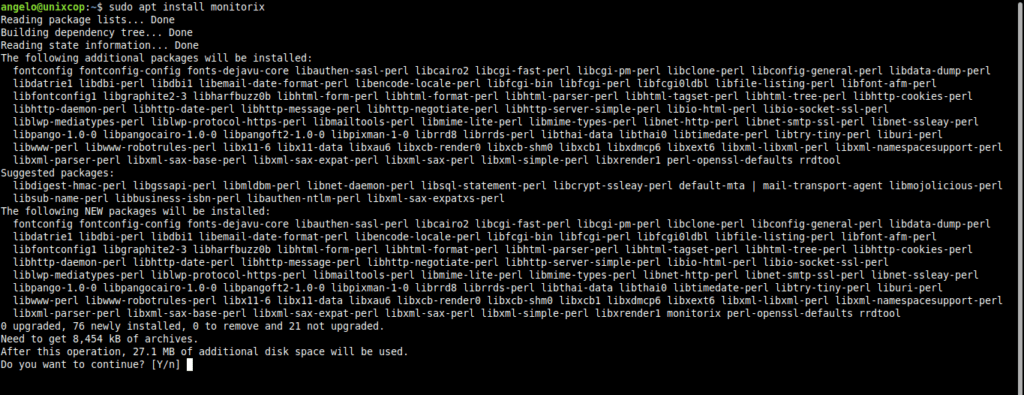
This will not only install the application itself, but also all the PERL modules required for it to work. So, you will see a long output screen, but the application is simple.
Configuring Monitorix
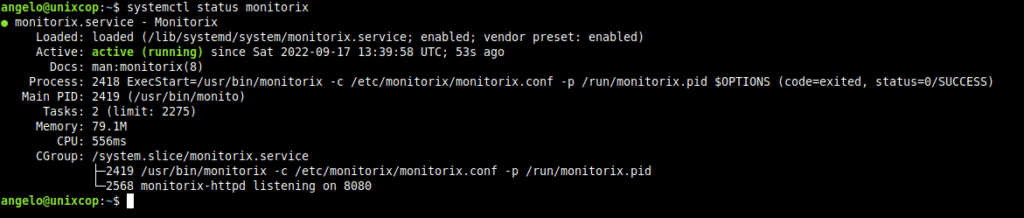
The first thing is to know if Monitorix is installed correctly and its service is running. To achieve this, run the following command:
systemctl status monitorixYou should get a screen output like this
By default, when you install Monitorix, it comes with an out-of-the-box configuration file that actually does its job. However, if you want to edit it, it is this
/etc/monitorix/monitorix.confBefore editing it, make a backup
sudo cp /etc/monitorix/monitorix.conf /etc/monitorix/monitorix.conf.bakand edit it with your favorite text editor
sudo nano /etc/monitorix/monitorix.confTo get further information about this file what you can do, the most convenient thing to do is to check the documentation of Monitorix.
One thing to note is that Debian also includes the /etc/monitorix/conf.d/00-debian.conf file, which, although it has a lower priority than the main file, can overwrite some configurations. Especially those that are ported to Debian.
When you are done making the changes, you can restart the service to apply the changes
sudo systemctl restart monitorixAccess Monitorix
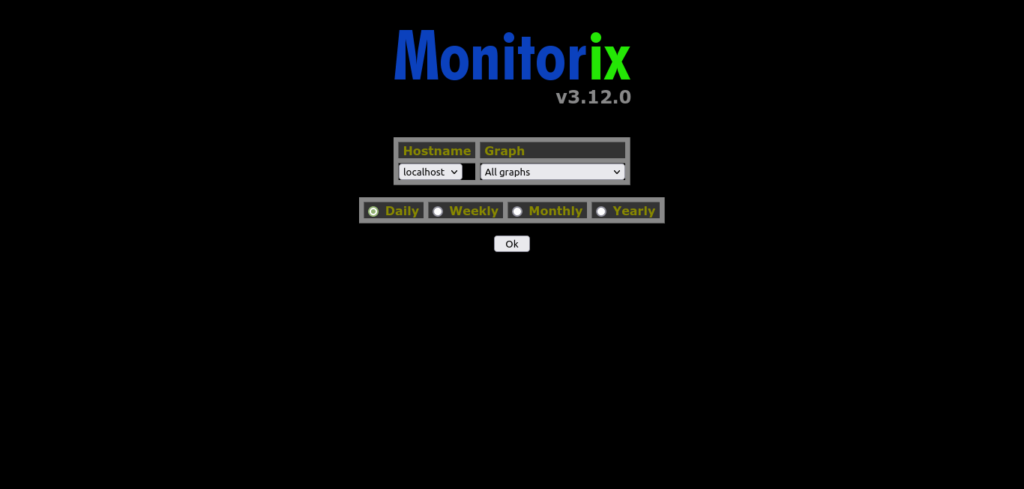
Then, open any web browser and go to http://your-server:8080/monitorix.
You will see the following:
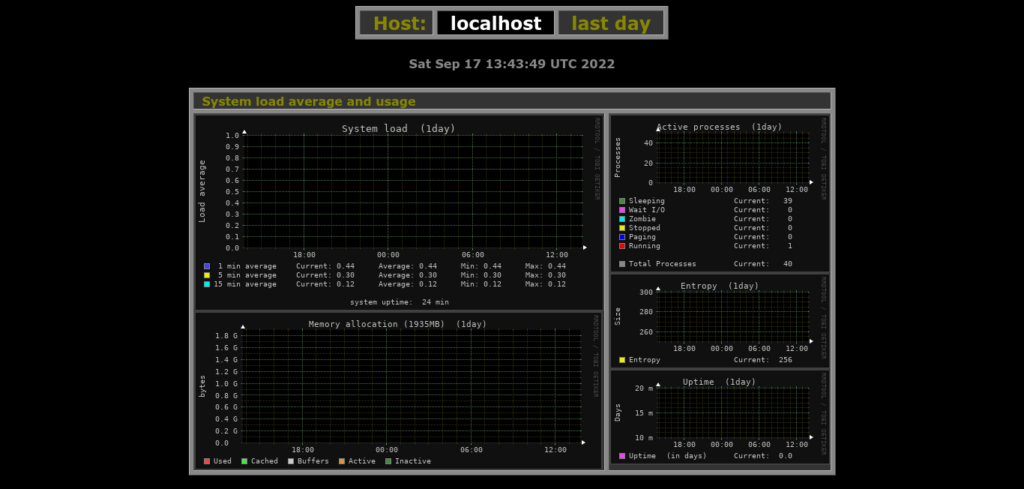
Then, you will be shown all the graphs that you can consult.
Conclusion
In this post, you learned how to install Monitorix. The goal is to do a simple server monitoring using this tool.