
Today, you will learn how to setup your local DNS server using Webmin
Webmin is a powerful and flexible web-based server management control panel for Unix-like systems. Webmin allows the user to configure operating system internals, such as users, disk quotas, services, or configuration files, and modify and control open-source apps, such as the Apache HTTP Server, PHP, or MySQL.
Requirements
- OS: Ubuntu 22.04
- Webmin
- DNS Server
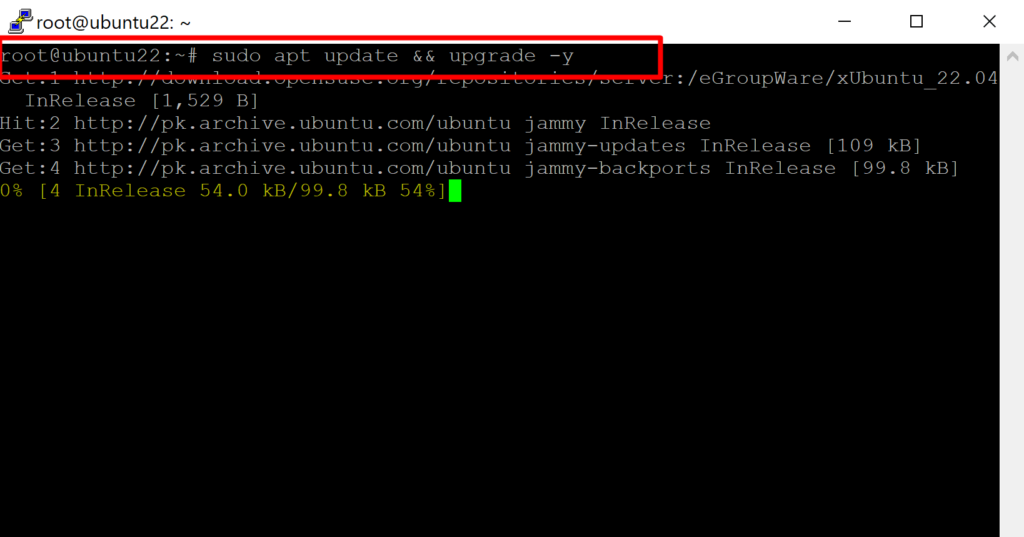
Step 1: Install Ubuntu OS and Update
# sudo apt update && upgrade -y
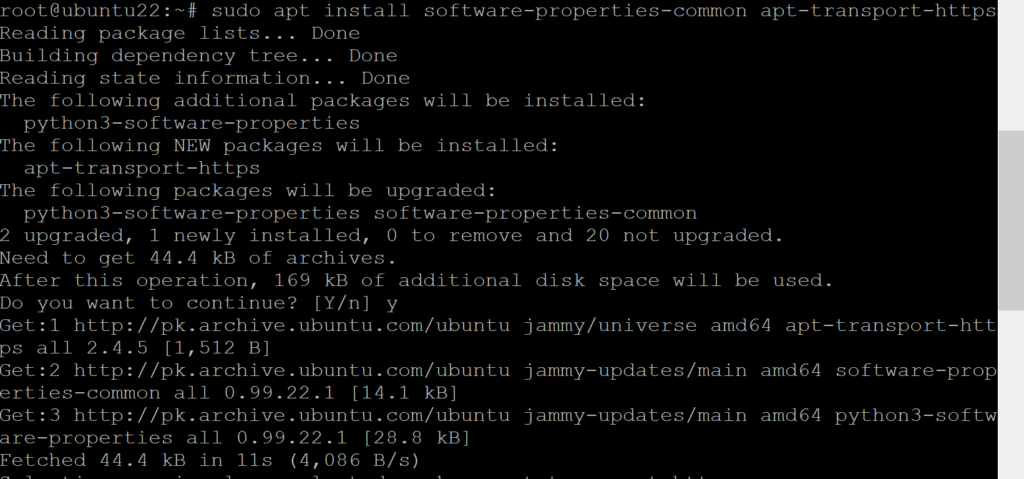
Step 2: Install Webmin
Install dependencies packages
# sudo apt install software-properties-common apt-transport-https
Enable Webmin repository
Add Webmin’s GPG key
# sudo wget -q http://www.webmin.com/jcameron-key.asc -O- | sudo apt-key add -
Manually add Webmin repository
# sudo add-apt-repository "deb [arch=amd64] http://download.webmin.com/download/repository sarge contrib"
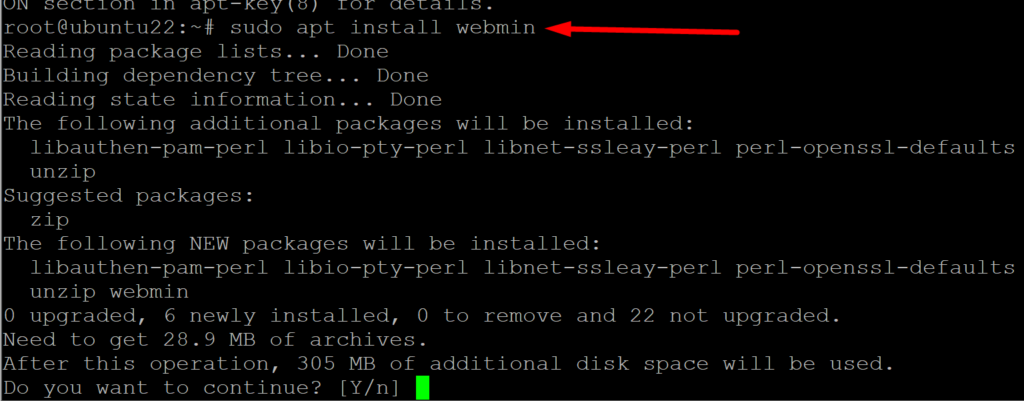
Install Webmin
# sudo apt install webmin
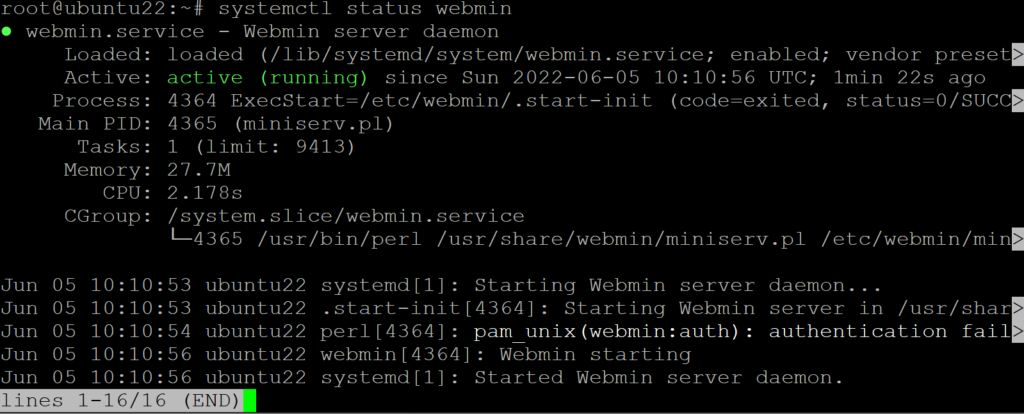
Check the status of Webmin
# systemctl status webmin
Allow webmin port 10000 in the firewall
# sudo ufw allow 10000/tcp
# sudo ufw reload
set the webmin password for root
# sudo /usr/share/webmin/changepass.pl /etc/webmin root [new password]

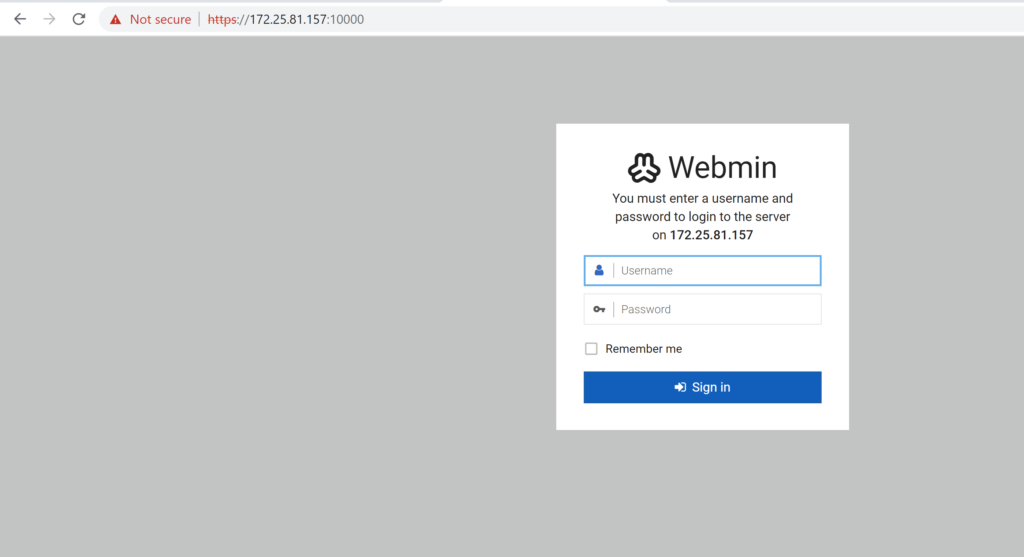
access thourgh web browser
https://your-server-ip:10000
Step 3: Setup local DNS server using Webmin
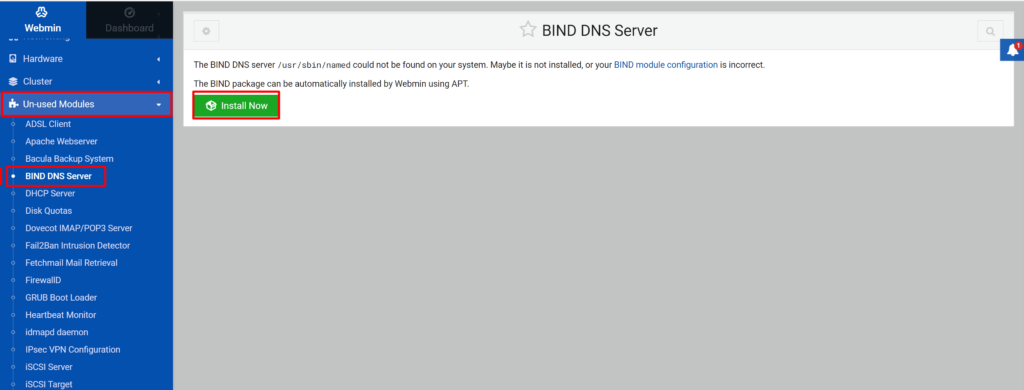
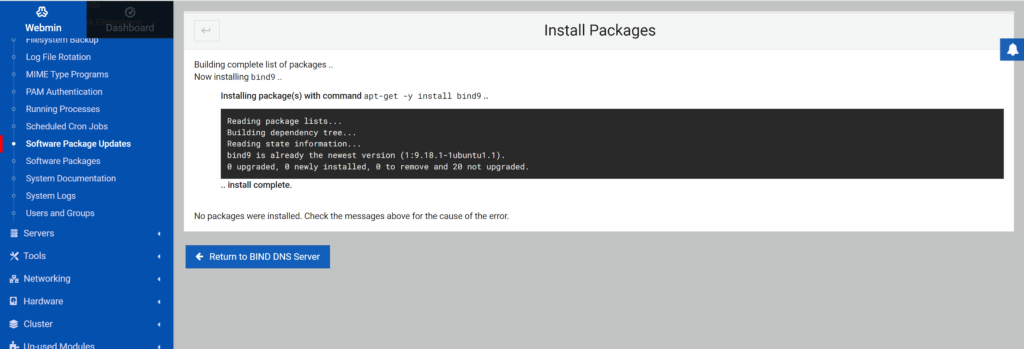
Open Webmin -> Unused Modules -> Bind DNS -> Install now
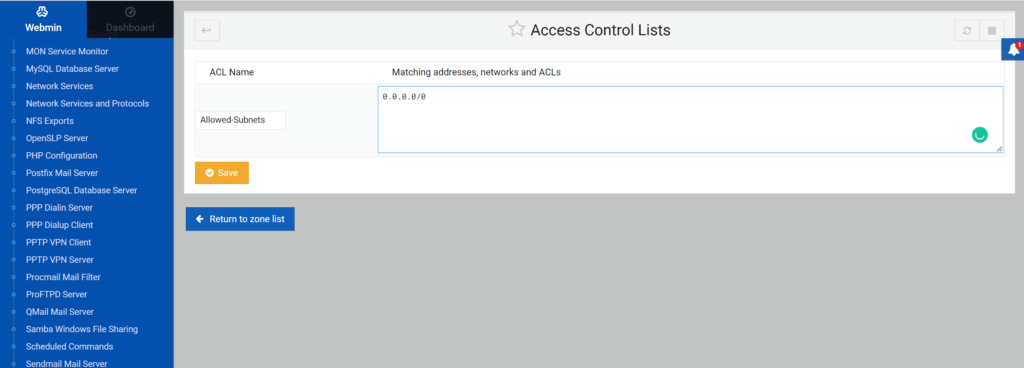
a. Create an access list and allow your infrastructure network subnets according to your design
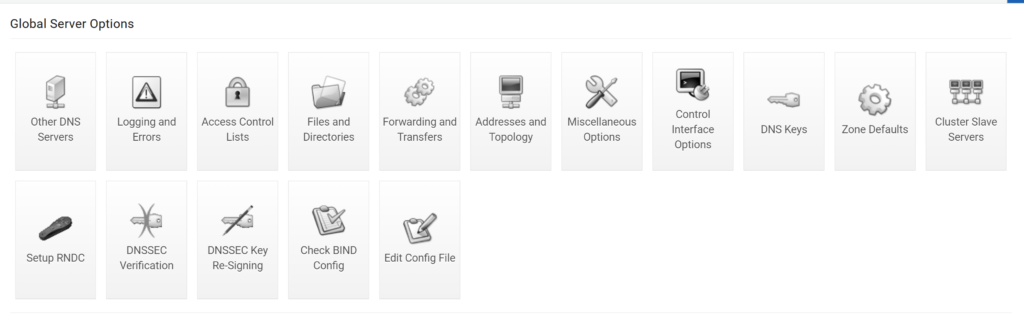
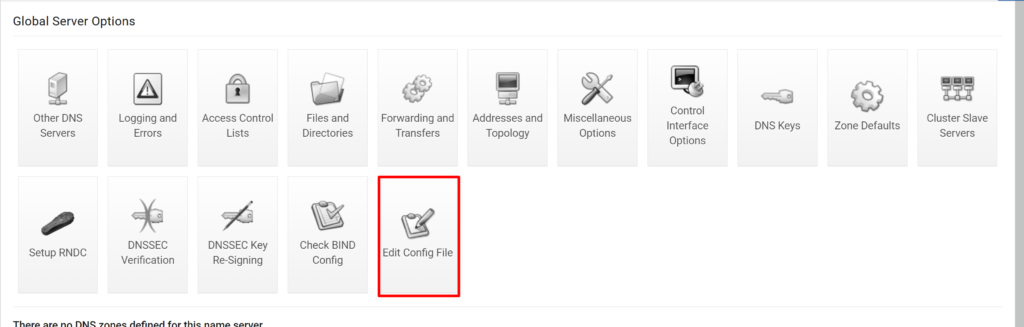
Configure global configuration options
click on edit config file
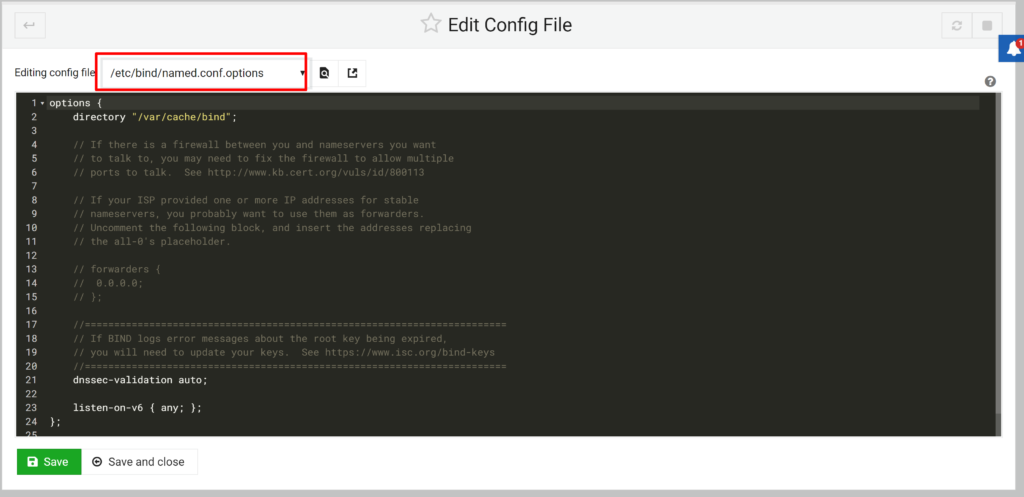
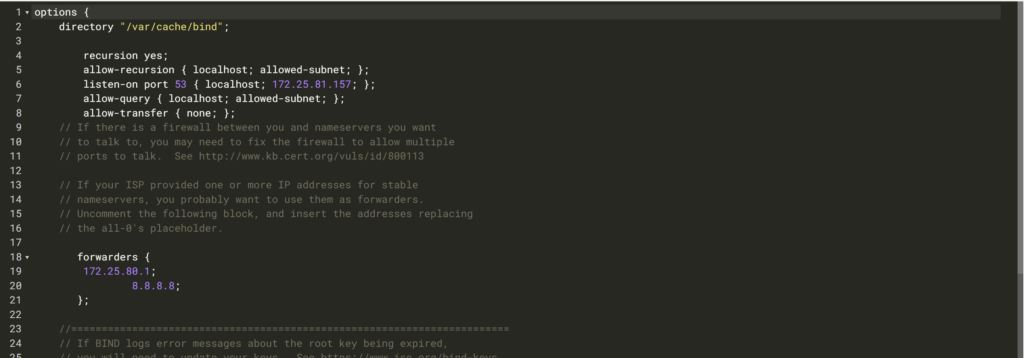
configure as below
options {
        directory "/var/cache/bind";

        recursion yes;
        allow-recursion { localhost; allowed-subnet; };
        listen-on port 53 { localhost; 172.25.81.157; };
        allow-query { localhost; allowed-subnet; };
        allow-transfer { none; };
        // If there is a firewall between you and nameservers you want
        // to talk to, you may need to fix the firewall to allow multiple
        // ports to talk.  See http://www.kb.cert.org/vuls/id/800113

        // If your ISP provided one or more IP addresses for stable
        // nameservers, you probably want to use them as forwarders.
        // Uncomment the following block, and insert the addresses replacing
        // the all-0's placeholder.

           forwarders {
                172.25.80.1;
                8.8.8.8;
           };

        //========================================================================
        // If BIND logs error messages about the root key being expired,
        // you will need to update your keys.  See https://www.isc.org/bind-keys
        //========================================================================
        dnssec-validation auto;
        auth-nxdomain no;
        listen-on-v6 { none; };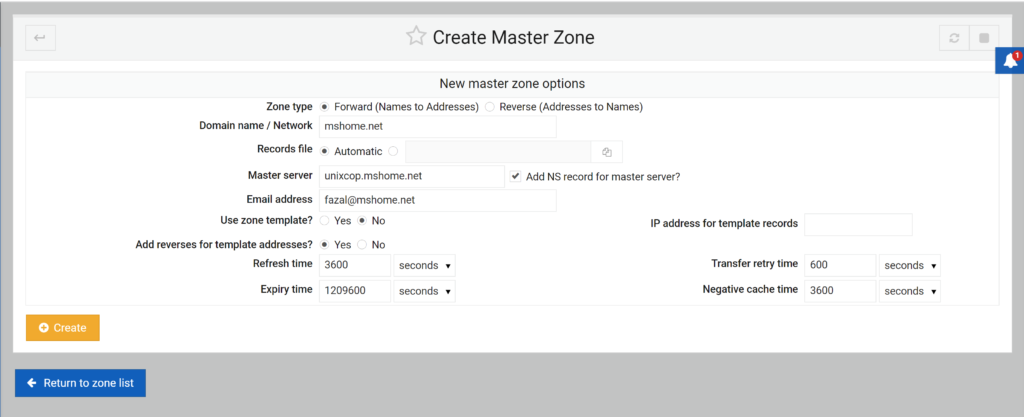
};- allowed-subnet is the ACL we have created
- 172.25.81.157 is the server IP
- 172.25.80.1 is the default gateway/DNS of the network
Check the configuration using “Check BIND Config”

Create Zones
Create master zone

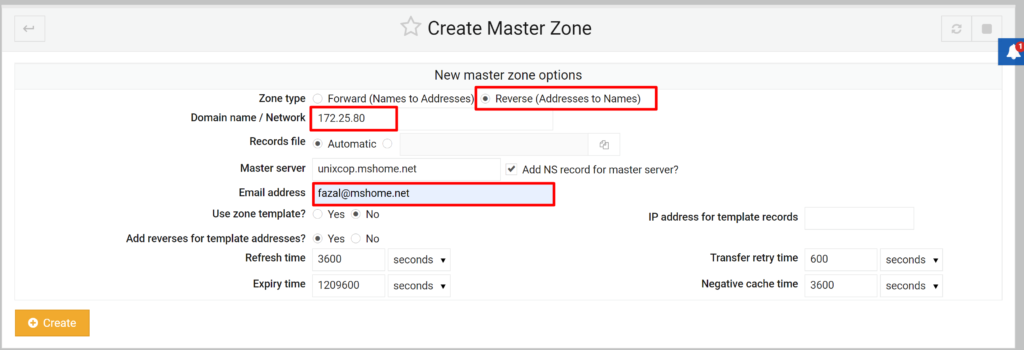
Create Reverse Zone Statement
Return to zone list -> create master zone select Reverse (Address to Name)
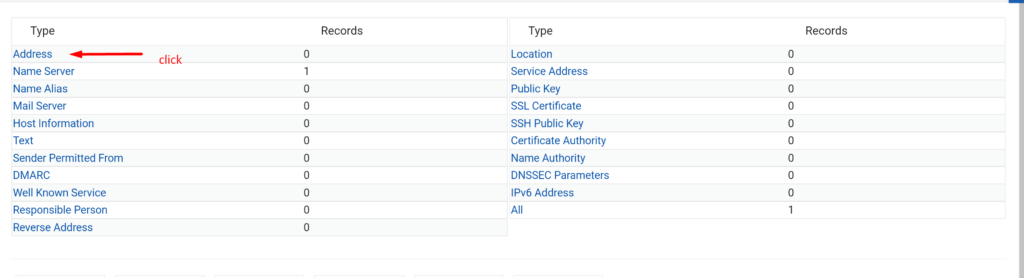
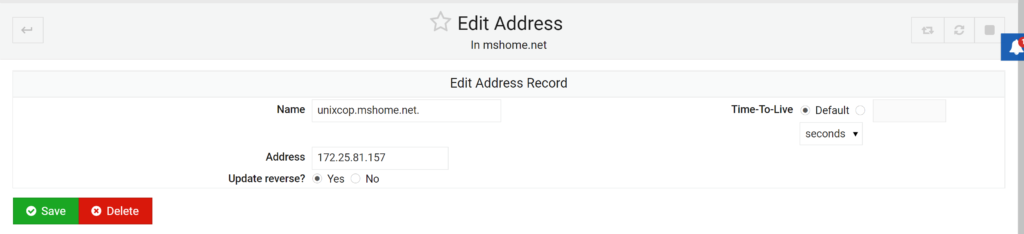
Setup the A records
goto to the master zone created above and click addresses
now check the bind configuration

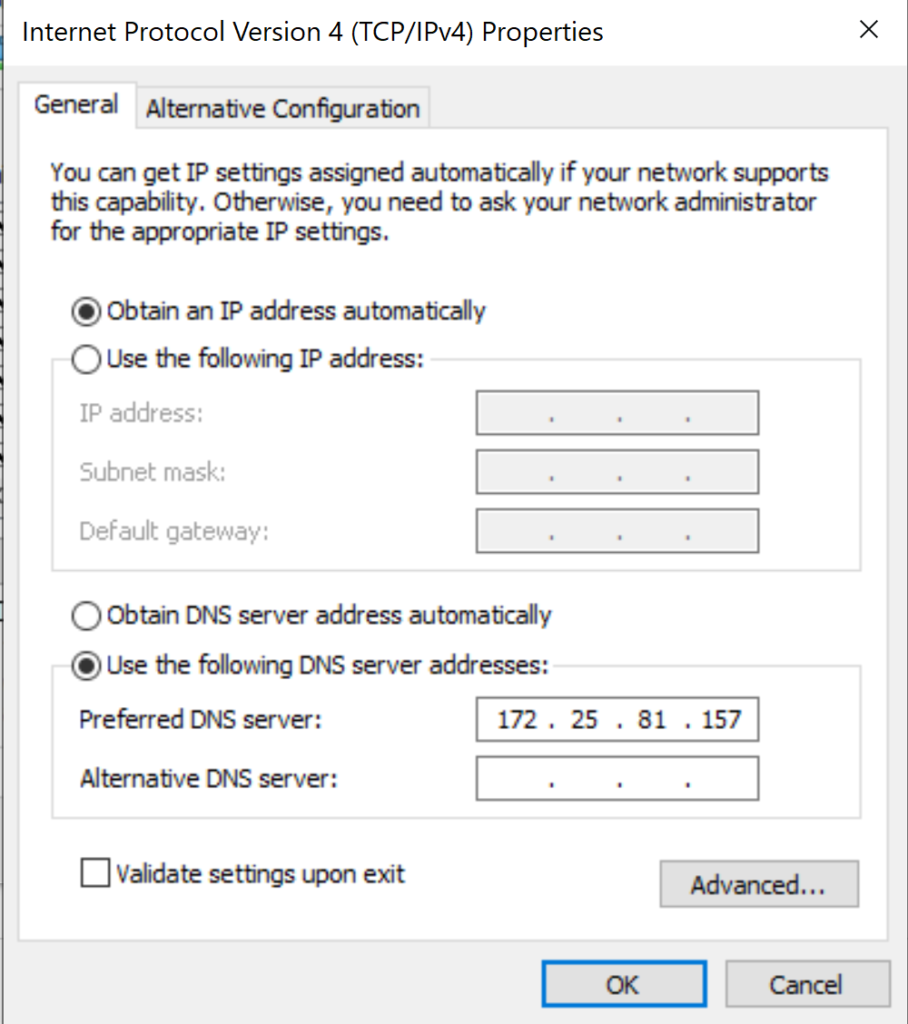
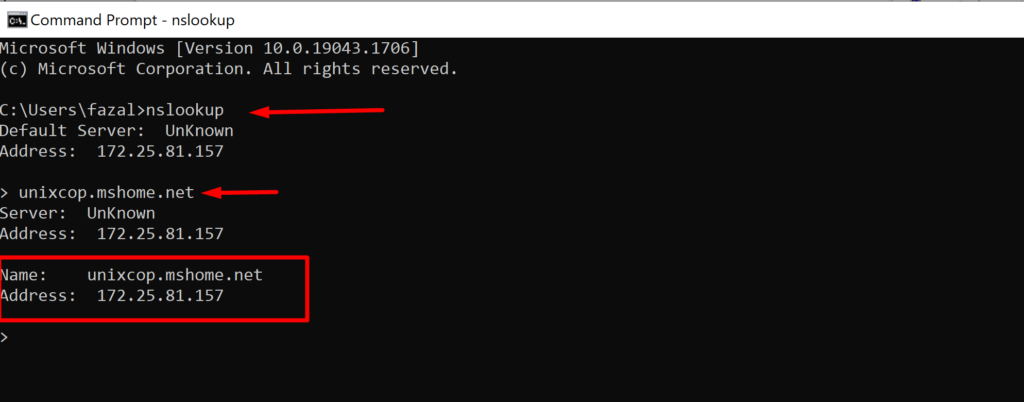
Configure the DNS IP in your laptop/Desktop to verify.
Done!!