This post is about Setup Network, System, and Datacenter Documentation Server.
Management of your infrastructure documentation is not an easy job. An application is designed to keep 80% of infrastructure documentation called NET BOX. Being a System Network guy, I always wondered about such an app/server that could manage my infrastructure documentation. Let me tell you more about this application.
What is NETBOX?
This application mainly documents network data center modules, e.g., Racks, servers management, and power sources. It is an open-source application developed specifically to address the need to document the infrastructure. This made it easy to search and interact with the devices, racks, and sites in an immense infrastructure. You can view complete information about devices, links, power sources, and other information. It encompasses the following aspects of network management.
- IP address management (IPAM): IP networks and addresses, VRFs, and VLANs.
- Equipment racks: Organized by group and site.
- Devices: Servers, Routers, Switches, and other system network devices
- Power resources and calculations.
- Connections: detailed links and connections between devices.
- Virtualization: Virtual Machines and clusters
- Data Circuits: Long-haul communication circuits and providers.
The following features/services are not covered by netbox
- Network monitoring
- DNS server
- RADIUS server
- Configuration management
- Facilities management
Application Stack
NetBox is built on the Django Python framework and utilizes a PostgreSQL database. It runs as a WSGI service behind your choice of HTTP server.
| Function | Component |
|---|---|
| HTTP service | nginx or Apache |
| WSGI service | gunicorn or uWSGI |
| Application | Django/Python |
| Database | PostgreSQL 10+ |
| Task queuing | Redis/Django-rq |
| Live device access | NAPALM (optional) |
Requirements
- Ubuntu 20.04
- PostgresSQL | Version 10+
- Redis | Version 4.0 +
- Python | version 3.7 +
Steps to Install NETBOX
Step 1: Prepare and Update Machine
Update the OS
sudo apt-get update
Install PostgreSQL
sudo apt install -y postgresql
Start the PostgreSQL and enable
systemctl start postgresql
systemctl enable postgresql

check the version by running the following command
psql -V

Create Database, user, set privileges of user on DB
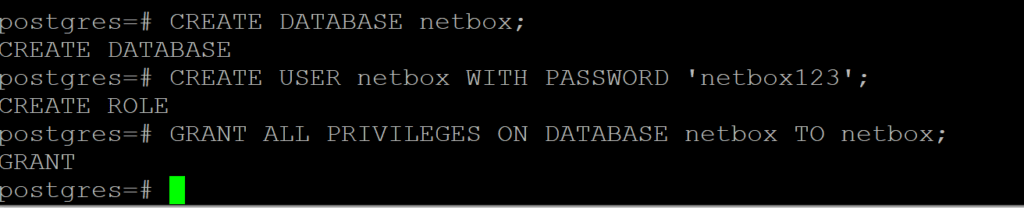
login to DB terminal
sudo -u postgres psql
pass the following command in the terminal to create DB and user
CREATE DATABASE netbox;
CREATE USER netbox WITH PASSWORD 'netbox123';
GRANT ALL PRIVILEGES ON DATABASE netbox TO netbox;
Step 2: Install the Redis server
apt install -y redis-server
verify Redis service by using the following command.
redis-cli ping

Step 3: Install NETBOX
Create a directory for netbox
sudo mkdir -p /opt/netbox/
cd /opt/netbox/
Install git to clone the netbox GitHub repository
apt install -y git
sudo git clone -b master –depth 1 https://github.com/netbox-community/netbox.git .

Create the NetBox System User
Create a system user account named netbox. We’ll configure the WSGI and HTTP services to run under this account. We’ll also assign this user ownership of the media directory. This ensures that NetBox will be able to save uploaded files.
sudo adduser --system --group netbox
sudo chown --recursive netbox /opt/netbox/netbox/media/

Move into the NetBox configuration directory and make a copy of configuration.example.py named configuration.py. This file will hold all of your local configuration parameters.
cd /opt/netbox/netbox/netbox/
sudo cp configuration.example.py configuration.py
configure parameters of PostgreSQL, Redis , Secret key and allowed hosts in configuration.py file

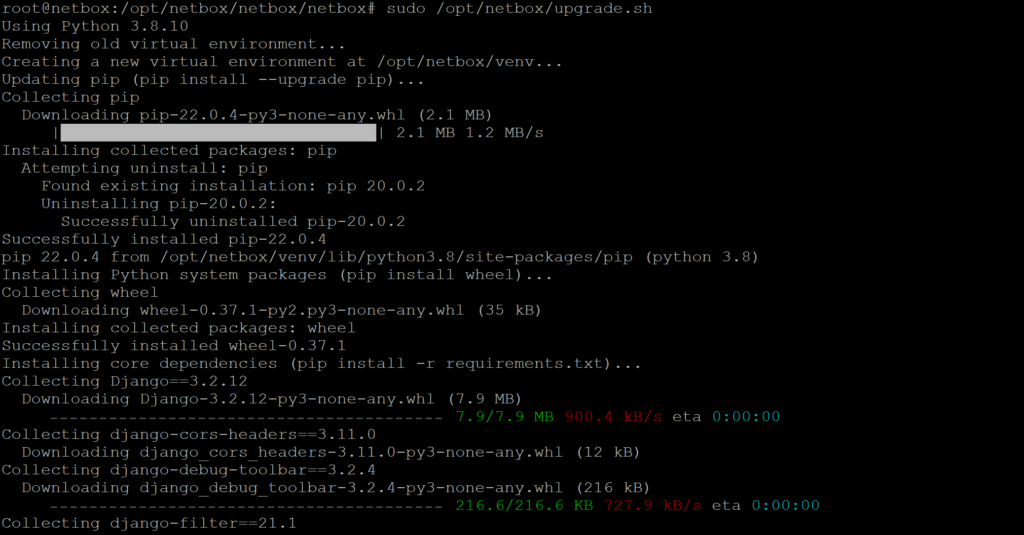
run the following command to setup the services
sudo apt install python3.8-venv
sudo /opt/netbox/upgrade.sh
sudo PYTHON=/usr/bin/python3.7 /opt/netbox/upgrade.sh
Create a Super User
NetBox does not come with any predefined user accounts. You’ll need to create a superuser (administrative account) to be able to log into NetBox. First, enter the Python virtual environment created by the upgrade script:
Commands
source /opt/netbox/venv/bin/activate
cd /opt/netbox/netbox python3 manage.py createsuperuser
user: netbox
password: netbox@123 (user your password)
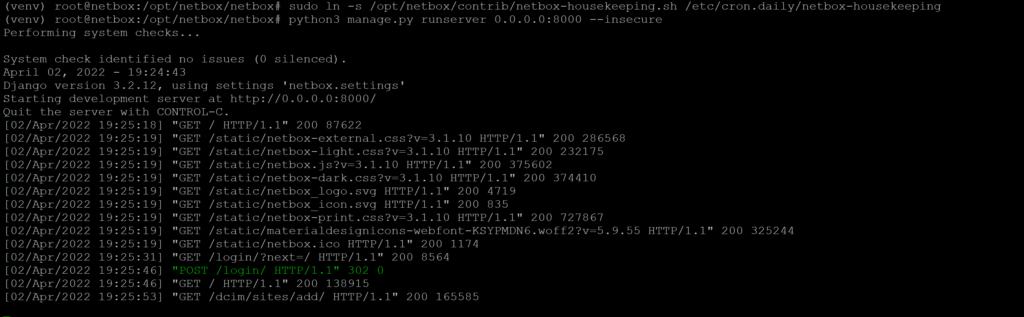
Schedule the Housekeeping Task
NetBox includes a housekeeping The management command handles recurring cleanup tasks, such as clearing out old sessions and expired change records. Although this command may be run manually, it is recommended to configure a scheduled job using the system’s cron daemon or a similar utility.
A shell script that invokes this command is included at contrib/netbox-housekeeping.sh. It can be copied to or linked from your system’s daily cron task directory or included within the crontab directly. (If installing NetBox into a nonstandard path, update the system paths within this script first.)
run the following command
sudo ln -s /opt/netbox/contrib/netbox-housekeeping.sh /etc/cron.daily/netbox-housekeeping
Test the Application
Run the following command
python3 manage.py runserver 0.0.0.0:8000 --insecure
allow port in firewall
Run the following command
ufw allow 8000/tcp
ufw reload
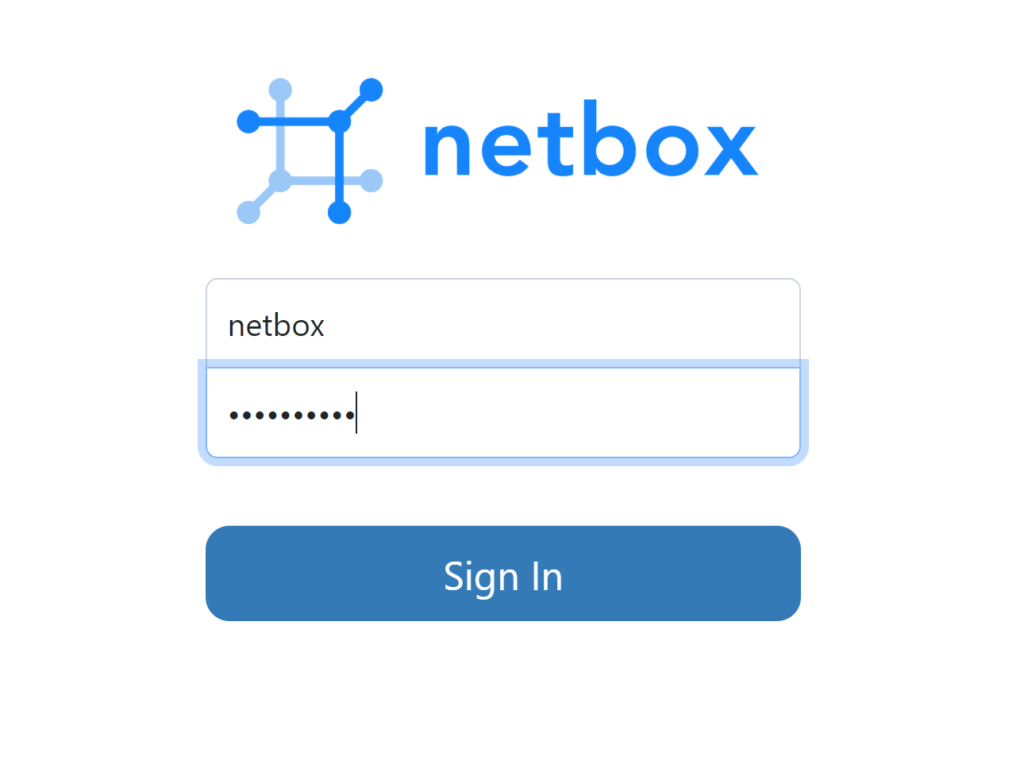
Access the Dashboard
http://your server IP:8000
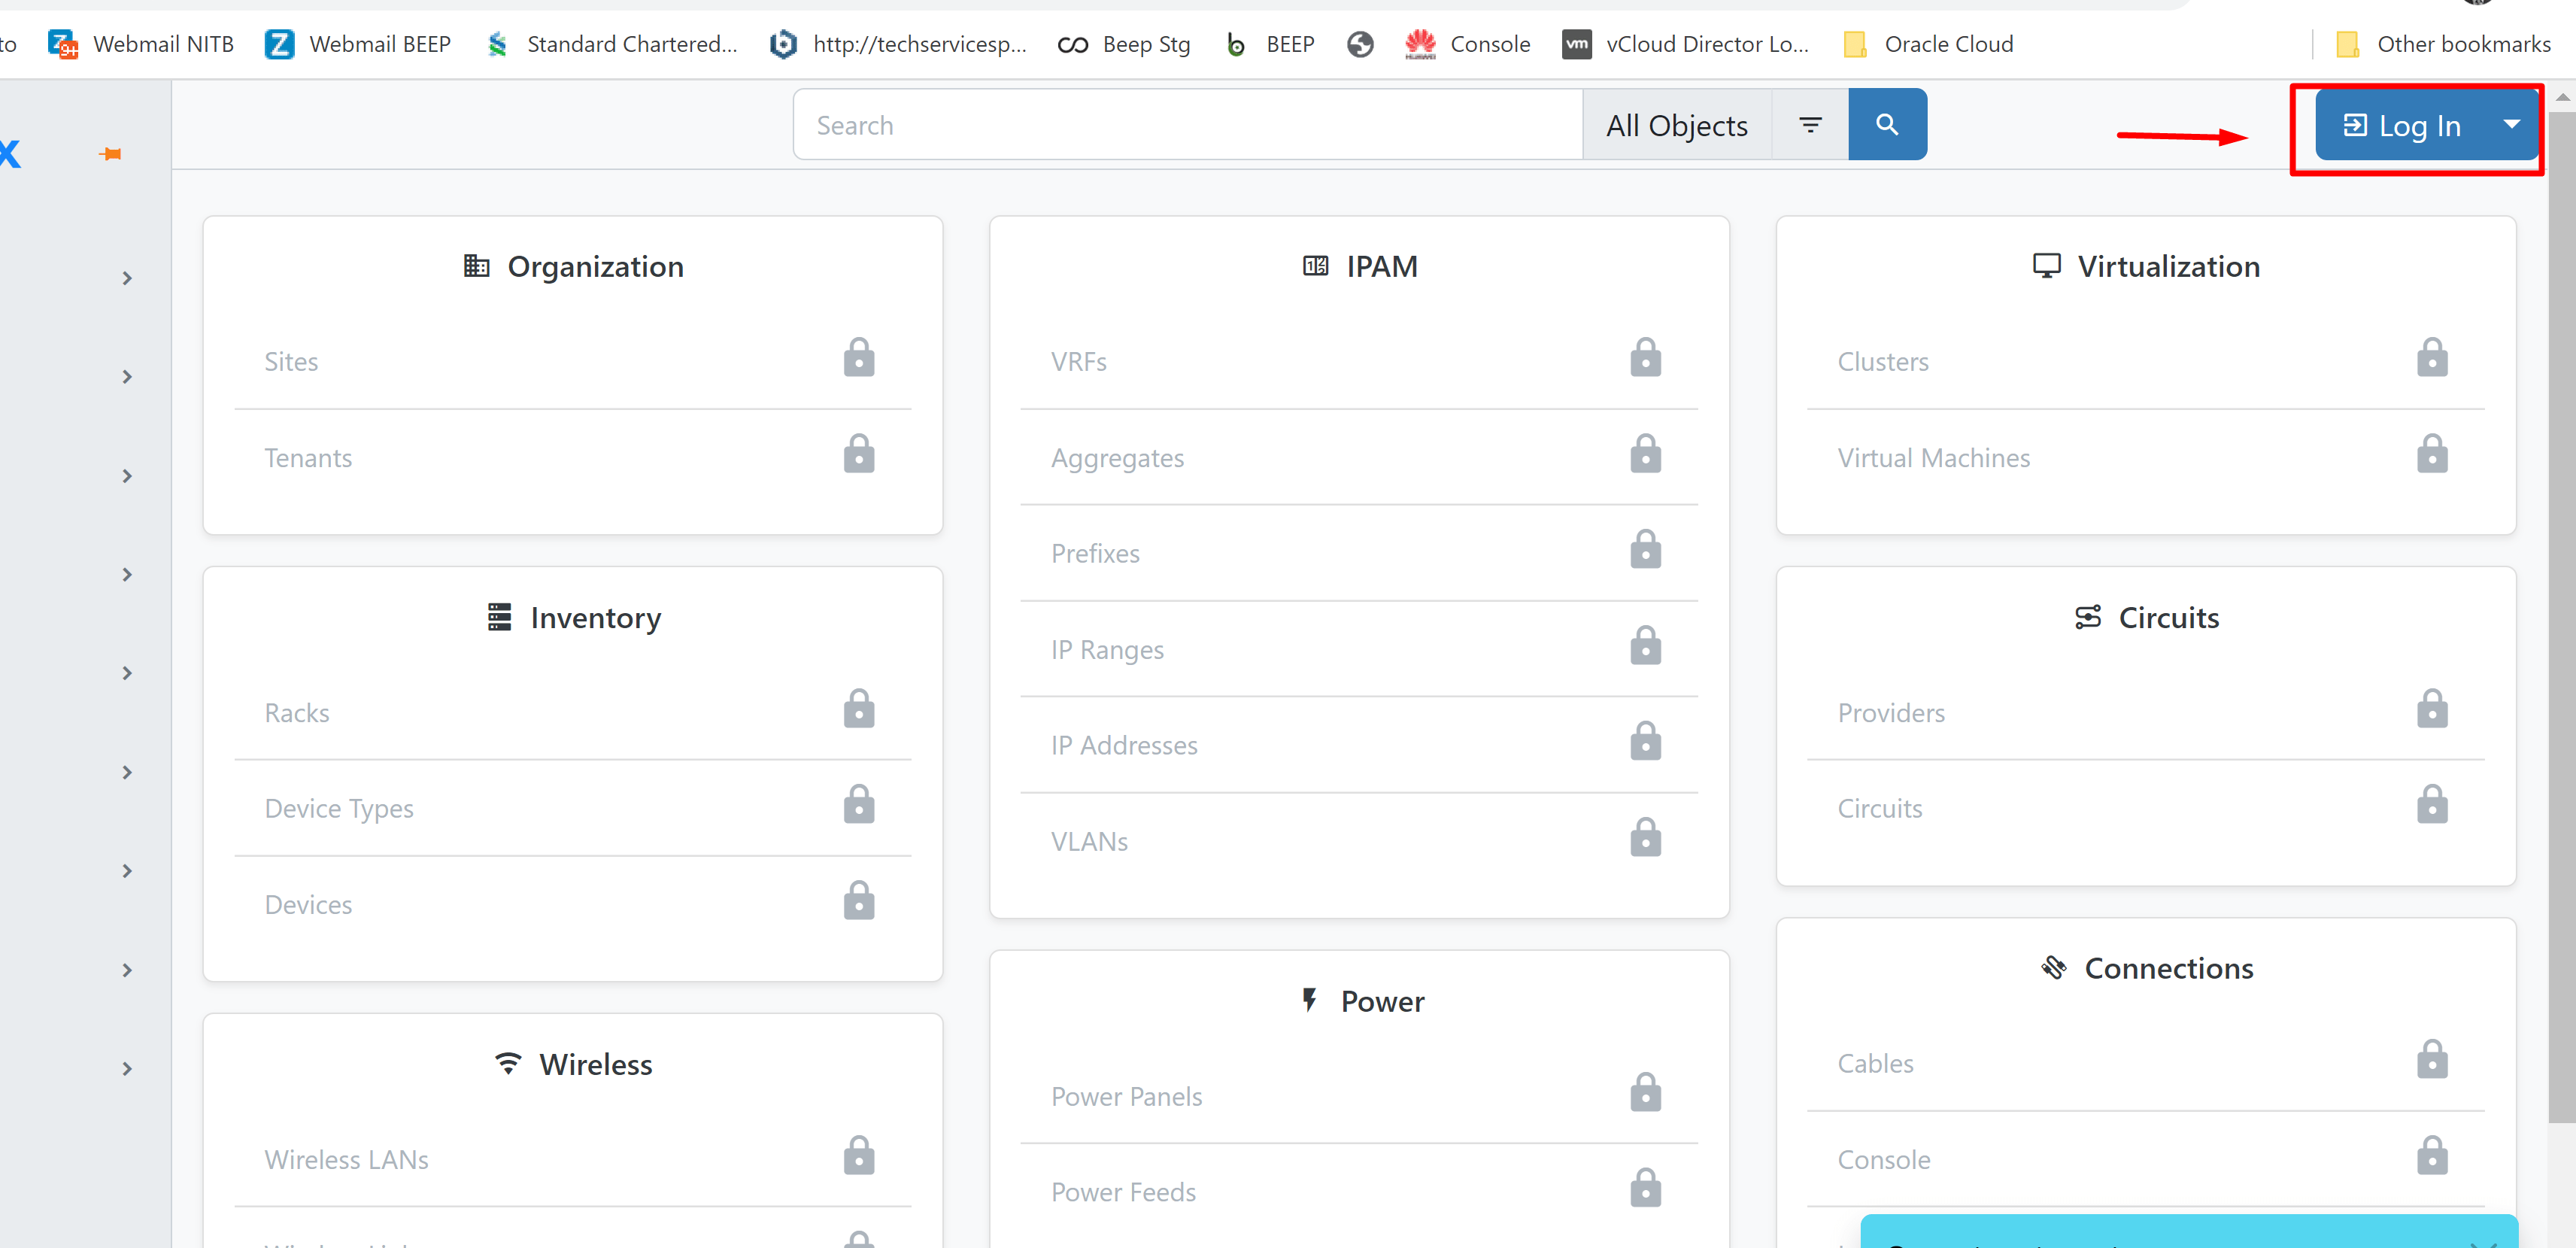
login
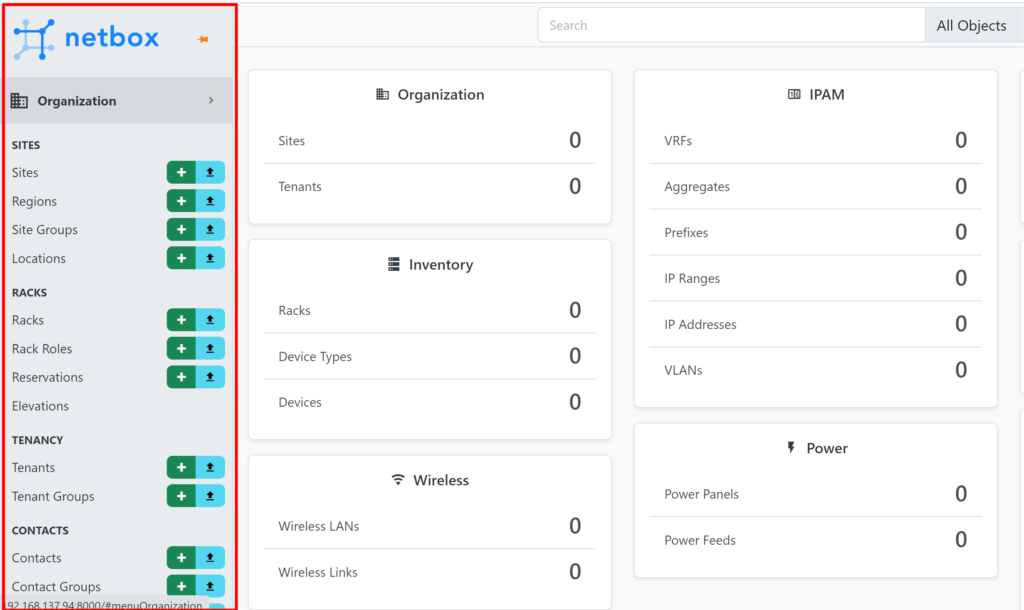
configure your sites and add your devices and other details according to your setup
Today you got the Setup Network, System, and Datacenter Documentation Server post.