
Introduction
Today we will see how to install Raspberry Pi with VirtualBox. The famous Linux OS comes as an embedded system which usually utilized in projects. For testing and simulation environments having Pi in VirtualBox will be a good idea. As per official documentation, this Debian derivative can be a buildup for Microsoft, Apple OS, and Linux-based environments. For Linux Ubuntu can be customized as a Pi- environment. But, here we are discussing to buildup a dedicated os with the help of Virtual Box. Let’s take a brief on Pi’s features.
Key Feratures
Raspberry Pi can be primarily used as, but not limited to :
Wireless Print Server
A perfect solution of the hybrid environment having high device movement, pi can be used as a printer sharing server.
Portable Firewall
For Small networks, pi can be converted into a firewall easily. An ideal solution where some temporary sites projected are in the run and a quick internet distribution system is required.
Media Server
Media items like Video Library, digital photo album, or streaming server, all such things can be achieved.
Gaming Server
Can have a good speed with low cost, ideal for small groups.
Live Streaming Server
Can be used as live social media streamings without putting much effort.
Mail Server
A quick mail server can be established, a server with a very less footprint and low resource consumption.
Web Server
Both Apache and Nginx servers can be installed for small projects or IoT projects too.
Robot Controller.
Can be used to manage operation-specific IoT or other robotic projects having multiple applications like Agro, Tem controllers, Data collections and automated communication, etc.
Installation
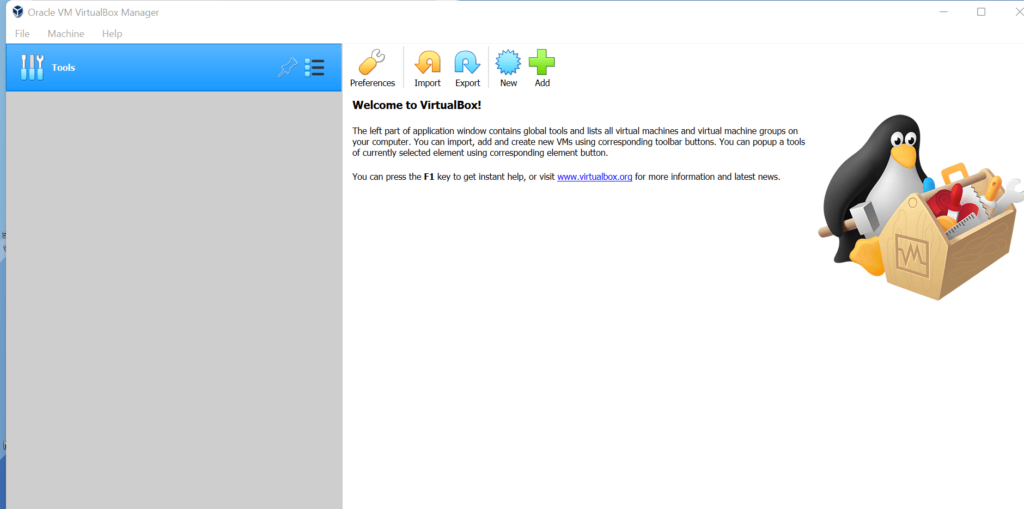
Download Virtualbox from this link.
Install the application, I will be using MS Windows 11 for demo purposes.
We have the base ready, time to download the OS version of Pi.
Get Raspberry Pi from this link.
Boot image.
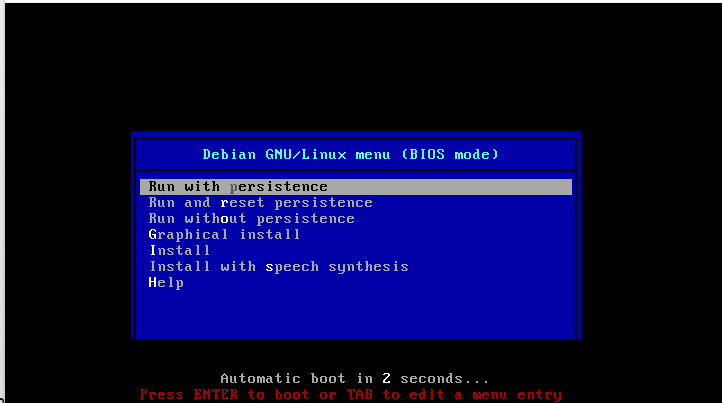
Select Graphic Install.
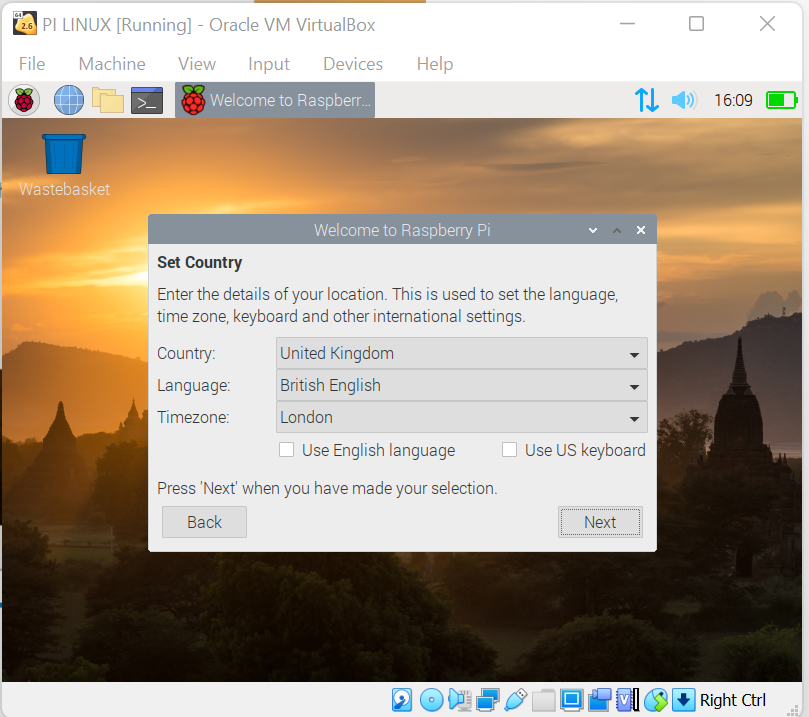
Click next, define language.
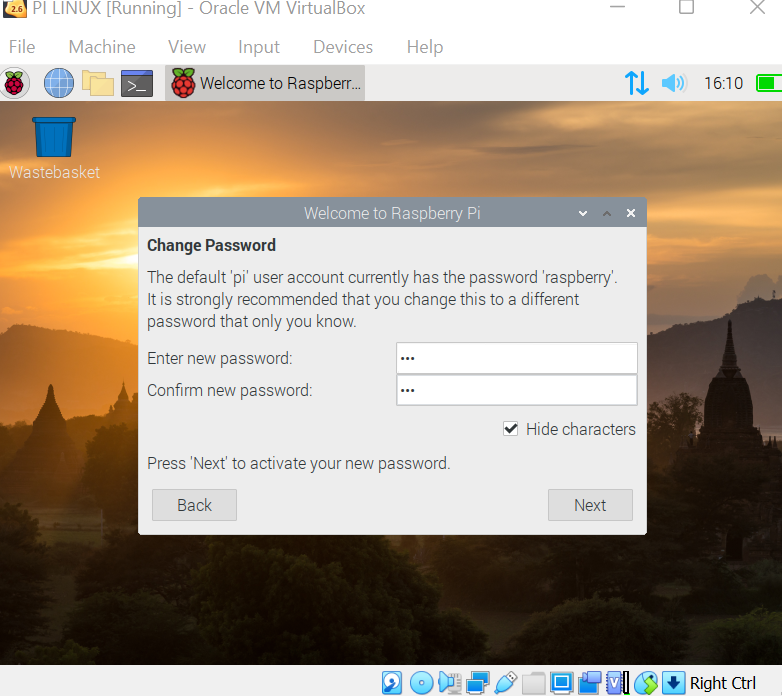
Define password, click next.
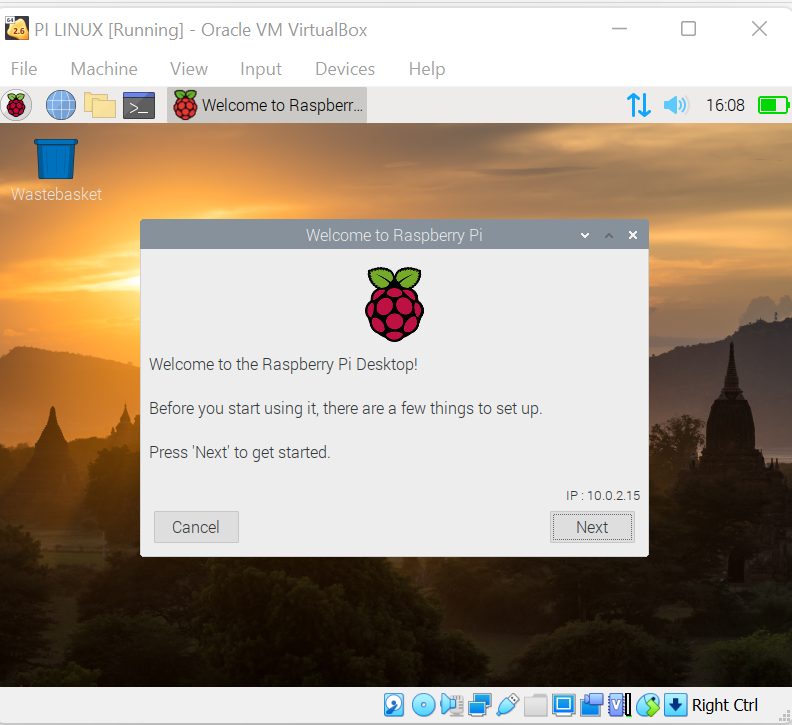
Click on done, when setup is complete.
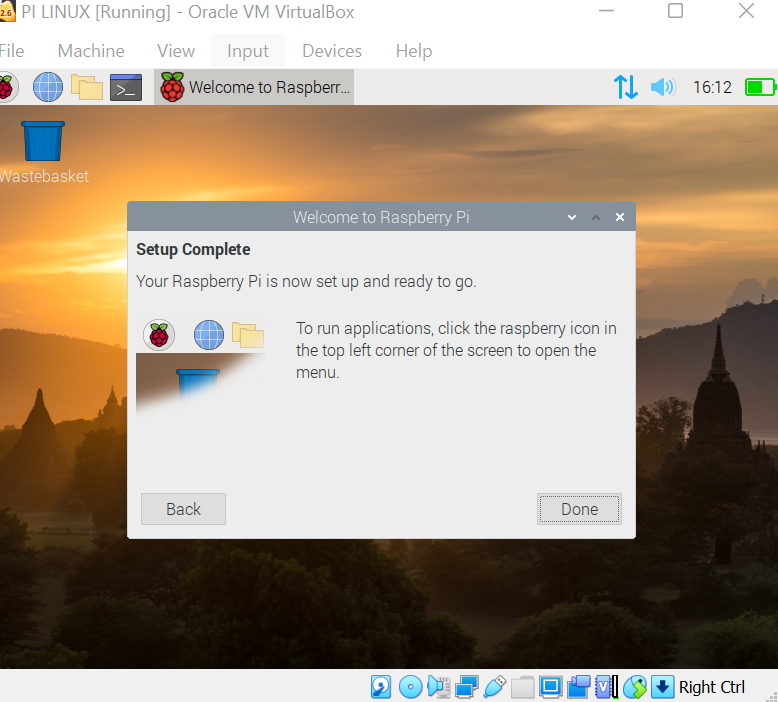
Congratulations, now you have a complete setup of Pi on VirtualBox. Do testing and enjoy doing stuff with the excellent operating system.

