
Android Studio is Android’s official development environment. The tool is designed specifically for Android devices to help you build the highest quality apps. Android applications are built on a setup developed by Google, which is known to all Android users. The IDE replaced the Eclipse tool, which was primarily used for Android development. AS IDE has been used to develop some of the most well-known Android applications.
Key Features
- Quick emulation
Your applications can be tested faster and on multiple configuration devices (tablet, android phone, etc.). With Android Studio, you can test the application on an emulator that is the same as the android phone, so you can see what the application will look like on a real device.
- Built in templets
Android also has a built-in template system. You can build that according to your needs.
- KOTLIN support
Android uses Kotlin as its official language. Due to its automation based on Java, Kotlin is easy to learn and use by java developers.
- Maven Repo
Repositories in Maven are directories that contain all the project-specific jars, library jars, plugins, and any other project-specific artifacts that can be used easily by Maven.
Install application
I will be using Ubuntu 20.04 to install Android Studio.
Update OS
# apt update
Install required java package first.
# apt install openjdk-11-jdk
Check what version of Jave is installed.
# java --version

Install required 32-bit libraries, they are required.
# sudo apt-get install libc6:i386 libncurses5:i386 libstdc++6:i386 lib32z1 libbz2-1.0:i386
Install android package. Add repo for studio installation.
# sudo add-apt-repository ppa:maarten-fonville/android-studio
Update system one more time, install package.
# sudo apt install android-studio
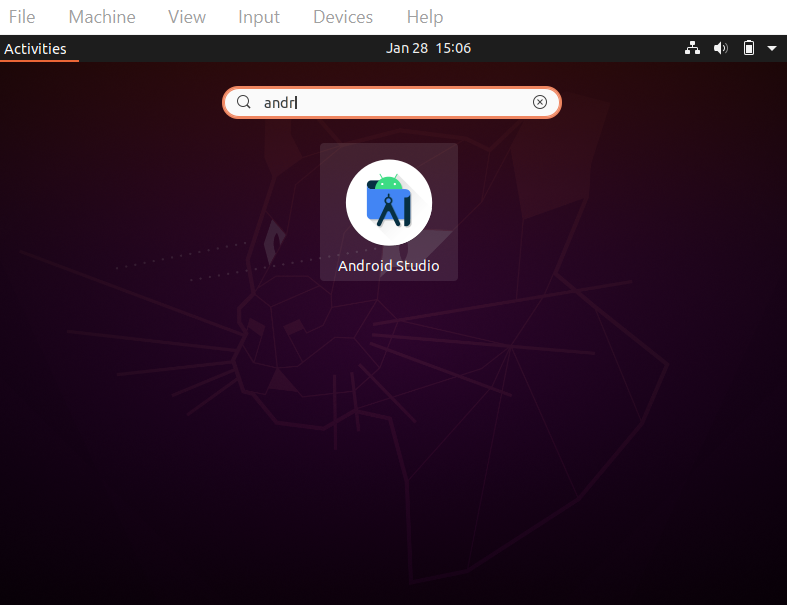
The studio is installed successfully, have a look.
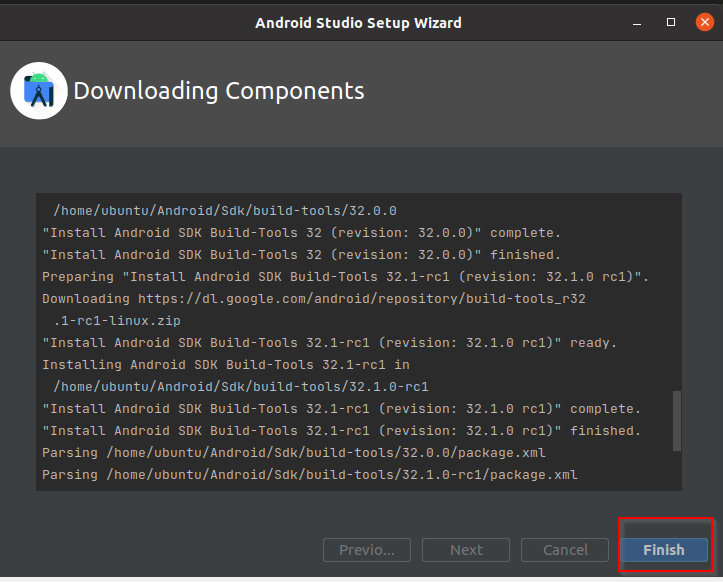
Finish setup and install required packages.
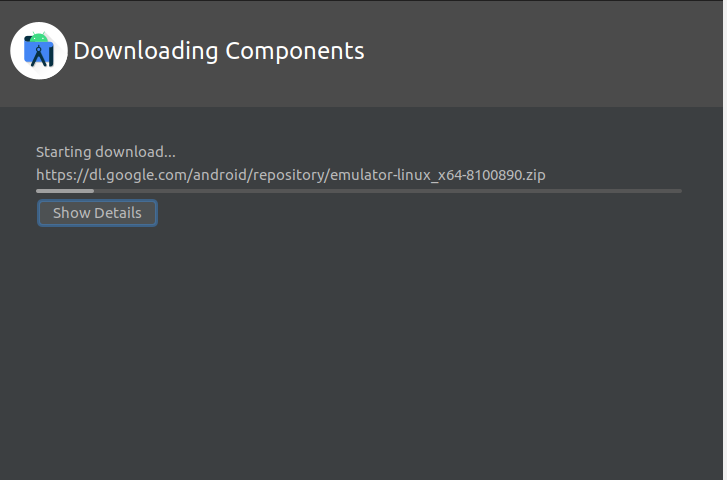
The step may take some time, make sure you have a good internet speed. After installation is over, click finish and proceed.
Congratulations, now you have a working Android studio that can be used for testing and development purpose.
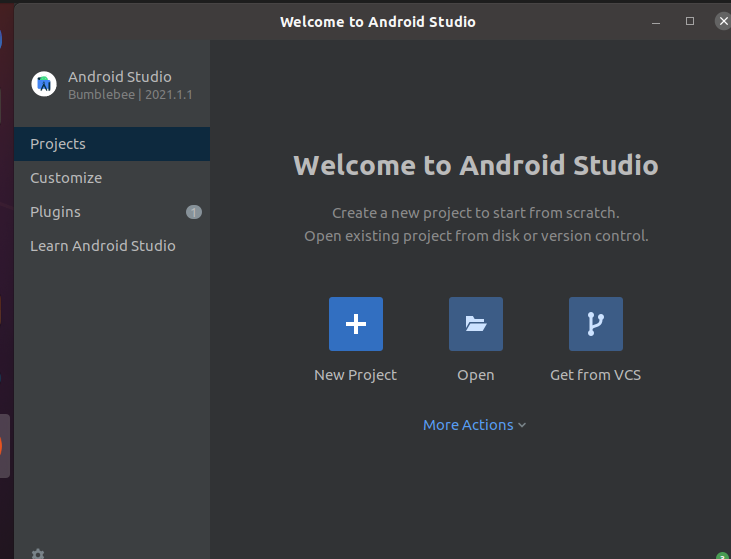
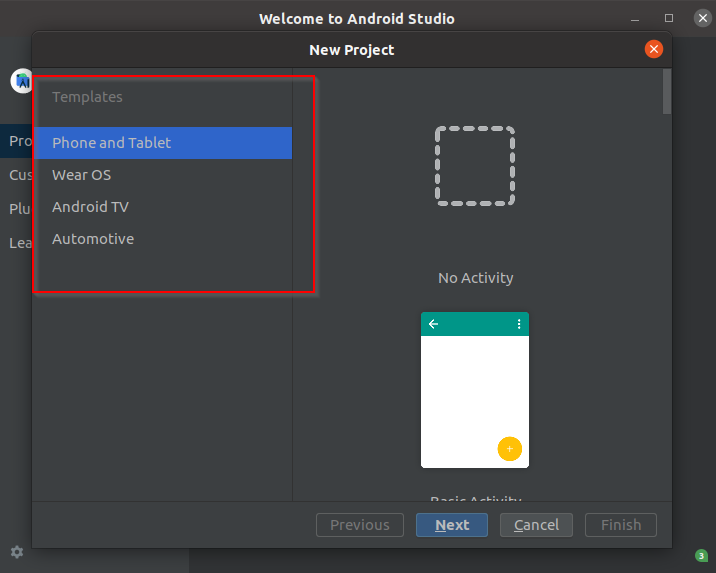
See, what project you are willing to start. Select environment and proceed.
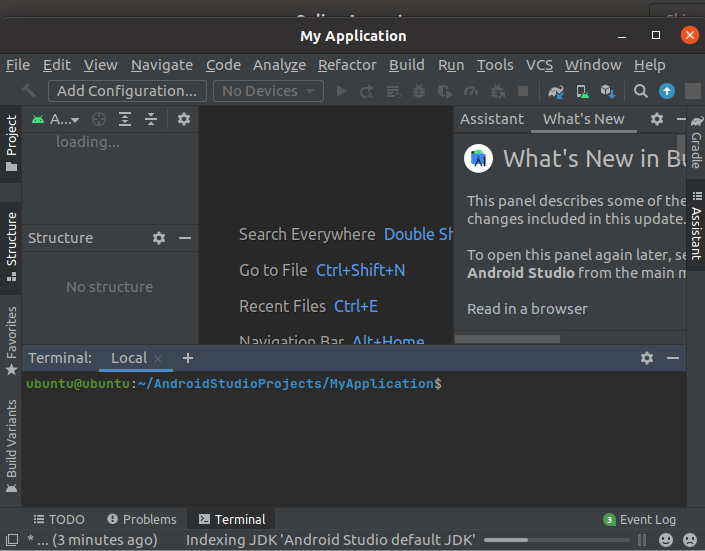
Now, your dev environment is all setm have a look.
Stay tuned, till the next topic.