Introduction
Here we go again! Today we will see how to install Nomachine to manage remote machines.
With the help of NX Technology, the remote service enables fast remote access. The service gives an experience which you have never had before. Admins can connect any OS-based remote machine fast, and highest quality speed with no lagging. Specifically during this pandemic situation where IT Admins are supposed to provide support for end-users as well to manager servers. Sometimes users are not having a good internet speed, in such cased lightweight remote access utility can help a lot. Above all The utility is not only your own server but ensures secure remote access too. And Yes! that utility is totally free.
Have a look at the key features.
Key Featuers
NoMachine is unique because of the following features.
Share access: In some cases, you are supposed to work with the team in collaboration. You can share your desktop access with users.
Access resource: Yes, with having remote access, you can access all your media-rich content from Hulu, youtube, etc. without facing any rendering issues.
Device access across the shared systems: You can print resources from the remote system to the printer connected physically on the other side.
Session recording: You can record sessions while connected. Without integrating no third-party tool you can easily reply to your session later for maybe some troubleshooting or learning purposes.
Installtion
Here, I will be using Ubuntu 20.04 LTS for setup. It is recommended to refer to official documentation before setting up a server for supported OS Lists. To have better experience you must have a good internet speed along with 8 GB RAM, 64x processor, and 160 GB SSD at minimum.
Update system
# apt update
Install the required package from this link.
# wget https://download.nomachine.com/download/7.7/Linux/nomachine_7.7.4_1_amd64.deb
Install package after download.
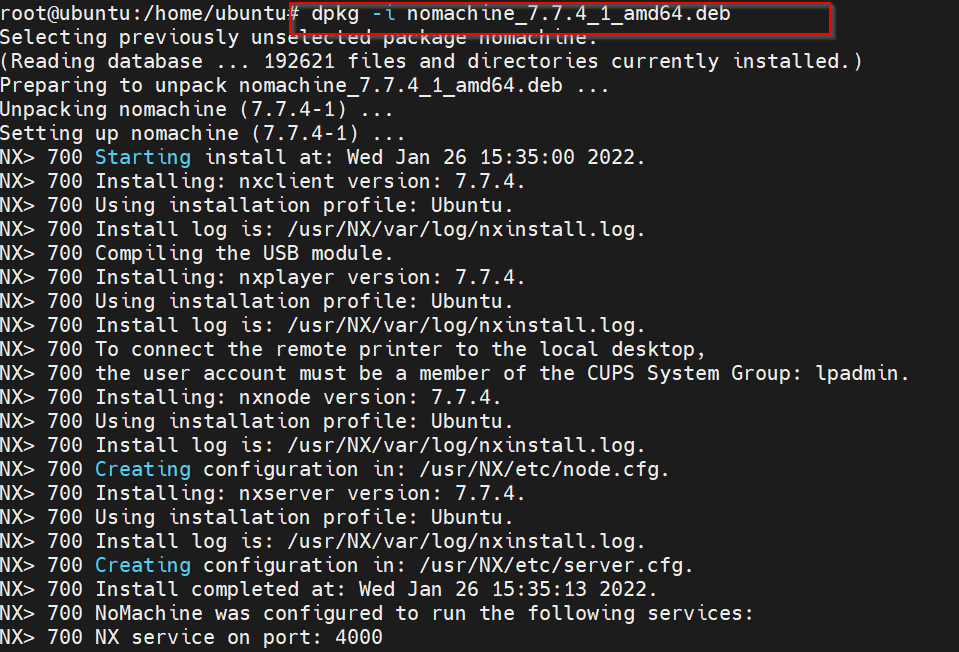
# dpkg -i nomachine_7.7.4_1_amd64.deb
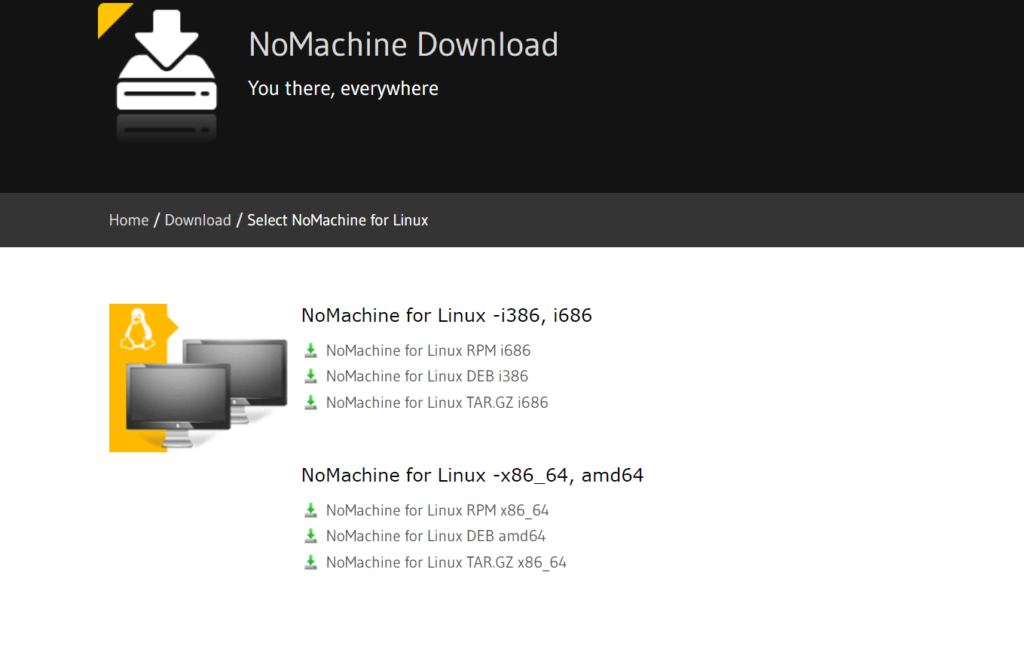
Need Package on the client too, in our example scenario client is Windows 11 OS, again install package from the official site.
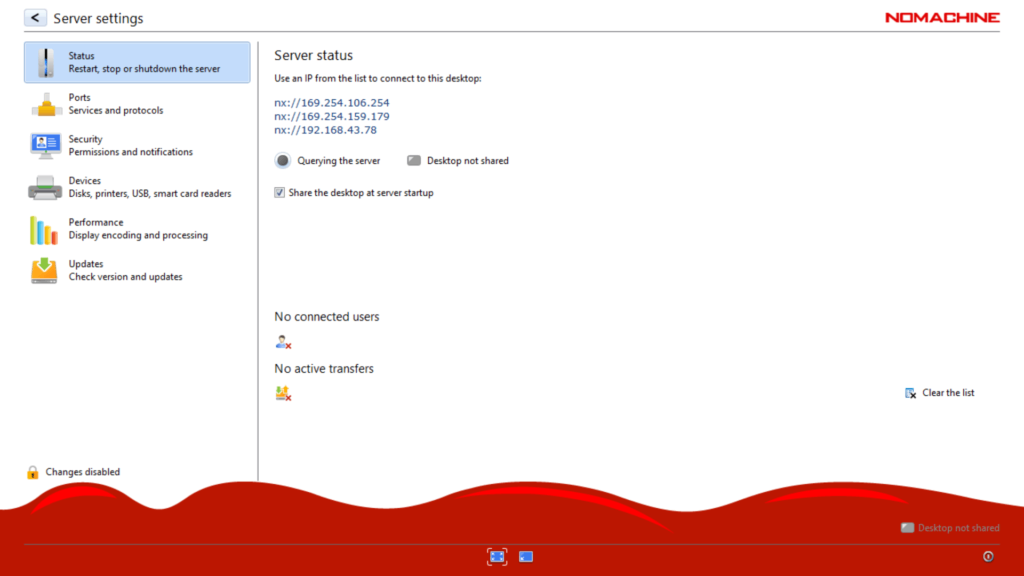
Check what IP address we have for Ubuntu Machine ??
# dpkg -i nomachine_7.7.4_1_amd64.deb
root@ubuntu:/home/ubuntu# ip addr | grep inet
    inet 127.0.0.1/8 scope host lo
    inet6 ::1/128 scope host
    inet 192.168.43.219/24 brd 192.168.43.255 scope global dynamic noprefixroute enp0s3
    inet6 2401:4900:596b:2e6d:782:9e29:42c1:dbd9/64 scope global temporary dynamic
    inet6 2401:4900:596b:2e6d:8993:fab7:274:9f4e/64 scope global dynamic mngtmpaddr noprefixroute
    inet6 fe80::43bb:8117:50f9:52a4/64 scope link noprefixroute
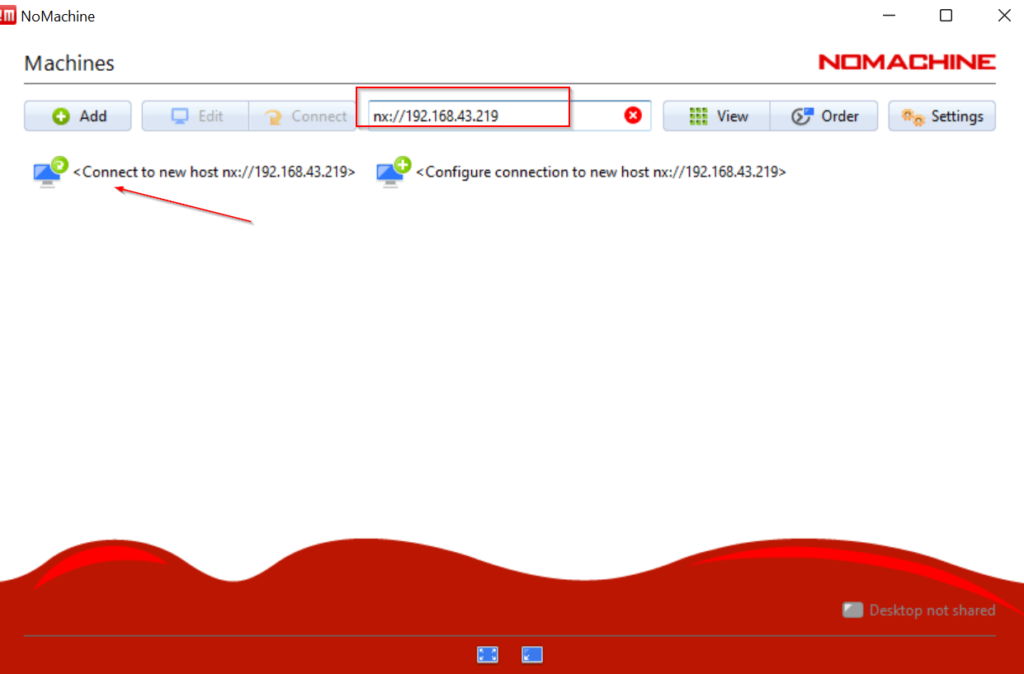
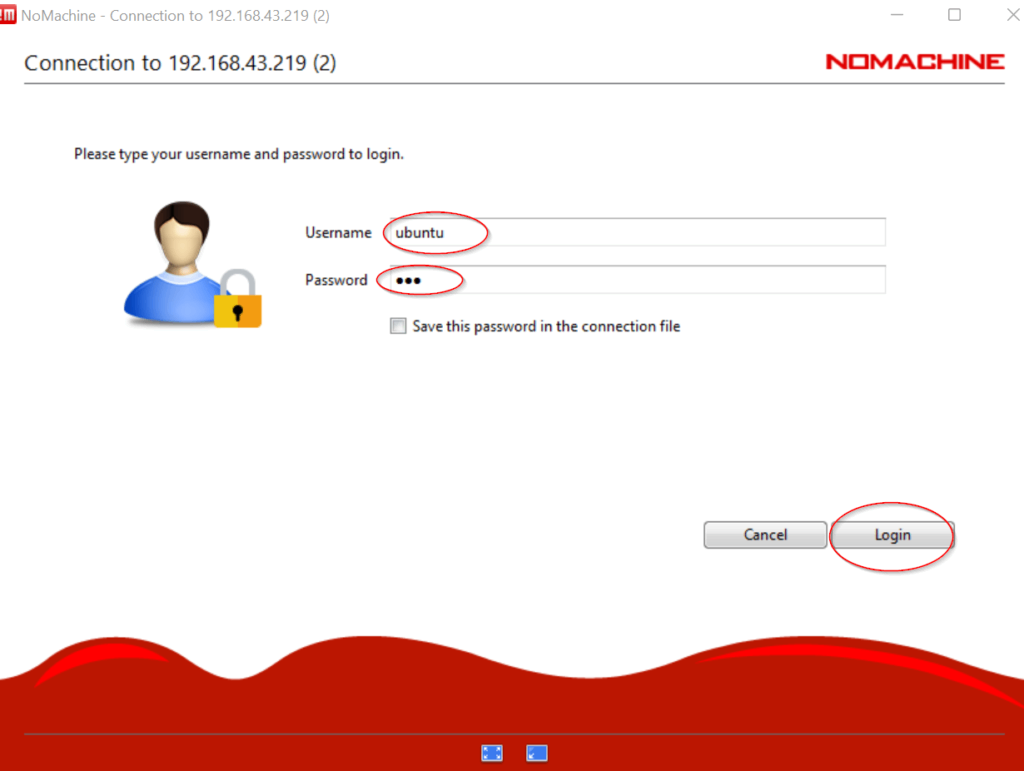
To access Ubuntu machine, open nomachine client on MS Windows OS. type nx://<IP_Address>
Provide username and password for ubuntu machine. Click to Login.
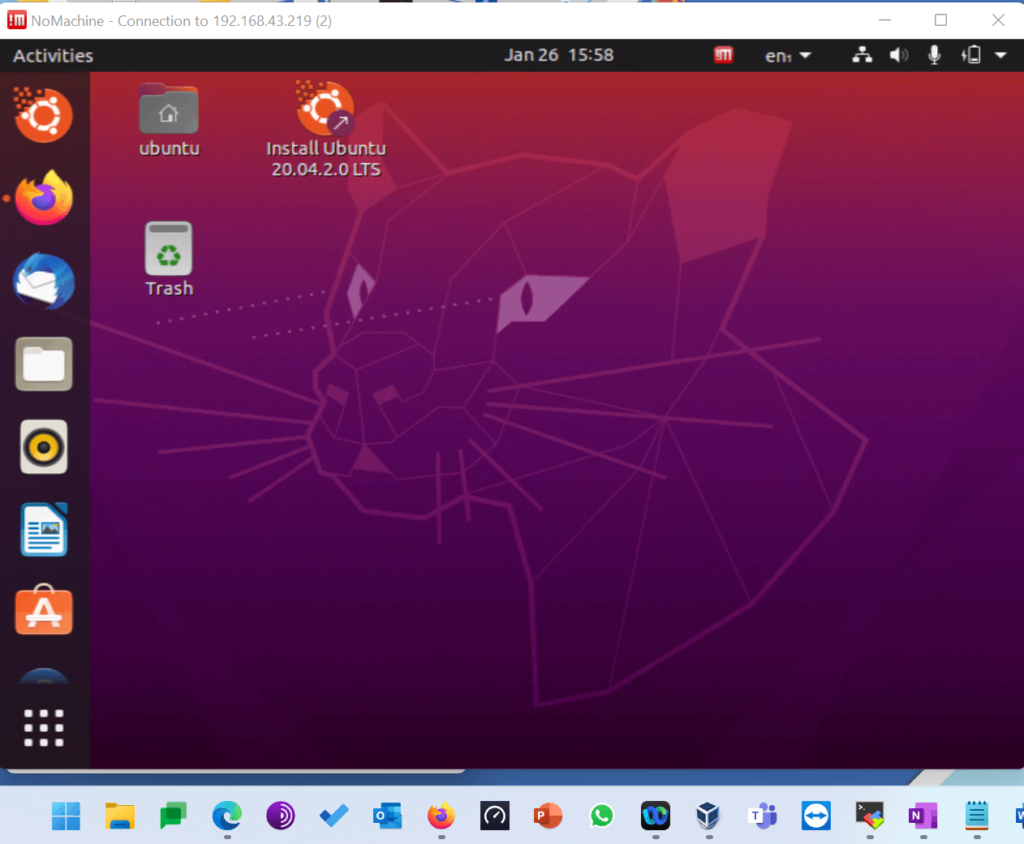
Congratulations, you have connected the machine successfully.
Give a try!
Conclusion
even I have used nomachine as the first time. But, I am not disappointed with the features and flawlessness of the service.
In setting you can define what resource are allowed to get access with host. Overall, for production environment NoMachine can be recommended, considering your internal security aspects are taken care properly. Stay tuned till the next topic.