In this post you will learn how to install Cacti on OpenBSD 7.1
Introduction
Cacti is an open-source, web-based frontend for the industry-standard logging tool RRDTool. It’s commonly used to monitor traffic via the Simple Network Management Protocol (SNMP).
Installation
We require the following packages in OpenBSD:
- apache-httpd
- rrdtool
- net-snmp
- mariadb-server
- php
And some php modules:
- php-cgi
- php-apache
- php-snmp
- php-mysqli
Let’s install those using pkg_add(1).
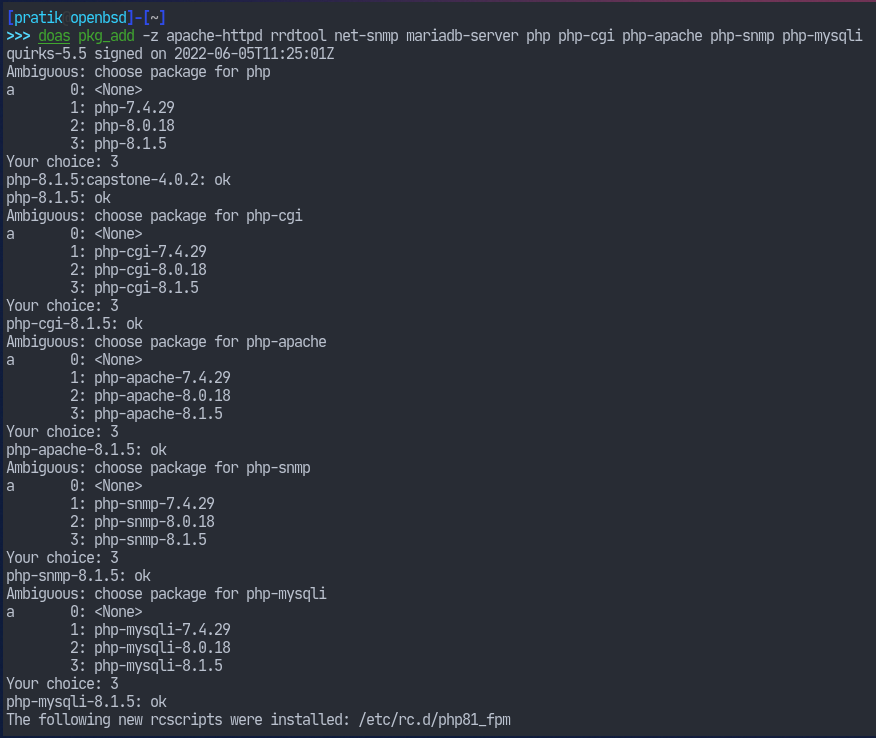
Configuring PHP
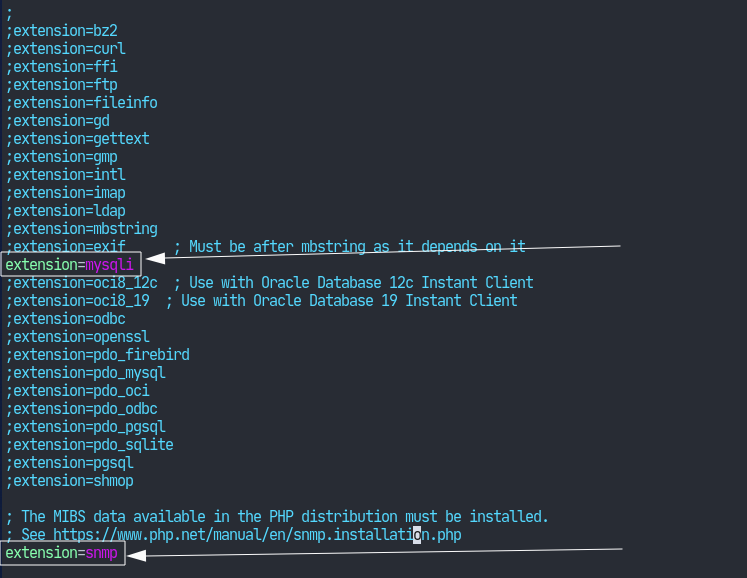
Now we need to configure php so that it has all of the required modules loaded. The installation has installed a readme file at /usr/local/share/doc/pkg-readmes/php-8.0. We should have a look at it.
Now enable the modules at /etc/php-8.1.ini. Here, I’ve installed php version 8.1, so the filenames may not be exact.
Configuring Apache
Now time for configuring the web server. The main configuration file for Apache is at /etc/apache2/httpd2.conf. This also loads the module configurations under /var/www/conf/modules/. The packages we installed automatically come with a php-8.1.conf file for configuraing our web server to use php. We just have to enable it.
Enable the php module with the following command.
ln -s /var/www/conf/modules.sample/php-8.1.conf /var/www/conf/modules/php.confHopefully it’s self-explanatory.
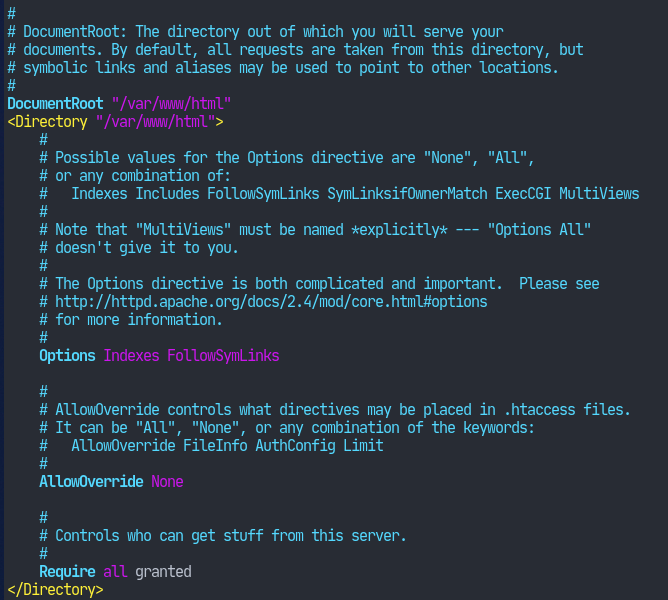
We’ll also serve webpages from the /var/www/html/cacti/ directory so we have to edit the /etc/apache2/httpd2.conf file. Search for the htdocs keyword and modify so that it looks like the following.
Configure MariaDB
The package readme at /usr/local/share/doc/pkg-readmes/mariadb-server suggests us to install the default database first. Let’s do that.
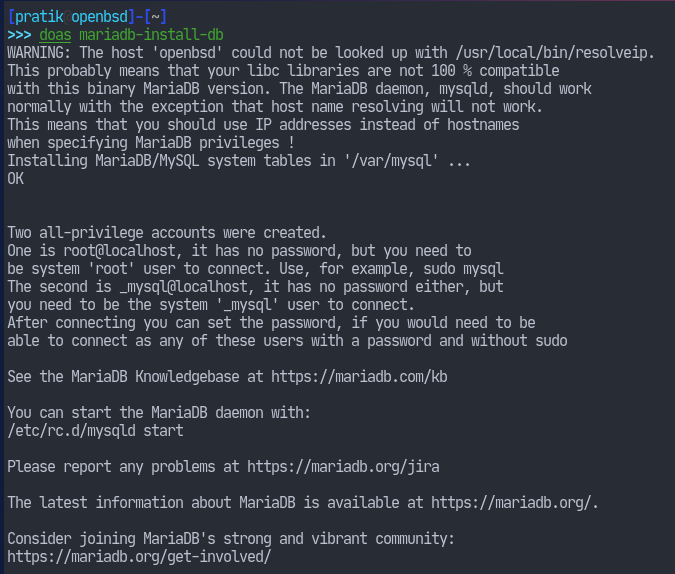
Now let’s start the database server.
doas rcctl start mysqldLet’s change the root password for the database.

Then create a database for Cacti.
doas mysqladmin --user=root create cactiObtaining Cacti
We can download the latest version of Cacti from the downloads page.

Now that’s been download, we can extract the tarball.
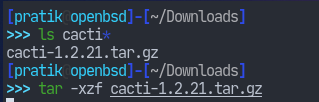
Now we need to setup the cacti database that we just created. Fortunately, the package we downloaded comes with a default database schema.
Navigate to the extracted directory. and run the following command.
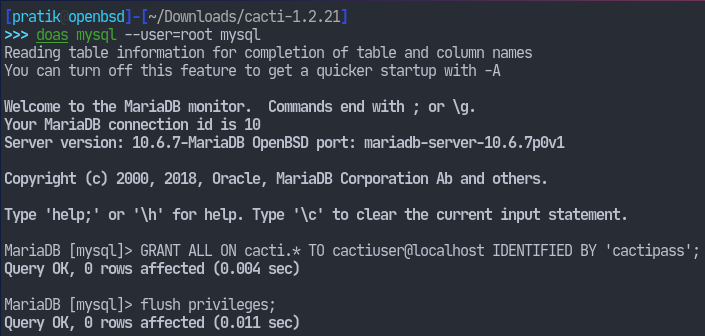
doas mysql cacti < cacti.sqlWe should also create a separate user to handle this database.
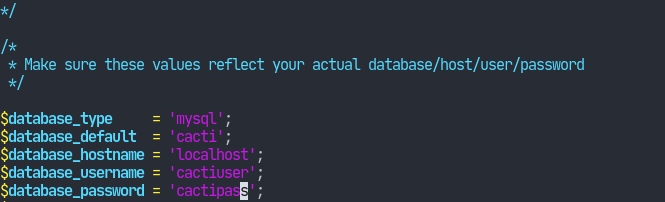
Edit include/config.php and make sure the credentials are correct.
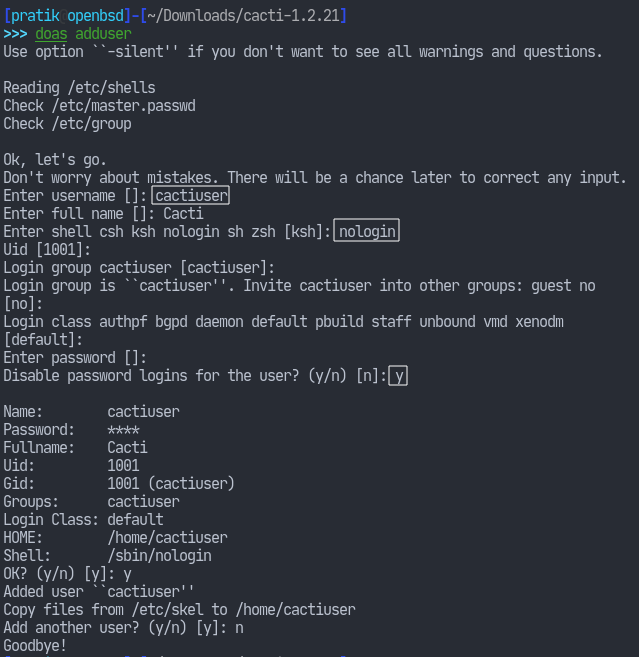
Let’s also setup a unprivileged user for the cacti application. This can easily be done with the adduser(8) script.
Now set the appropriate permissions on cacti’s directories. I’ve assumed you’re still in the extracted tarball directory.
doas chown -R cactiuser rra/ log/Add a cron job for the poller:
doas crontab -e
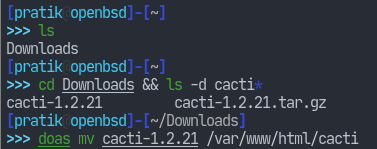
As we’ve specified the /var/www/html/ directory. Let’s move our download there.
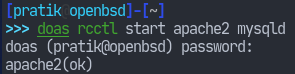
Now let’s run the web server and ensure our database is running.
Now the cacti instance should be accessible at http://localhost/cacti/. That’s it for today. Thank you for reading.