
In this guide, we explain how to install and setup Asterisk on a Debian 11.1 server. Connect a soft-phone to an Asterisk server for a great VOIP solution.
1. Download and Install Asterisk & dependencies
Simply use the package manager in your operating system to install Asterisk, DAHDI, and libpri. Most modern Linux distributions such as Debian, Ubuntu, and Fedora have these packages in their repositories.
$ sudo apt-get install asterisk dahdi libpri1.4So, say yes to the installation and let it run through, this process will install the application along with all the necessary dependencies and configuration files.
Once installed, confirm the configuration files have populated /etc/asterisk
$ ls /etc/asterisk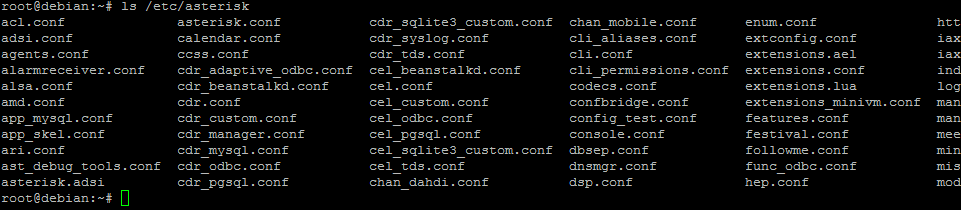
2. Configuration
This article includes an example configuration. It’s a very basic setup to demonstrate how it can be configured.
Please Note: Its advised to backup and move the default configuration files into a separate location then create new blank configs for your desired setup. Do this by running the following commands:
$ mv extensions.conf extensions.sample
$ vim extensions.conf
A brief break-down of the configuration files and their relevant functions:
asterisk.conf – asterisks main configuration
extensions.conf – bind and configure routes and extensions. Example:
[from-internal]
exten = 100,1,Answer()
same = n,Wait(1)
same = n,Playback(hello-world)
same = n,Hangup()
When a phone dials extension 100, we are telling Asterisk to Answer the call, Wait one second, then Play (Playback) a sound file (hello-world) to the channel and Hang-up.
Sip.conf – SIP Channel driver configuration. Example:
[general]
context=default

[6001]
type=friend
context=from-internal
host=dynamic
secret=unsecurepassword
disallow=all
allow=ulaw
So, now the Pjsip.conf – SIP Channel driver configuration. Example:
[transport-udp]
type=transport
protocol=udp
bind=0.0.0.0

[6001]
type=endpoint
context=from-internal
disallow=all
allow=ulaw
auth=6001
aors=6001

[6001]
type=auth
auth_type=userpass
password=unsecurepassword
username=6001

[6001]
type=aor
max_contacts=1
Then, restart the service if changes to the configuration have been made.
$ asterisk -rx "core restart now"Verify Asterisks successful installation by checking the system’s service:
$ sudo systemctl status asterisk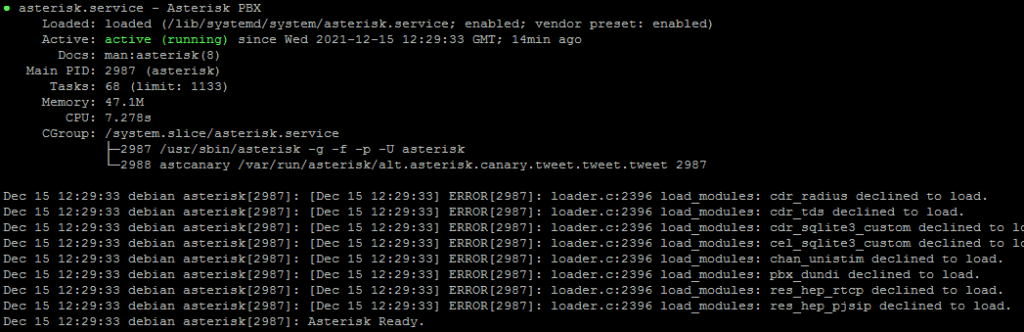
f you can see it’s running like above then you have successfully installed the application, ready for it to be tested.
4. Testing the application
Testing your setup on a softphone:
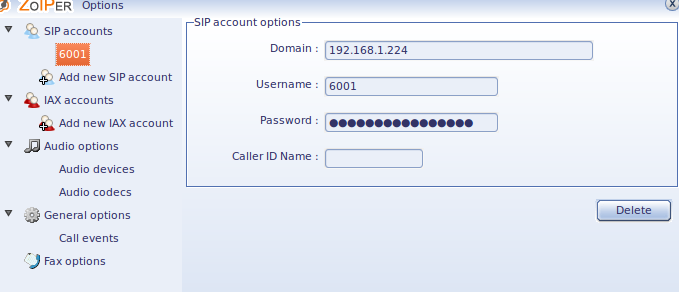
In this example, we’ll use Zoiper. Configure a new SIP account with the following details:
- Once Zoiper is opened, click the wrench icon to get to settings.
- Click “Add new SIP account”
- 6001 for the account name, click OK
- Enter the IP address of your Asterisk system in the Domain field
- 6001 in the Username field
- Enter your SIP peer’s password in the Password field
- Enter whatever you like in Caller ID Name or leave it blank
- Click OK
Make the call:
Go back to the main Zoiper interface, and make sure the account is registered. Select the account from the drop-down list and click the Register button next to it. If it says registered, you are good to go. If it doesn’t register, then double-check your configuration.
Once registered, enter extension 100 and click the Dial button. The call should be made and you should hear the sound file hello-world!