
Hello, friends. In this post, you will learn how to install Zulip on Debian 11.
For those who don’t know, Zulip is an open-source application for enterprise chat and distributed teams. You could say it’s a solid alternative to Slack and even Microsoft Teams.
The server-side code is written in Python using Django, which gives you an idea of its robustness. On the client side we have versions for Linux, Windows, macOS, Android and iOS, and an integrated web interface is also provided.
Zulip is quite secure and has all the features to be considered one of the best in its field. Let’s install it.
Some preliminary considerations
To complete this tutorial, we need a valid domain name, without this we will not be able to proceed. In addition to this, you need to know approximately what type of server you require.
Usually, the measurements are done for every 100 users, where you will need a server with at least 2 GB of ram and 2 CPU cores. However, the more, the better and the more user capacity.
In addition to this, you require a user with root privileges or sudo access.
With this in mind, we can get started.
Installing Zulip on Debian 11
First you have to upgrade your server completely before you can start.
sudo apt update
sudo apt upgrade
Next, you need to install a few packages had to complete the tutorial.
sudo apt install wget curl nano software-properties-common apt-transport-https gnupg2 ca-certificates debian-archive-keyringAfter all the packages are installed, you can now continue.
Next, download the Zulip package for Linux from the /tmp folder
cd /tmp
wget https://download.zulip.com/server/zulip-server-latest.tar.gz
Now you have to unzip it using the command tar.
tar -xf zulip-server-latest.tar.gzThereafter, you can install it. To achieve this, we need to add the --certbot options to install the let’s encrypt certificates at once; we also must add --email which is the one to use in certbot and Zulip’s initial configuration; and --hostname which is where we will define our domain.
sudo ./zulip-server-*/scripts/setup/install --certbot --email=your-email --hostname=your-domainThis will start the whole process, which will take a few minutes.
At the end, if everything went well, you will see an output screen similar to this one where you will be provided with the address you have to access to start the installation.

Completing the installation of Zulip
Access the link given to you in the installation, and it will take you to a screen similar to this one.
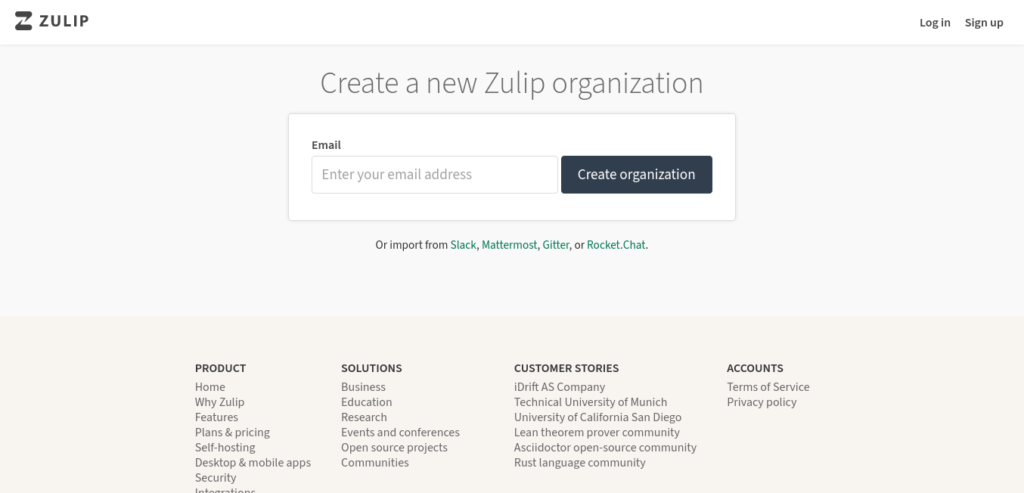
Now you need to enter an email address to create your organization. You can also import it from other services such as Slack or Rocket.chat.
Once you enter the email address, you can start creating your organization and admin user.

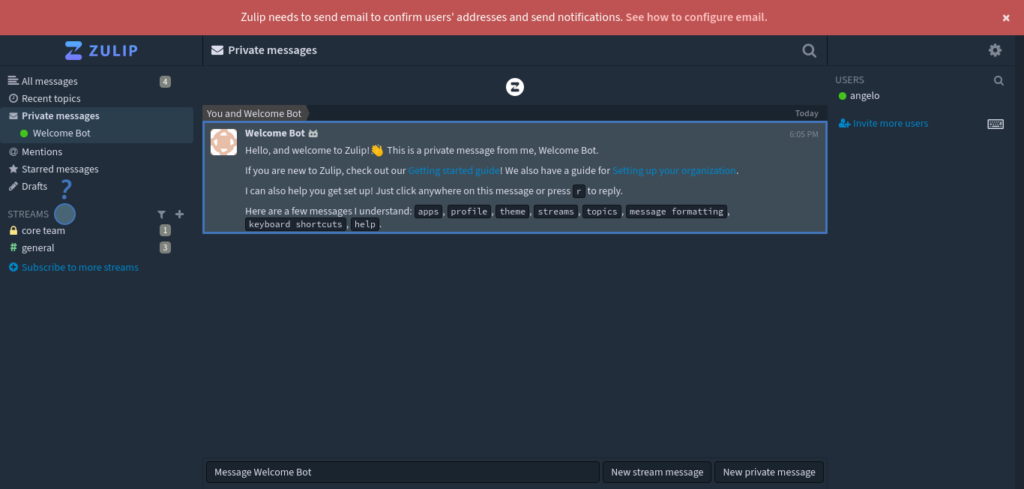
You will then be redirected to the main Zulip screen.
Conclusion
In this post, you learned how to install Zulip on Debian 11. I hope you liked the post and see you soon.