
Everything Linux, A.I, IT News, DataOps, Open Source and more delivered right to you.
"The best Linux newsletter on the web"
Introduction
WebVirtCloud the (virtualization web interface for admins and users).
So, WebVirtCloud is a virtualization web interface for admins and users.It can delegate Virtual Machine’s to users. A noVNC viewer presents a full graphical console to the guest domain. KVM is currently the only hypervisor supported.
Features
- QEMU/KVM Hypervisor Management
- QEMU/KVM Instance Management – Create, Delete, Update
- Hypervisor & Instance web based stats
- Manage Multiple QEMU/KVM Hypervisor
- Also Manage Hypervisor Datastore pools
- Manage Hypervisor Networks
- Instance Console Access with Browsers
- Libvirt API based web management UI
- User Based Authorization and Authentication
- Also User can add SSH public key to root in Instance (Tested only Ubuntu)
- In addition to, User can change root password in Instance (Tested only Ubuntu)
- Supports cloud-init datasource interface
Installation
- Update your system
dnf update -y- Install and configure KVM and KVM Management Tools on CentOS 8
dnf install @virt virt-top libvirt-devel libguestfs-tools -y- Start and enable KVM libvirtd service
systemctl start libvirtd && systemctl enable libvirtd- Download the installer script for webvirtCloud KVM Management
curl -o webvirtcloud-install.sh https://raw.githubusercontent.com/retspen/webvirtcloud/master/install.sh- Make the script executable
chmod +x webvirtcloud-install.sh- Then, Install WebVirtCloud KVM Management Dashboard by running the script.
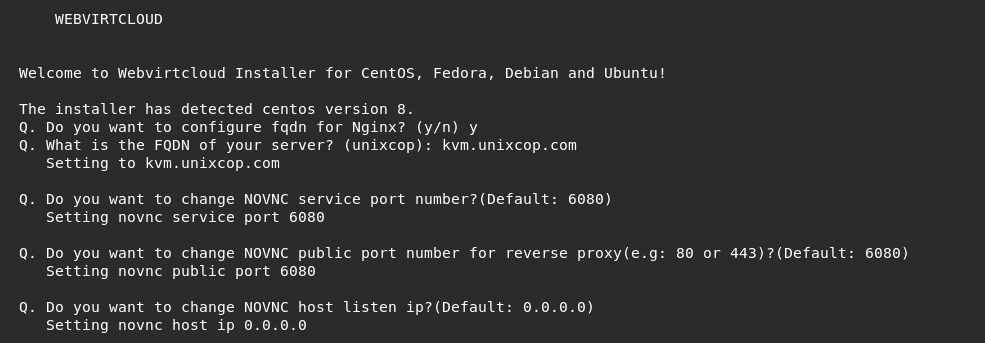
./webvirtcloud-install.sh- Agree to configure fqdn for Nginx as shown below by typing y then Enter name of nginx fqdn
- Also accept the NOVNC service and public port number and Listen address as shown
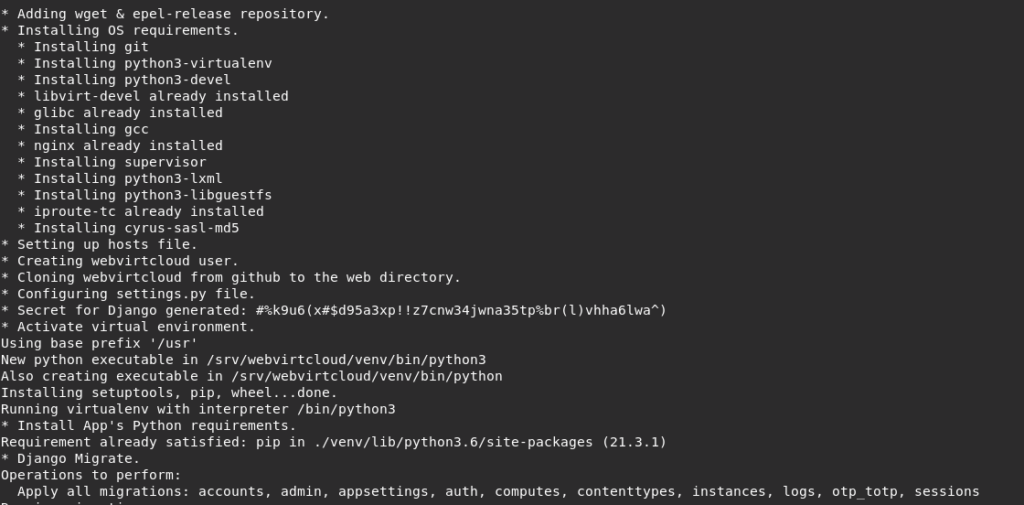
- The packages installation is ready to be executed by the script
- The installation was successful, So you should copy the URL used below to access webvirtcloud web console.
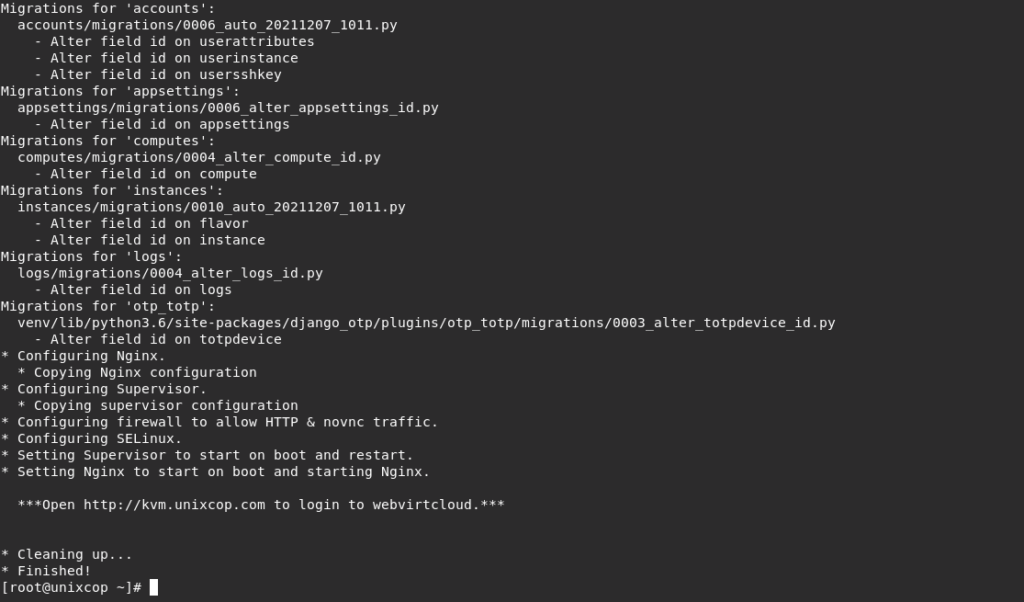
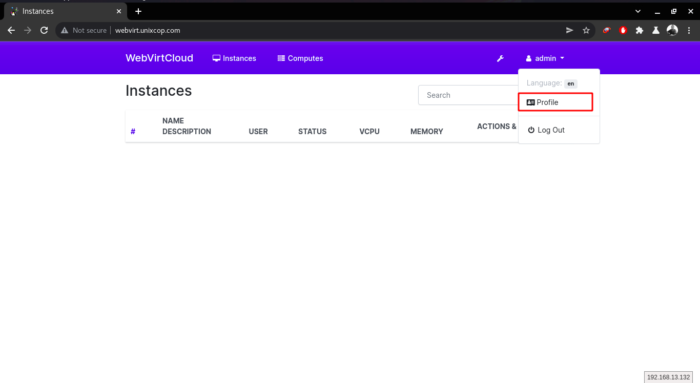
- Go to http://kvm.unixcop.com , the login screen will be showed as follows, So enter the default login credentials which are :
username: admin
Password: admin

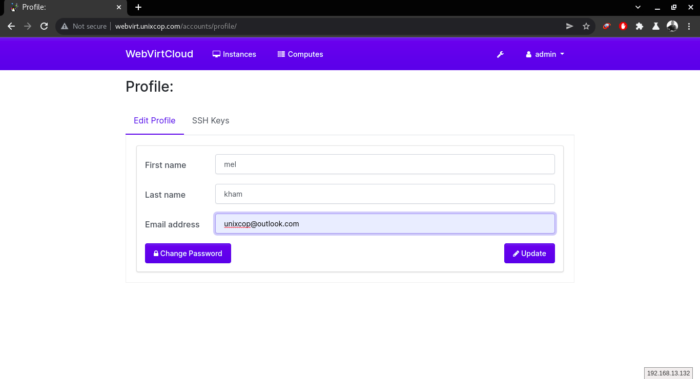
- Also you can Update your profile information, just go to admin>profile
- This information such as your name, last name and your email address
- Also you can change your login password from here.
NOTE: Now, we will add KVM Compute Hosts to Manage, but first we will generate ssh keys to access and connect these compute hosts
- Generate ssh keys
sudo -u nginx ssh-keygen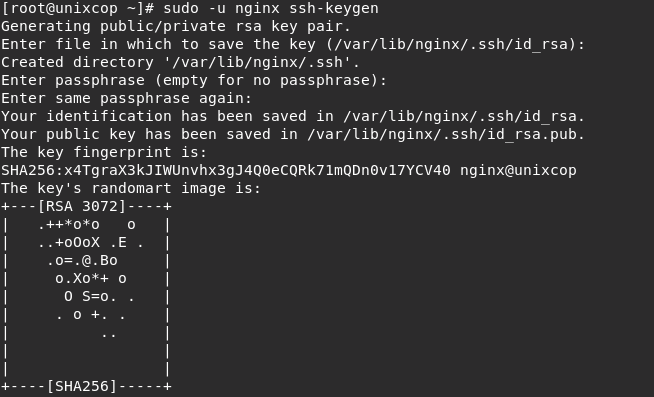
- Disable StrictHostKeyChecking(Optional)
vim /var/lib/nginx/.ssh/config- Then add the following
Host *
StrictHostKeyChecking no- Set an appropriate ownership of the SSH configuration file to nginx user
chown nginx -R /var/lib/nginx/.ssh/config- Upload webvirtcloud public key into authorized keys on the compute node.
For local KVM node:
cat /var/lib/nginx/.ssh/id_rsa.pub >>~/.ssh/authorized_keysFor remote KVM node:
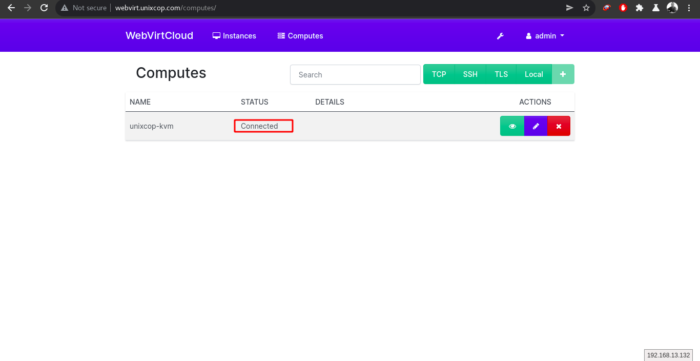
sudo -u nginx ssh-copy-id root@exampleCompute1- On the WebVirt Cloud, go to Computes then choose SSH.
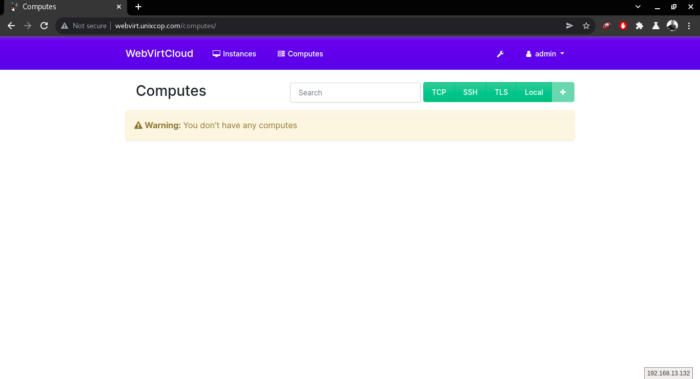
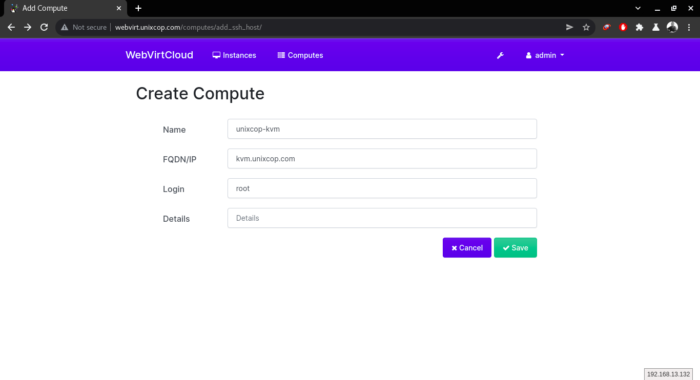
- Choose SSH connection to add your KVM Nodes and input KVM node details as shown below.
Conclusion
That’s it
We illustrated how to install and configure WebVirtCloud KVM and also we created a computes.
Thank you.
Everything Linux, A.I, IT News, DataOps, Open Source and more delivered right to you.
"The best Linux newsletter on the web"