
INTRODUCTION
This step-by-step guide intended to provide practical documentation for installing InfoScale Enterprise 7.4.1 in a non-production capacity. There is a innumerable of configurations for software products and the one used in this article is only meant to be used to demonstrate InfoScale’s . In this article we are about to learn how to Install Veritas Cluster server on CentOS 8 | RHEL 8 step by step.
So The installation of InfoScale can_be performed using ISO installer, YUM, Response file, Kick start installer or from System management Satellite server.
Also In our article, we are going to accomplish the installation using ISO installer.
Networking
Before starting with VERITAS Setup, we required two or three numbers of Centos 8/RHEL 8 servers in same hardware and specifications, each node required three interfaces one used as public interface for Heartbeat, two private interfaces used for High Availability to share the resources across both the nodes. Moreover, the public network is for client connections and the private networks are redundant connections for Low Latency Transport (LLT) and Group Atomic Broadcast (GAB) protocols used for intra-cluster communication. Here we are using three nodes in our lab.
Software
The required software is documented in Table with download link.
| Software | Version | Download Location |
| Red Hat Enterprise Linux | 8.x | https://access.Red Hat.com/downloads/content/69/ver=/rhel— 7/8/x86_64/product-software |
| Centos | 8.x | Download (centos.org) |
| InfoScale Enterprise | 7.4.1 | https://www.veritas.com/content/trial/en/us/veritas- infoscale-solutions |
- So Set up certificate-based login (to enable login without passwords).
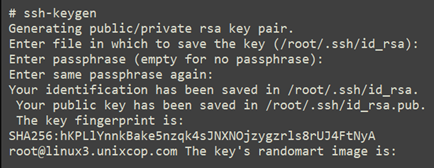
Generate an SSH Key Pair with ‘ssh-keygen’ from the host where you will be connecting to the InfoScale nodes from other.
#ssh-keygen
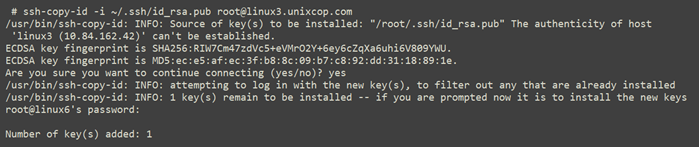
2. Install the public key on the freshly installed server with
‘ssh-copy-id -i ~/.ssh/id_rsa.pub [email protected] ‘
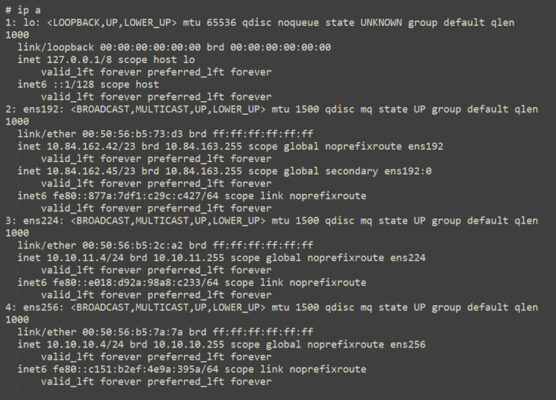
3. Also The network interfaces should all configured with IP addresses on their respective networks. Below is the example
#Ip a
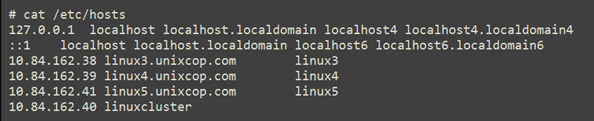
4.Verify each IP registered in DNS. If there is no DNS available, you can use a host file to enable host lookup. Note the following is an example of a configured host file for the cluster and installation.
#cat /etc/hosts
5.So Install extra RPMs and execute the command

Disable selinux.

Once in vim, change this line:
SELINUX=permissive (From)
SELINUX=disabled (To)
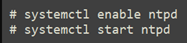
Enable NTP.
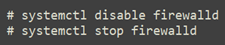
Also Disable firewalld.
6.Extract Media
#tar -zxvf Veritas_InfoScale_7.4.1_RHEL.tar.gz
#ls -lart
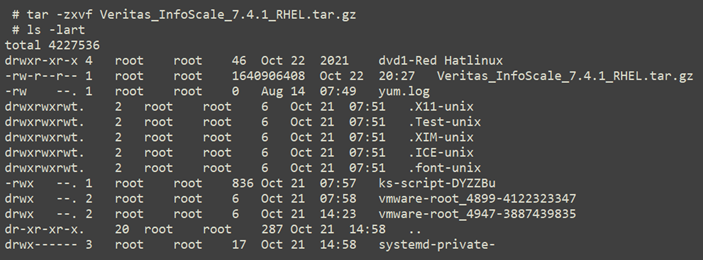
Note: The tar file will extract in the directory of dvd1-Red Hat linux which contains all the installation files there we can start the installation.
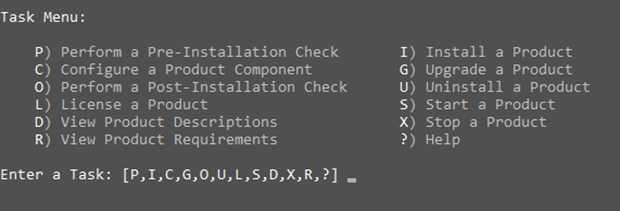
7.So Now run the installer
# dvd1-Red Hat linux/rhel8_x86_64/installer

8. Menu will start Select option ‘P’ for Perform a Pre-Installation

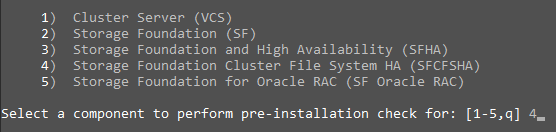
9. Then Select option ‘4’.
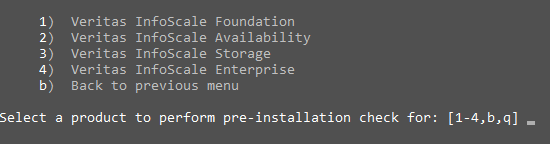
10.Then Select option ‘3’ or 4 as per Req.
11.Enter the Linux host names to checked.

12.So Let the installer set up SSH connections between the nodes by selecting the ‘Y’ option.

13.Enter the root password,

Specify the same password for all hosts by selecting option ‘Y’.

Select option ‘1’.

The Pre-Installation checker will now re-check all nodes.
14.It will check missing RPMs. Select option ‘1’ to install the missing RPMs and Install it via yum or install manually.
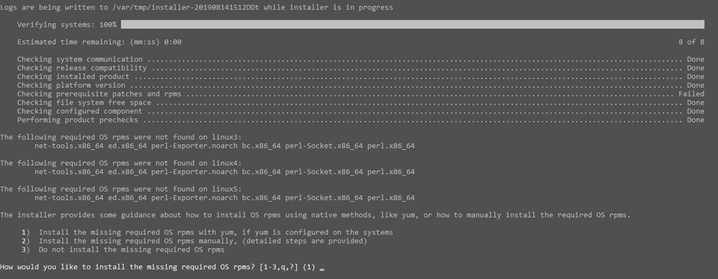
15.When complete, press enter to continue.

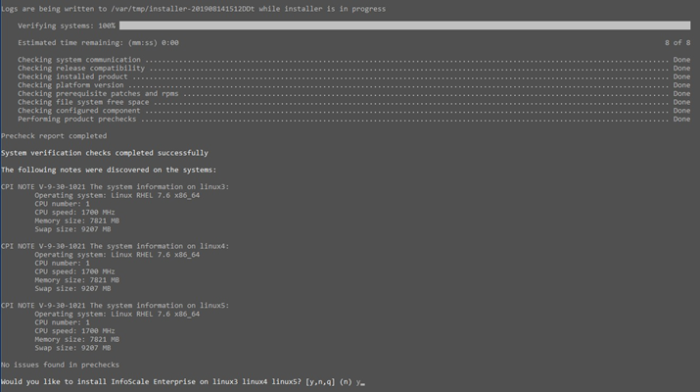
At this point, Precheck will be run one more time.
16.Install InfoScale Enterprise by selecting option ‘y’.
17.Agree to term in the EULA by selection option ‘y’.

18.Installation started

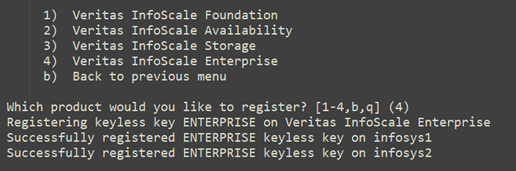
19.Enable Keyless licensing by selecting option ‘2’.

20.Select License Type
I/O Fencing
It needs to be determined at this time if you plan to configure I/O Fencing in enabled or disabled mode, as well as help in determining the number of network interconnects (NICS) required on your systems. If you configure I/O Fencing in enabled mode, only a single NIC is required, though at least two are recommended. A split brain can occur if servers within the cluster become unable to communicate for any number of reasons. If I/O Fencing is not enabled, you run the risk of data corruption should a split brain occur. Therefore, to avoid data corruption due to split brain in CFS environments, I/O Fencing has to be enabled.

Now Installation will be started

After Complete Type n ” for view the summary file.
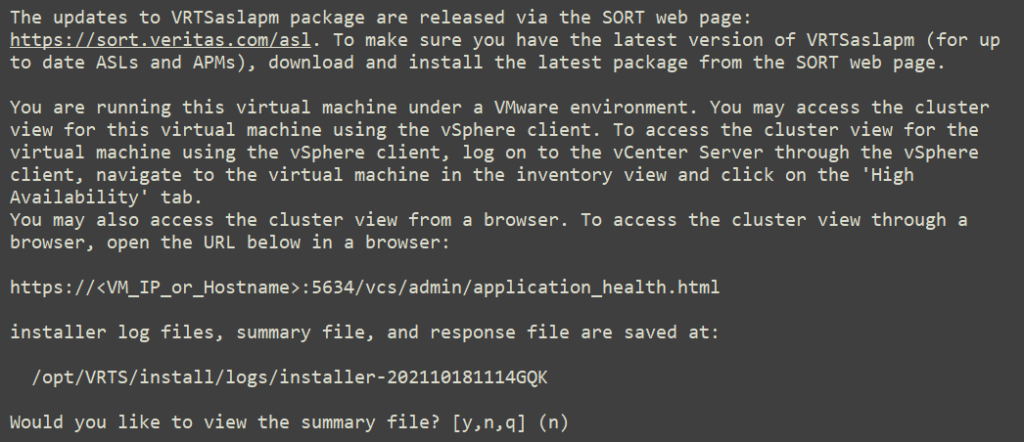
Done! (Installation is completed Successfully)
We appreciate your feedback, Thanks for reading our post. Please share with your friends.
Excellent article Thanks for uploading.