
Hello, friends. In this post, you will learn how to install the Exa command on Ubuntu 20.04. This command adds functionality to another command known throughout Linux as ls So, let’s get started.
The Exa command
According to the official Exa website
exa is an improved file lister with more features and better defaults. It uses colors to distinguish file types and metadata. It knows about symlinks, extended attributes, and Git. And it’s small, fast, and just one single binary.
So this is a command that guarantees ease of use with improved behavior compared to ls. That is why more and more users have it installed on their systems because it offers considerable advantages. In short, exa attempts to be a more featureful, more user-friendly version of ls.
From the technical level, it is an application made with rust and is open source. In addition, the installation is reduced to a single binary, so it does not get in the way of the system.
Another thing that I really like about using exa is that it has a lot of different options so we don’t have to miss anything.
So, let’s install it, and then we’ll explain how to use it.
Install Exa on Ubuntu 20.04
Since this is an application created with Rust, we can install it using cargo.
cargo install exaAlthough it is also possible to do it by downloading directly the binary and saving it in a directory of the system that is in our PATH.
This last option is the one we are going to use because it is easy and gives us the latest version available.
First, download it using this command
wget https://github.com/ogham/exa/releases/download/v0.10.1/exa-linux-x86_64-v0.10.1.zip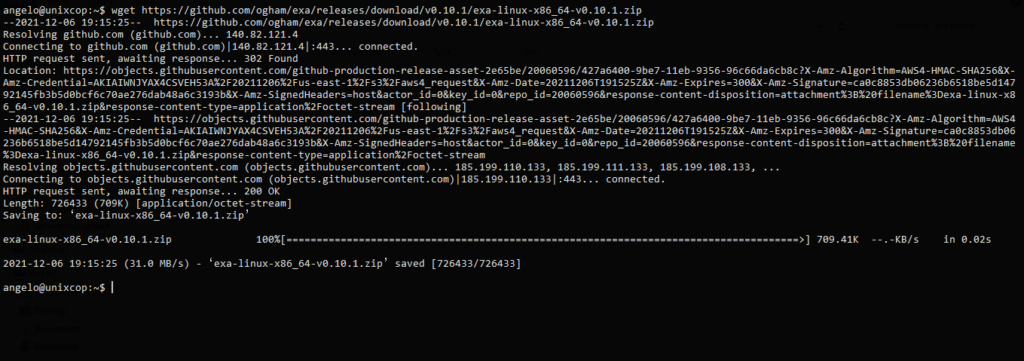
Remember that the version of Exa will change over time, so first visit the project’s Github page to find out what it is.
Then unzip it and at once add it to the /usr/local folder
sudo unzip -q exa-linux-x86_64-v0.10.1.zip bin/exa -d /usr/localAnd to check that everything went well, then you can show the installed version
exa --versionSample output
exa - list files on the command line
v0.10.1 [+git]
https://the.exa.website/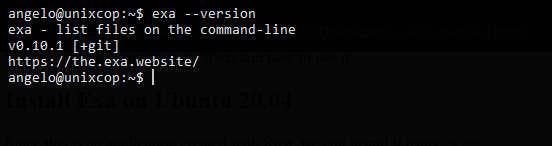
So, it’s installed now let’s use it.
Using the Exa command
The use of Exa is quite similar to that of ls so we can use it by invoking the command just by calling the command
exaThis will display the contents of the folder where the prompt is located. Also, you can specify one for example
exa /etc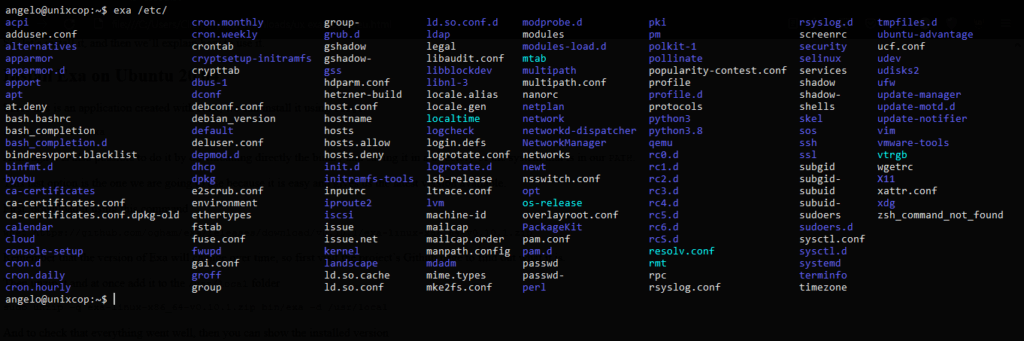
Exa has many different options. For example, we can add the -l option to get a long output format.
exa -l /etc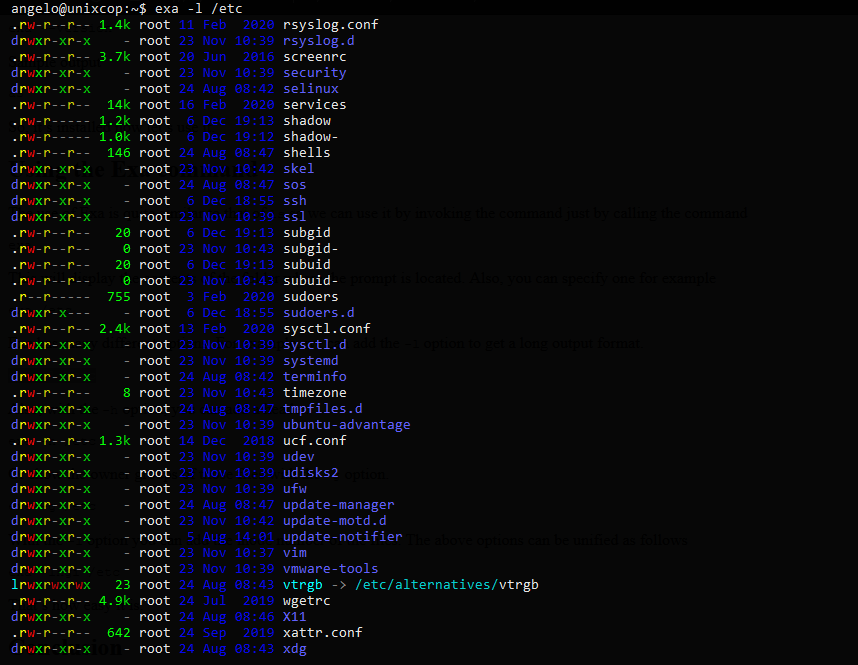
Also, with the -h option, you can add a header.
exa -lh /etcOr show the owner groups of those files with the -g option.
exa -lg /etcWith the -i option you can add the inode number of the files. The above options can be unified as follows
exa -lhgi /etc/terminfo/
That’s how easy it is.
Conclusion
In this post, you learned how to use the exa command to get a solid alternative to the ls command we all know.
We invite you to read the Github profile of the tool to have access to all the available options as well as the help provided by the developers.