")
Hello, friends. In this post, you will learn how to install and use Chrony on Rocky Linux 9 / CentOS 9 Stream. So, you can use it to synchronize your server time with other NTP servers.
In very few words, chrony is an implementation of NTP that allows us to synchronize the time of our server with another server dedicated to it using the mentioned protocol.
With Chrony you can do:
- Synchronize the system clock with
NTPservers. - Synchronize the system clock with a reference clock, for example a GPS receiver.
- Also, it can be used to synchronize the system clock with a manual time entry.
So a sysadmin or Linux administrator has to know it perfectly. Let’s go.
Install Chrony on Rocky Linux 9 / CentOS 9 Stream
Fortunately, Chrony is present in the Rocky Linux / CentOS repositories, so the whole process is relatively straightforward.
First, open a terminal or via SSH connect to your server. When you do, update it.
sudo dnf updateThen, you can install it with the command:
sudo dnf install chronyThen it’s time to use it a bit.
Using Chrony
To use it, we first need to start its service, since Chrony contains a daemon and a terminal tool.
sudo systemctl start chronydThen check the status
systemctl status chronyd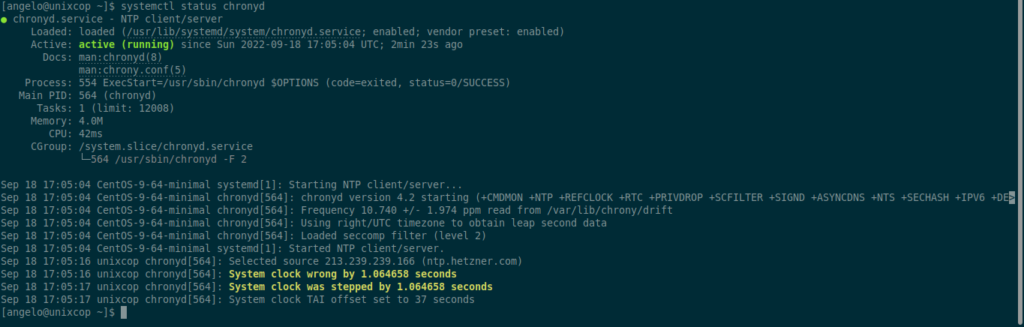
In this case, Chrony is running correctly.
The Chrony configuration file allows us to modify many things about the behavior of Chrony. Although the configuration is good, it is advisable to take a look at it.
sudo vi /etc/chrony.conf
Although the file is well documented, the most important thing is that in the server and pool section is where you specify the NTP servers to use.
So, which one to use? Well, the list is here, and you should use only the ones that are close to the server location.
Save the changes and close the editor. To apply them, then restart the service.
sudo systemctl restart chronydCheck the status not of the service, but of the synchronization.
chronyc trackingYou will get an output screen like this.
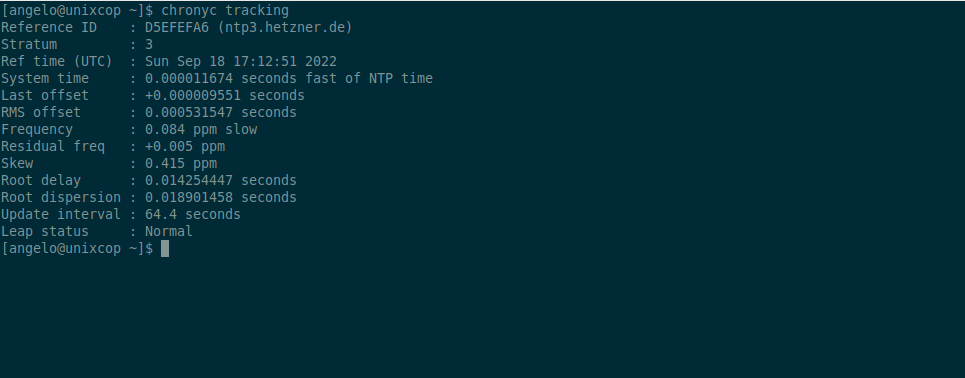
There you can get information about the synchronization delay, the server and other statistics.
You can also check the sources from where the sync will be taken.
chronyc sourcesSample output:
MS Name/IP address         Stratum Poll Reach LastRx Last sample
===============================================================================
^* ntp3.hetzner.de               2   6   377    20  -3719ns[  +74ns] +/-   36ms
Finally, you can force a sync with a specific server with this command
chronyd -q 'server 0.europe.pool.ntp.org iburst'.Of course, you can replace the server with another one.
Conclusion
In this post, you learned the basics of synchronizing your server with NTP using Chrony. I hope it will help you sometime.