
Introduction
Pydio is an open-source file-sharing platform. file-sharing can be a challenge if things are not taken care of properly. Keeping data intact while sharing files across the network could be a big challenge. Quick data search, granular security are the major features of the service. Let’s go through all of the features one by one. Refer to our other related articles for another open-source close service.
Key Features
- Self-hosted featues help to manage in house security.
- Huge data transfer possible with state of the featues.
- Granual security featues which helps to keep security at multiple level i.e. user and files.
- Advanced work flow automation help to easy, quick steps delpyoment of the server.
- Support almost all linux variants for installation.
Pre Requisites
As per the official recommendations from the site, the server must be having:
SSD storage, 64 Bit processor and 4GB of RAM will be good.
Installtion
Here, in the demonstration, we will be using Ubuntu 21.04 LTS. Update server first.
# apt update
Well, let’s check the IP address meanwhile.
# ip addr
Our example IP address for the server is 172.16.10.5
Install database.
# sudo apt install mariadb-server
Create the required database.
sudo mysql -u root -p
CREATE DATABASE cells;
CREATE USER 'pydio'@'localhost' IDENTIFIED BY 'P@ssw0rd';
GRANT ALL PRIVILEGES ON cells.* to 'pydio'@'localhost';
FLUSH PRIVILEGES;
exit
Create user
# sudo useradd -m -s /bin/bash pydio
Login to user
# sudo su - pydio
Installed required packages.
Download package from this link, right-click and copy link.
# cd /pydio && wget wget https://download.pydio.com/pub/cells/release/3.0.3/linux-amd64/pydio-cells-3.0.3-linux-amd64.zip?hsCtaTracking=1469420d-7ee1-4558-882b-b18f76e75389|ff369727-53b5-4443-b1dd-e4fda31dee36
After the package is downloaded, rename it.
# mv pydio-cells-3.0.3-linux-amd64.zip\?hsCtaTracking\=1469420d-7ee1-4558-882b-b18f76e75389 pydio-cells-3.0.3-linux-amd64.zip
Decompress package, use the following command to unzip the package.
# sudo unzip pydio-cells-1.5.0-linux-amd64.zip
Check what we have got here.

Let’s install the package.
Change permissions for the decompressed package.
# sudo chmod u+x cells
Change ownership of the package.
# sudo chown pydio.pydio cells
Now, install the package.
# ./cells install
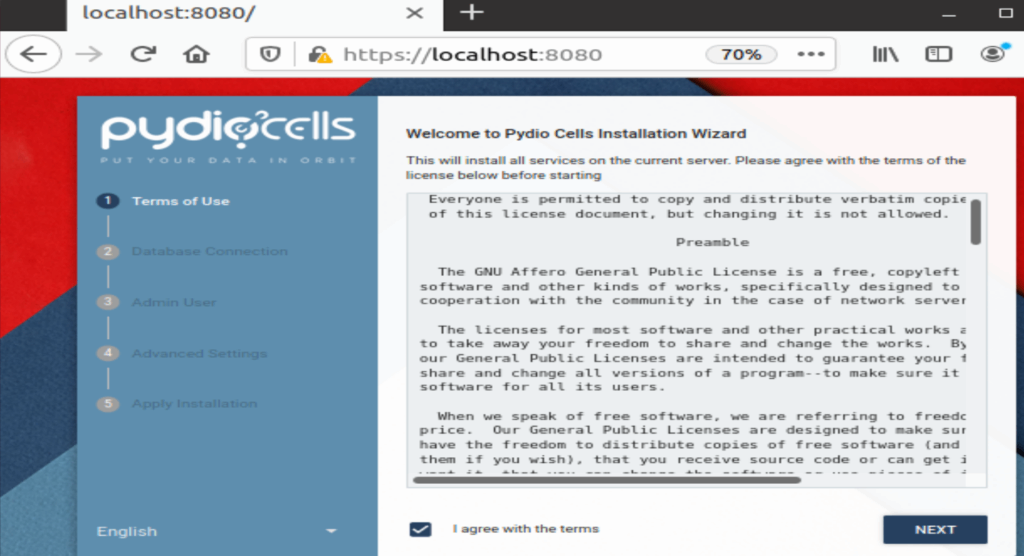
Now, open the browser and type <https://IP-Addr:8080>. Click on the agreement and next.
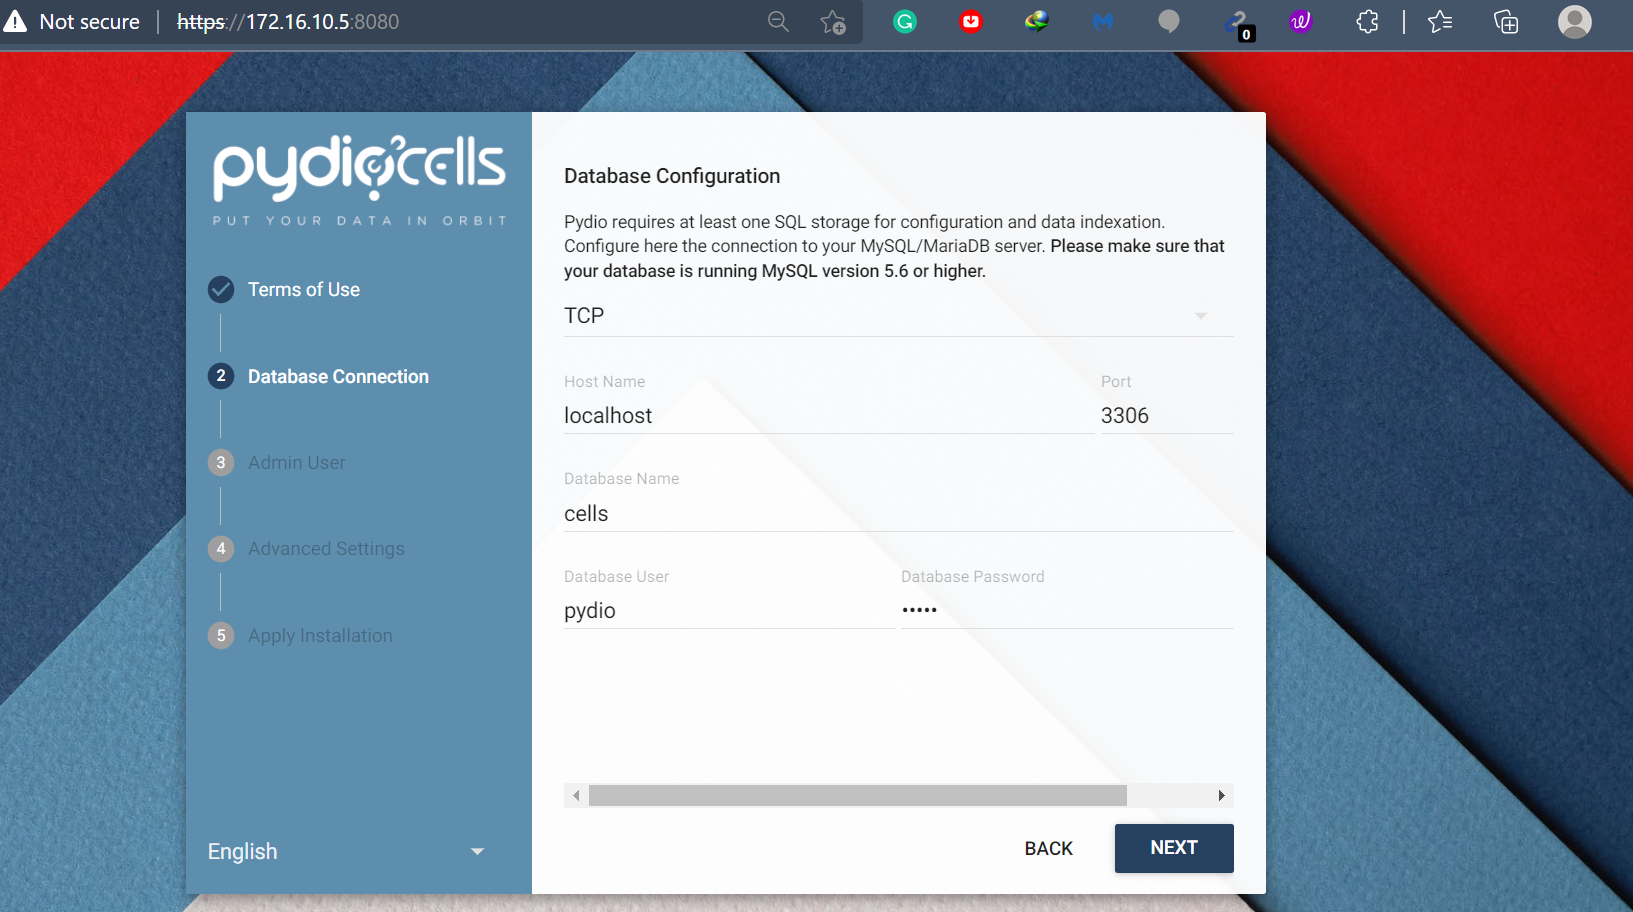
Provide database created in recent steps, next.
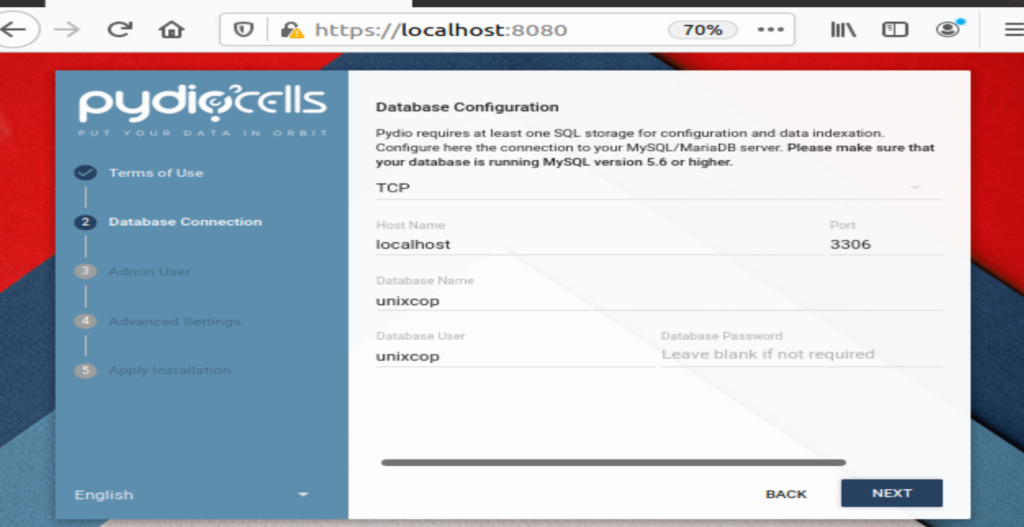
Pydio database user, with credentials.
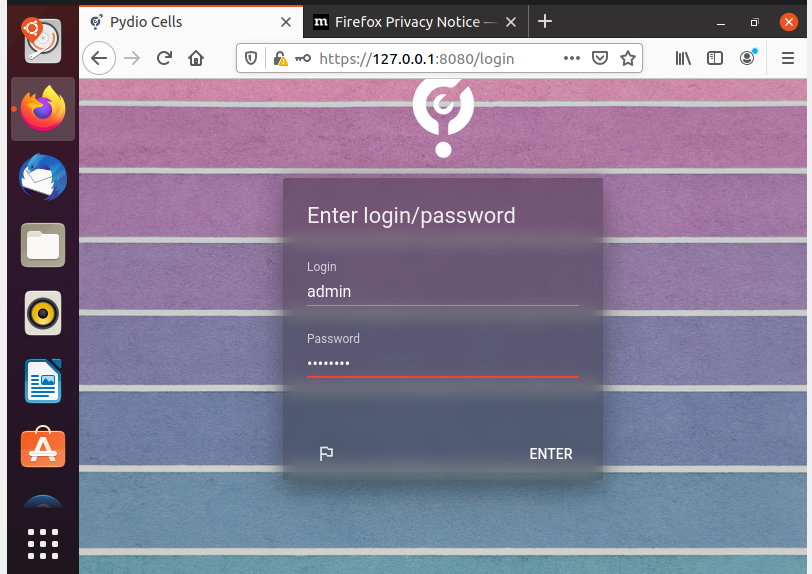
Define admin password. Proceed.
The server will ask for advanced settings, which are options. Process per your choice.
Let the installation get complete.
Login with created admin password. Congratulations now we have successfully Pydio.
After installation is completed, users and shared resources are available to define.

Conclusion
Pydio is installed, what next? You can define shared resources. Manage resources access based on sharing rights.
I might be wrong but my experience is the resource feels something like google g suite shared folder/resource. As services are available in-house, covering proper backups and taking care of users’ rights, data is highly secure and in your control. Stay tuned for the next topic.