")
Hi, today you will learn how to install Odoo on CentOS 8
Odoo is an open-source ERP software that offers a wide range of business applications including, customer relationship management (CRM), sales pipeline, project management, manufacturing, invoicing, accounting, eCommerce etc. It is a web based and fully-featured application that helps you to maintain the ERP in any business. Odoo have 30 core modules and more than 4500 community-created modules that help you to customize it as a small shop to an enterprise-level corporation. In this article we will learn How to Install Odoo (Open Source ERP and CRM) on CentOS 8.
First, we will update ypur CentOS 8 and then install EPEL repository.
dnf -y update
dnf install epel-release
Next, we will install Python 3 and some other dependencies that will be used by Odoo. Use the following command to do so.
dnf install python36 python36-devel git gcc wget nodejs libxslt-devel bzip2-devel openldap-devel libjpeg-devel freetype-devel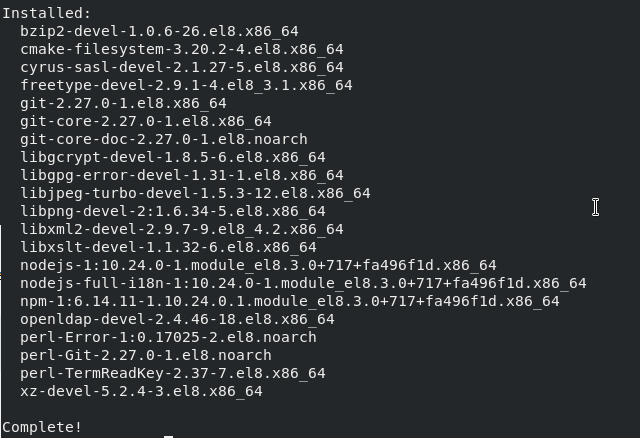
Install and Configure PostgreSQL:
PostgreSQL is a free and opensource relational database management system used in a vast array of applications to store data. We will use PostgreSQL as database in Odoo. To install PostgreSQL use the following command:
dnf install postgresql-server postgresql-contrib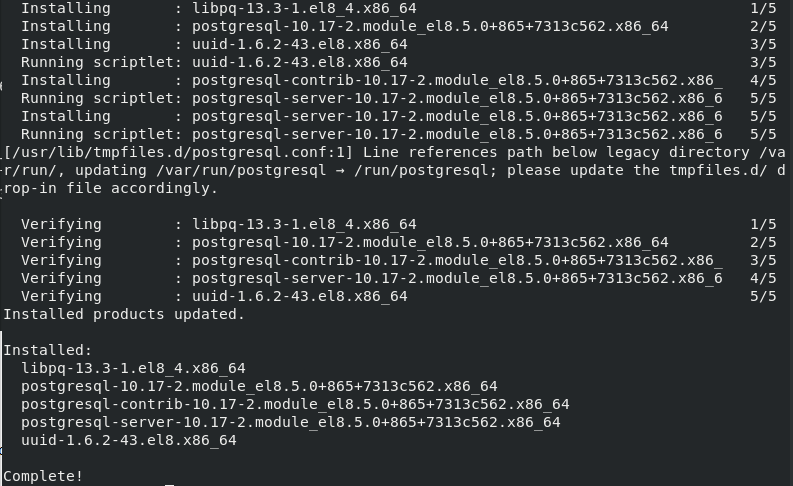
Now Initialize the PostgreSQL Database cluster using the following command:
postgresql-setup initdb
Now, restart and Enable the PostgreSQL so that it can start on boot.
systemctl restart postgresql
systemctl enable postgresql
systemctl status postgresql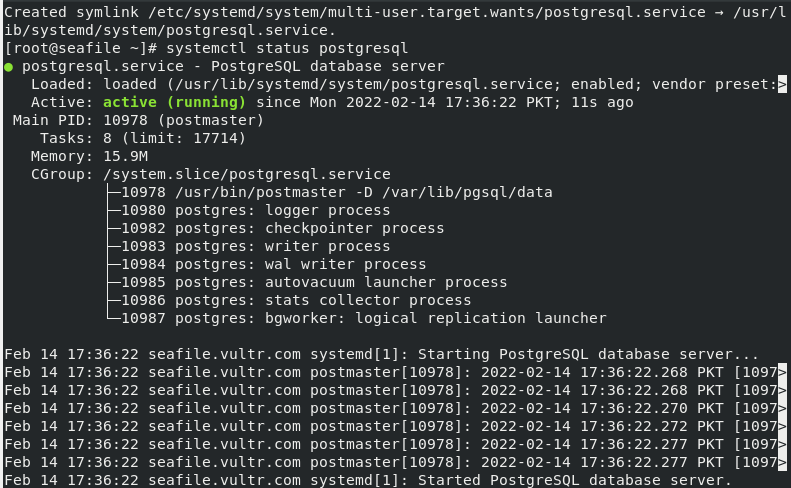
Install the Wkhtmltopdf Tool:
Odoo needs Wkhtmltopdf package to print PDF reports. Wkhtmltopdf tool is used to HTML to PDF and other formats. Use the following command to install Wkhtmltopdf.
dnf install https://github.com/wkhtmltopdf/wkhtmltopdf/releases/download/0.12.5/wkhtmltox-0.12.5-1.centos8.x86_64.rpm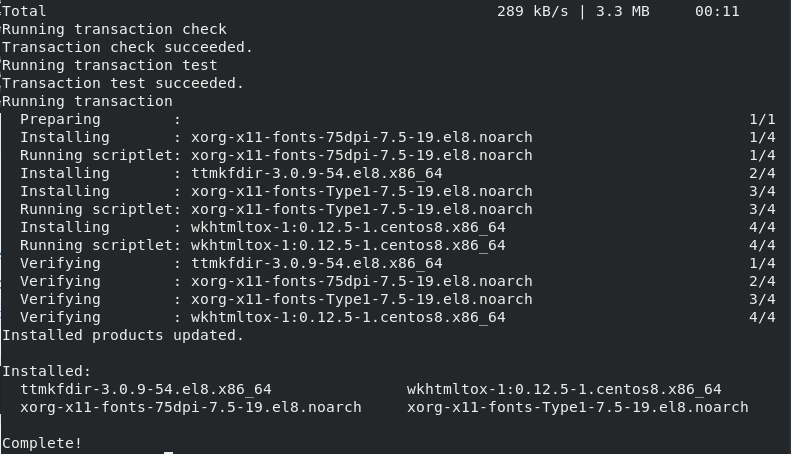
install Odoo on CentOS 8
We will add a new system user that will be used to run Odoo service. We will name new user odoo with home directory /opt/odoo.
useradd -m -U -r -s /bin/bash odoo -d /opt/odoo
passwd odoo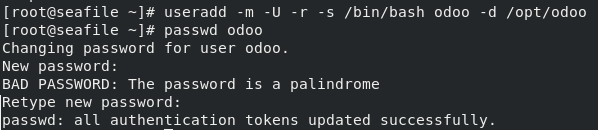
Now switch to odoo user.
su - odoo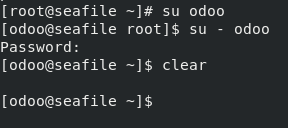
Next, clone the Odoo git repository using the following command:
git clone https://www.github.com/odoo/odoo --depth 1 --branch 13.0 /opt/odoo/odoo13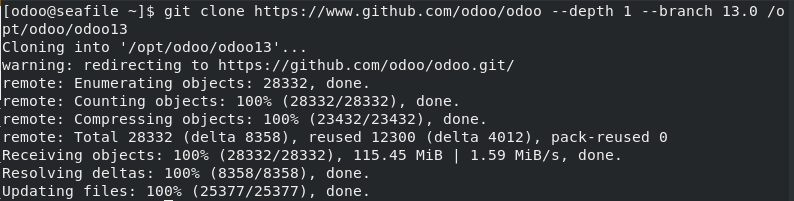
Now, Clone virtual environment using the following command:
cd /opt/odoo
python3 -m venv odoo13-venv
Now, activate the virtual environment created above using the following command:
source odoo13-venv/bin/activate
Install the python modules inside this virtual environment for smooth installation of Odoo.
pip3 install -r odoo13/requirements.txt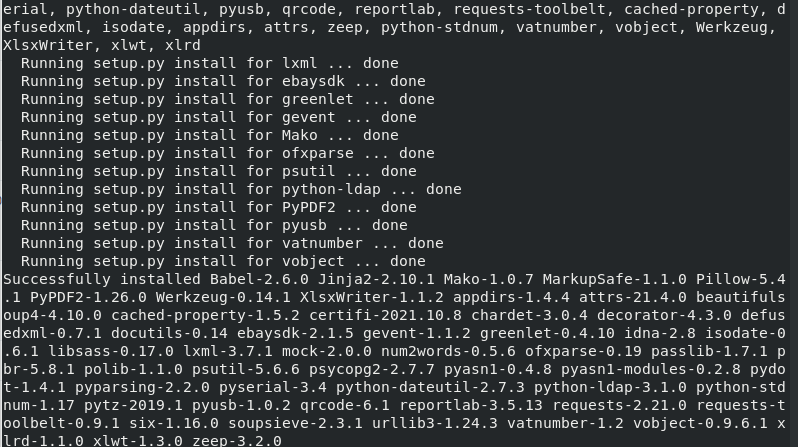
Once the installation of the Python modules is complete, exit the virtual environment using the following command:
deactivate && exit
Now we will install custom modules for Odoo and separate directory and then provide the ownership of that directory to Odoo.
mkdir /opt/odoo/odoo13-custom-addons
chown -R odoo:odoo /opt/odoo/odoo13-custom-addons
Similarly, we will create a custom log directory and log file using the following commands:
mkdir /var/log/odoo13
touch /var/log/odoo13/odoo.log
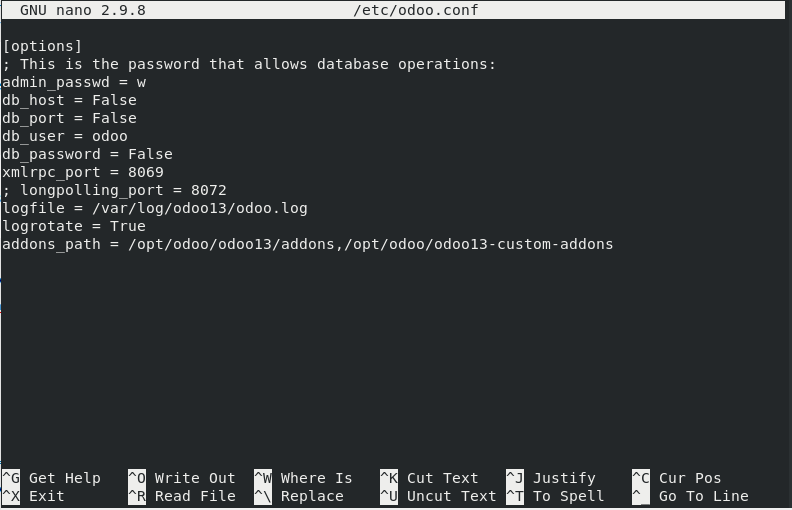
chown -R odoo:odoo /var/log/odoo13/Now we will create the configuration file for Odoo using the following command:
nano /etc/odoo.confAdd the following lines:
[options]
; This is the password that allows database operations:
admin_passwd = strong_password
db_host = False
db_port = False
db_user = odoo
db_password = False
xmlrpc_port = 8069
; longpolling_port = 8072
logfile = /var/log/odoo13/odoo.log
logrotate = True
addons_path = /opt/odoo/odoo13/addons,/opt/odoo/odoo13-custom-addons
Replace the strong_password with your preferred password in above configuration.
Create an Odoo Systemd Unit File:
Now create a systemd unit file for Odoo using the following command:
nano /etc/systemd/system/odoo13.serviceAdd the following lines:
[Unit]
Description=Odoo13
#Requires=postgresql-10.6.service
#After=network.target postgresql-10.6.service

[Service]
Type=simple
SyslogIdentifier=odoo13
PermissionsStartOnly=true
User=odoo
Group=odoo
ExecStart=/opt/odoo/odoo13-venv/bin/python3 /opt/odoo/odoo13/odoo-bin -c /etc/odoo.conf
StandardOutput=journal+console

[Install]
WantedBy=multi-user.target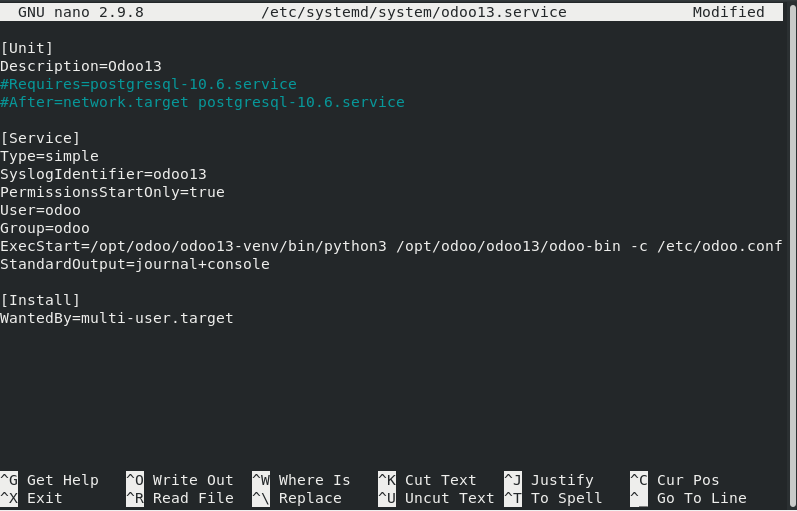
Reload systemd to apply the changes.
systemctl daemon-reloadNow start and enable Odoo service using the following commands:
systemctl start odoo13
systemctl enable odoo13
systemctl status odoo13
Use the following command to cross check Odoo is listening on port 8069 which is its default port.
netstat -pnltu | grep 8069
For Odoo to be accessible on a browser, open the port across the firewall using the following commands:
firewall-cmd --add-port=8069/tcp --zone=public --permanent
firewall-cmd --reload
Install Nginx as Reverse Proxy for Odoo:
We will install an Nginx server that will act as reverse proxy server for Odoo. Run the following command to do so.
dnf install nginxNext, create a new virtual host file with below command:
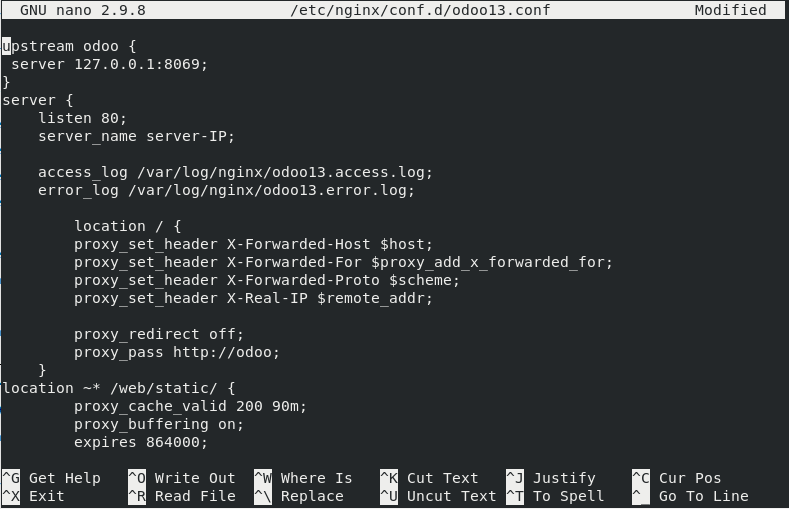
nano /etc/nginx/conf.d/odoo13.confAdd the following configuration in the file:
upstream odoo {
 server 127.0.0.1:8069;
}
server {
    listen 80;
    server_name server-IP;

    access_log /var/log/nginx/odoo13.access.log;
    error_log /var/log/nginx/odoo13.error.log;

        location / {
        proxy_set_header X-Forwarded-Host $host;
        proxy_set_header X-Forwarded-For $proxy_add_x_forwarded_for;
        proxy_set_header X-Forwarded-Proto $scheme;
        proxy_set_header X-Real-IP $remote_addr;

        proxy_redirect off;
        proxy_pass http://odoo;
    }
location ~* /web/static/ {
        proxy_cache_valid 200 90m;
        proxy_buffering on;
        expires 864000;
        proxy_pass http://odoo;
    }
    gzip_types text/css text/less text/plain text/xml application/xml application/json application/javascript;
    gzip on;
}
save and quit the file.
Now start and enable Nginx webserver.
systemctl start nginx
systemctl enable nginx
systemctl status nginx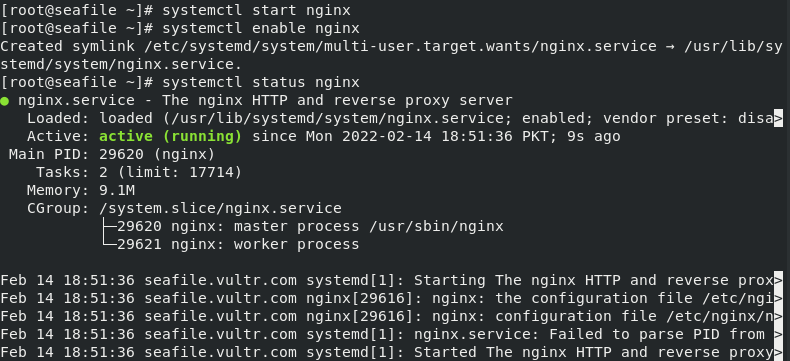
Now, Open you web browser and type http://Your_IPAddress you will se the following page:
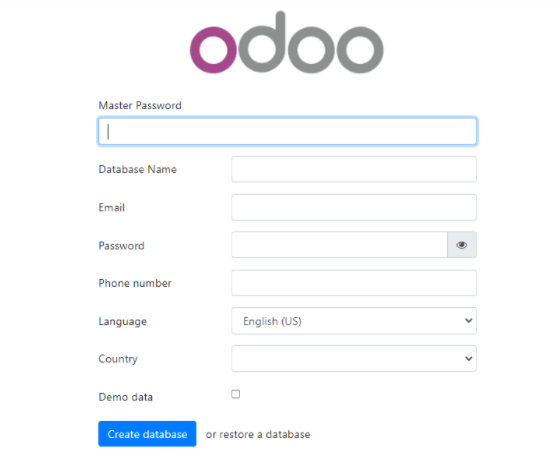
Enter the master password that was set under step “Install and Configure Odoo” above and database name should be “odoo” and other details as per requirement.
After providing above information you will be directed towards Odoo Administration Page.
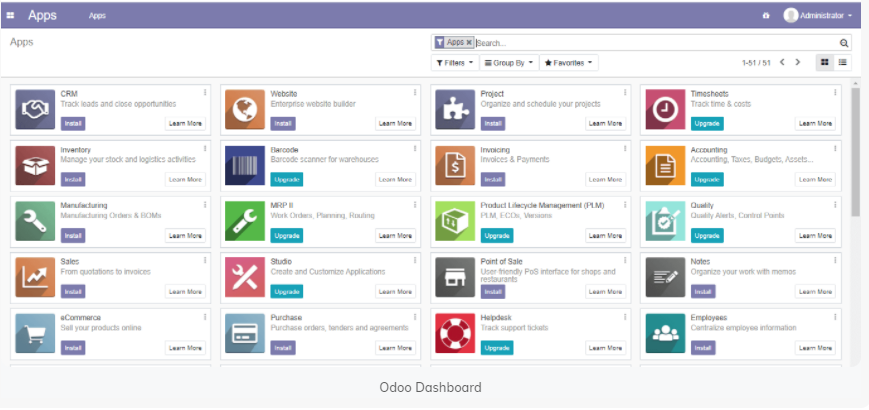
You can use Odoo as per your need.