
Hello, friends. In this post, you will learn how to install Neos CMS on Ubuntu 22.04 step by step using Apache as a web server.
Neos CMS is a web application that allows us to deploy a website. However, unlike others, Neos CMS allows you to do it from a comfortable web interface as if it were a design.
So Neos CMS is simple to use and also has a powerful documentation, so you do not miss anything.
It is open source, and you can see its source code and as it is created with PHP you can install it on any supported server.
Let’s get started.
Install Neos CMS on Ubuntu 22.04
The process is easy, but we have to execute several commands
Previous steps
First, open your server and update it
sudo apt-get update
sudo apt-get upgrade -y
Now install some packages needed for the tutorial
sudo apt install git curlWith this, we will be able to install LAMP on Ubuntu 22.04
Installing LAMP on Ubuntu 22.04
Deploying LAMP is easy because the packages are immersed in the official repositories.
So, run this command to install Apache and PHP.
sudo apt install apache2 mariadb-server php8.1 php8.1-cli php8.1-common php8.1-imap php8.1-redis php8.1-snmp php8.1-xml php8.1-zip php8.1-mbstring php8.1-curl libapache2-mod-php php8.1-mysql php-gd php-imagick php8.1-mysql php-gd php-imagickThere are not only Apache, and PHP, but also the modules required by Neos CMS are installed.
Then, install MariaDB and configure it.
How to install MariaDB on Ubuntu 22.04
After you have done these steps, you can continue.
Creating a new database for Neos CMS
The next step is to create a new database and a new user for Neo CMS
sudo mysql -u root -pAnd start with the database:
CREATE DATABASE neodb;Then, for the user and his password
CREATE USER 'neodb'@'localhost';
GRANT ALL PRIVILEGES ON neodb.* TO 'neodb'@'localhost' IDENTIFIED BY 'pass';
And end the process
FLUSH PRIVILEGES;
EXIT;
Remember that you can change all the names to whatever you want.
Install Composer on Ubuntu 22.04
The installation of Composer is simple and just boils down to this command:
curl -sS https://getcomposer.org/installer | sudo php -- --install-dir=/usr/bin --filename=composerOnce the installation has finished, check if it was successful by running
composerIf you get information about composer, then everything went well.
Install Neos CMS on Ubuntu 22.04
Now we can start the installation. Go to the Apache2 root address and delete the index.html file. You can even back it up.
cd /var/www/html/
sudo rm index.html
Now with git download Neos CMS
sudo git clone https://github.com/neos/neos-base-distribution.git .And proceed with the installation
sudo composer installWhen finished, change the owner of the folder
sudo chown -R www-data:www-data /var/www/html/Then the appropriate permissions
sudo find . -type d -exec chmod 755 {} ;
sudo find . -type f -exec chmod 644 {} {};
Now access the development configuration directory
cd /var/www/html/Configuration/DevelopmentRename the sample configuration file to your own
sudo mv Settings.yaml.example Settings.yamlNow edit the configuration file to add the database credentials
sudo nano Settings.yamlIt will look like this
backendOptions:
    dbname: 'neodb
    user: 'neodb
    password: 'pass'
Save the changes and close the editor. Do the same with the production configuration.
cd /var/www/html/Configuration/Production
sudo mv Settings.yaml.example Settings.yaml
sudo nano Settings.yaml
And again, use the credentials of the database
backendOptions:
    dbname: 'neodb'
    user: 'neodb
    password: 'pass'
Save the changes and close the editor.
The next step is to create a new virtualhost for Neo CMS
sudo nano /etc/apache2/sites-available/neo.confAdd this sample configuration:
<VirtualHost *:80>
ServerName neo.unixcop.com
DocumentRoot /var/www/html/Web

<Directory /var/www/html/Web>
AllowOverride All
</Directory>

ErrorLog ${APACHE_LOG_DIR}/error.log
CustomLog ${APACHE_LOG_DIR}/access.log combined

<Directory /var/www/html/Web/>
            RewriteEngine on
            RewriteBase /
            RewriteCond %{REQUEST_FILENAME} !-f
            RewriteRule ^(.*) index.php [PT,L]
</Directory>

</VirtualHost>
Replace ServerName with your domain. And then close the editor after saving the changes.
Enable the new configuration and the rewrite module.
sudo a2enmod rewrite
sudo a2ensite neo.conf
Apply the changes by restarting Apache
sudo systemctl reload apache2.serviceCompleting the installation
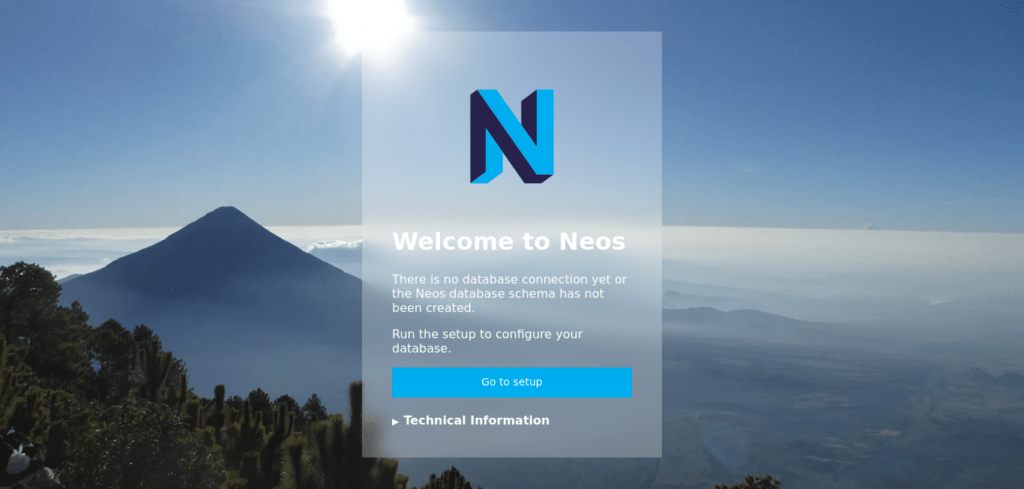
The next step is to complete the installation via the web. Go to http://your-server to login. When you do, you will see the welcome screen.
Then, for security, you will have to enter a default password that is generated automatically.
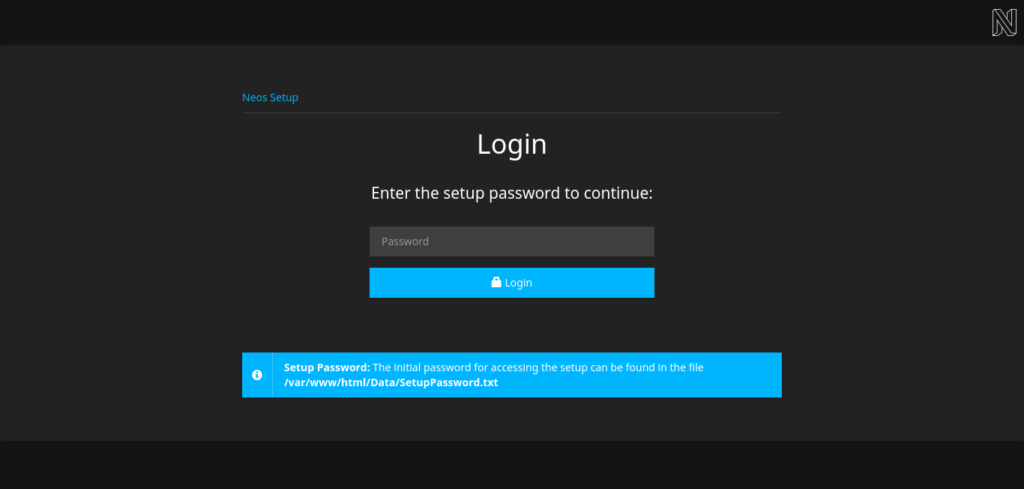
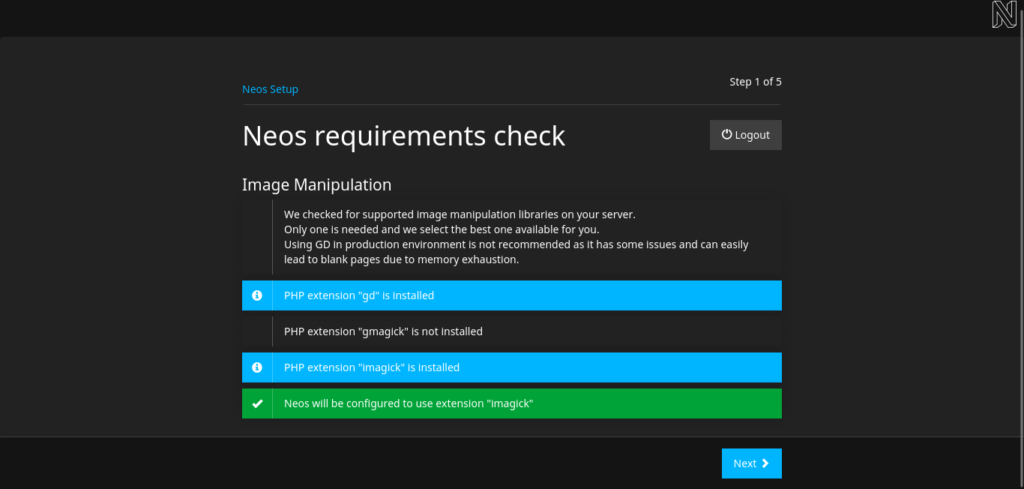
cat /var/www/html/Data/SetupPassword.txtEnter it to continue. Next, you will see the screen where the requirements are checked.
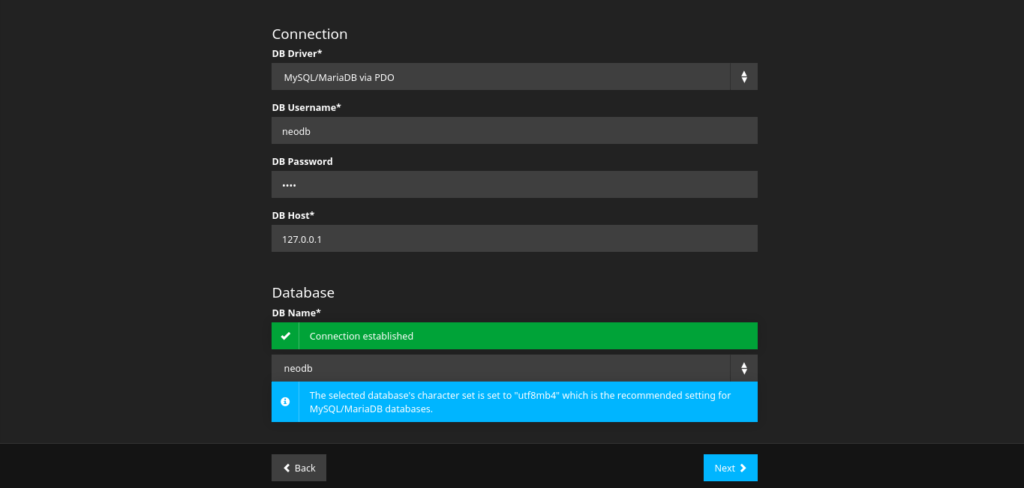
Then the database connection
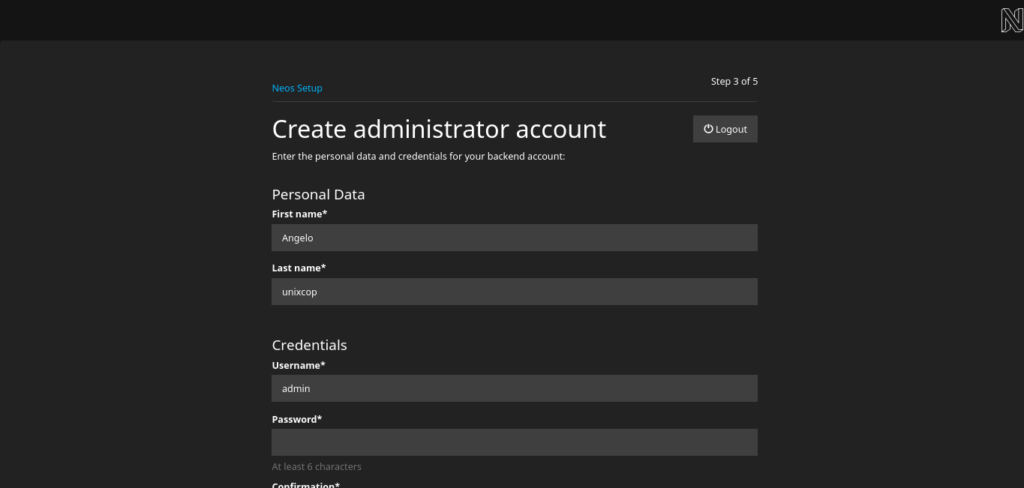
Then, you have to create the admin user
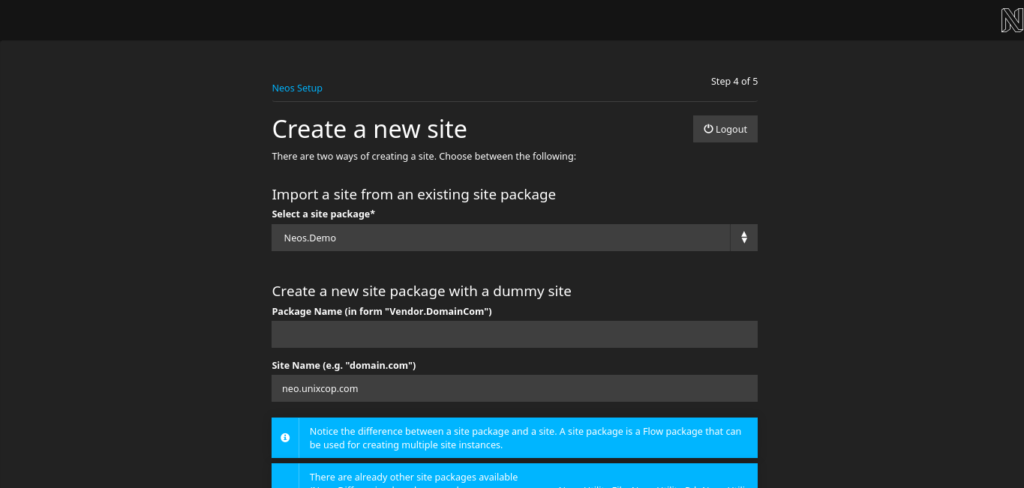
And as such the new site with the template.
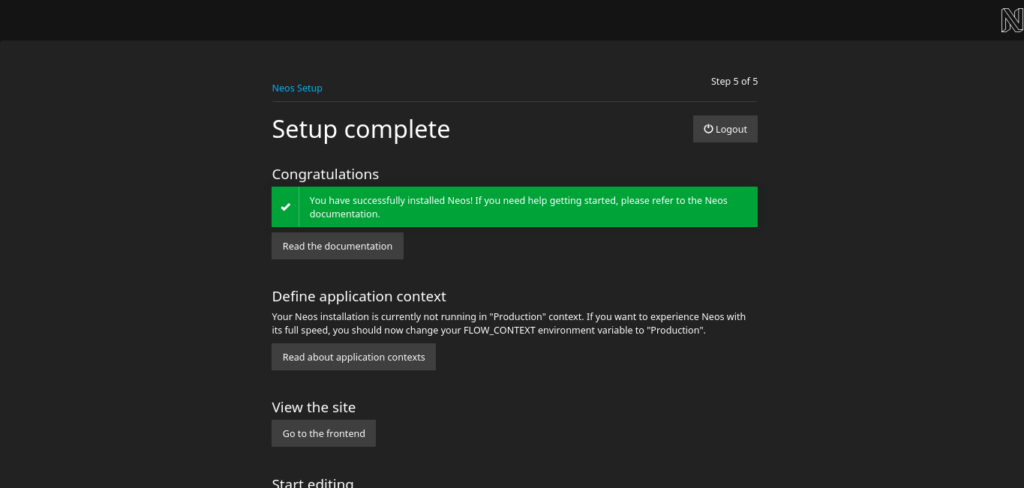
Finally, you will see a screen with the links corresponding to the backend and frontend
In the case of the backend, you will see this login screen
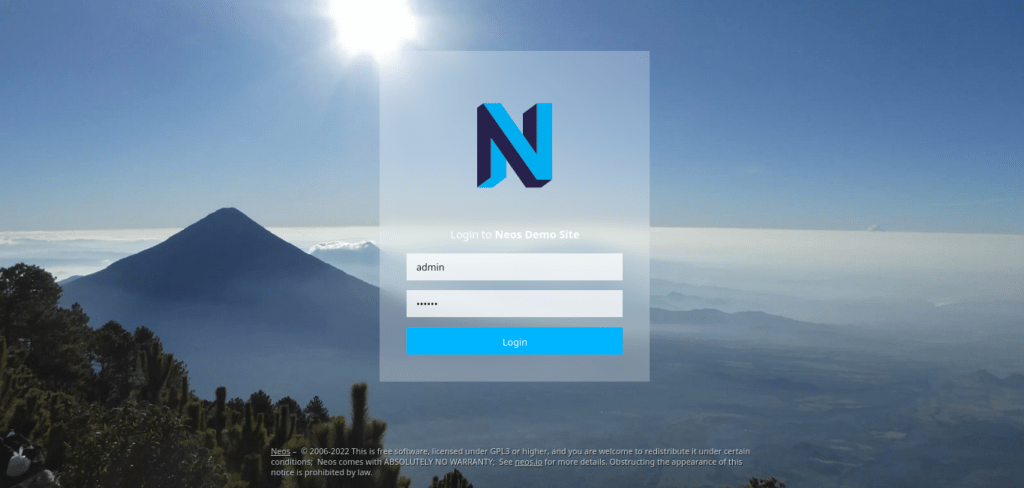
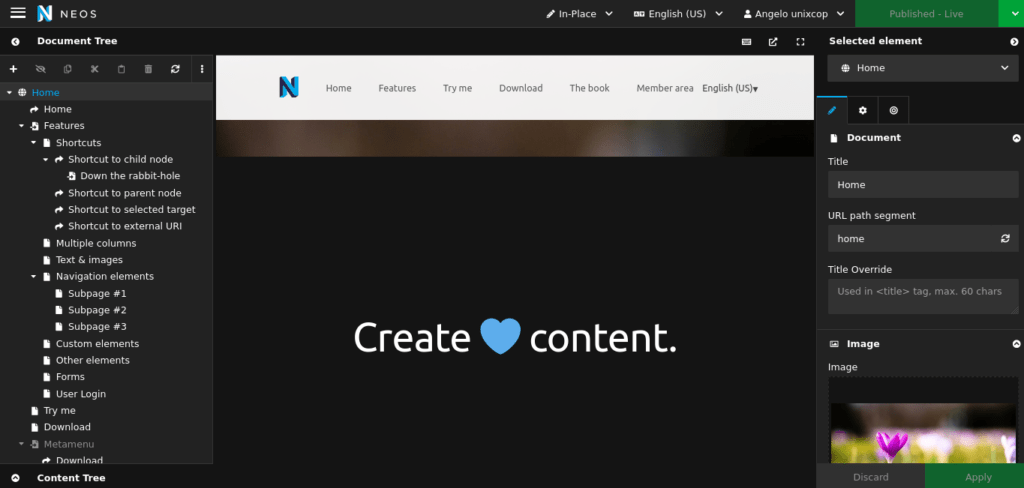
Finally, the backend where you can start working.
Conclusion
In this post, you learned how to install Neos CMS on Ubuntu 22.04 step by step. It is worth trying it.