
In this article you will learn how to install Jitsi Meet on Ubuntu 20.04.
Jitsi Meet is a fully encrypted open source JavaScript WebRTC application used primarily for video conferencing. It incorporates voice, high-quality videoconferencing and instant messaging services with end-to-end encryption for secure communications.
Prerequisites:
Root user OR sudo user for non-root user.
Fresh Ubuntu 20.04 LTS x64 server with at least 2 GB of memory.
Fully Qualified Domain Name (FQDN) assigned to your server’s IP address. In this article we’ll be using jitsi.unixcop.com.
Step # 1: Set the Hostname and FQDN:
Jitsi Meet requires that your server’s hostname matches the hostname that you will use for your video conference server.
Set your server’s host name with the following command:

Next, you need to edit your /etc/hosts file to locally resolve your Jitsi Meet server’s hostname name to your server’s public IP address.


Step # 2: Configure Firewall Rules for Jitsi Meet
Jitsi requires OpenSSH, HTTP, and HTTPS traffic, along with inbound UDP traffic on port 10000 through port 20000.
sudo ufw allow OpenSSH
sudo ufw allow http
sudo ufw allow https
sudo ufw allow in 10000:20000/udp
sudo ufw enable
Command may disrupt existing ssh connections. Proceed with operation (y|n)? y
When prompted to proceed, type Y and then ENTER.
Step # 3: Install Jitsi Meet on Ubuntu
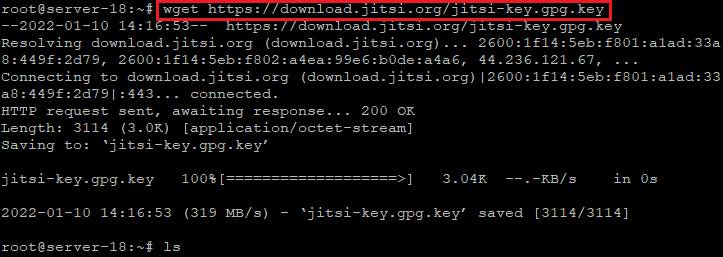
First, download the Jitsi repositories GPG key using wget command.
wget https://download.jitsi.org/jitsi-key.gpg.key
The apt package manager will use this GPG key to validate the packages that you will download from the Jitsi repository.
Next, add the GPG key you downloaded to apt’s keyring using the apt-key utility:
apt-key add jitsi-key.gpg.key

Now, add the Jitsi repository to your system by creating a custom sources file by opening it with a text editor.
vim /etc/apt/sources.list.d/jitsi-stable.list

Add the following line to this file.
deb https://download.jitsi.org stable/

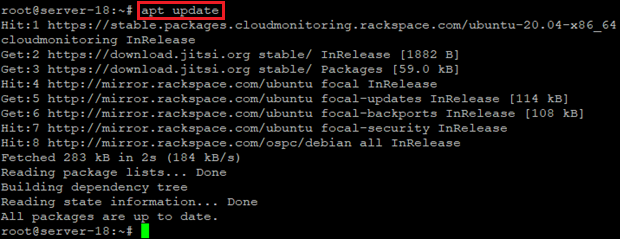
Update the system to collect the package list from the Jitsi repository.
apt update
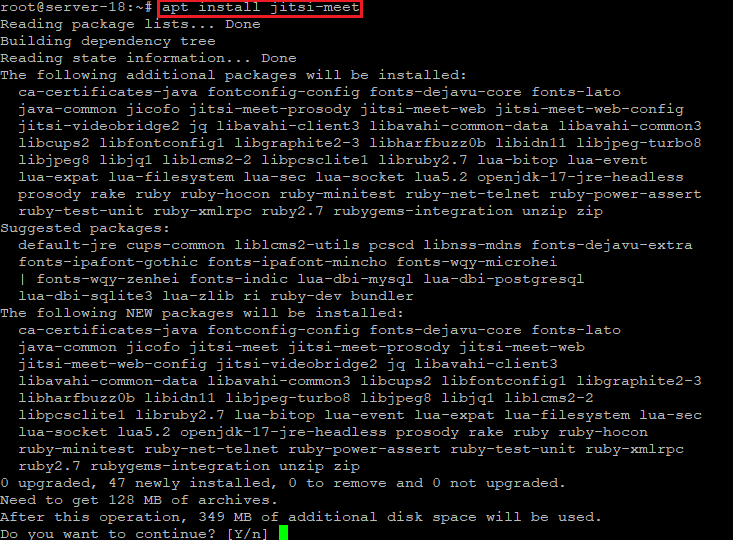
Then install the jitsi-meet package.
apt install jitsi-meet
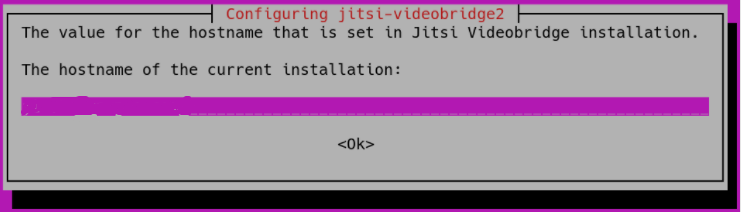
During the installation the installer will request your to enter the fully-qualified domain name of your server: jitsi.unixcop.com.
You will then be shown a new dialog box that asks if you want Jitsi to create and use a self-signed TLS certificate or use an existing one if you have one:
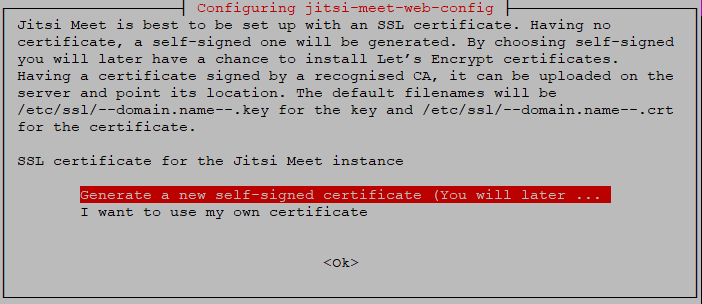
If you do not have a TLS certificate for your Jitsi domain select the first, Generate a new self-signed certificate, option.
Your Jitsi Meet instance is now installed using a self-signed TLS certificate.
Step # 4: Obtaining a Signed TLS Certificate.
TLS certificates are the same certificates that are used by websites to enable HTTPS URLs.
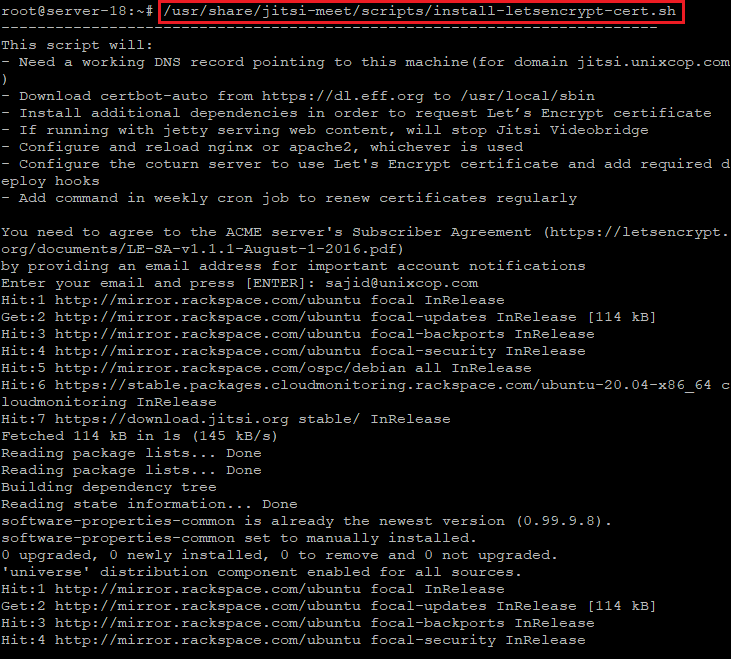
Jitsi Meet supplies a script to automatically download a TLS certificate for your domain. Run this certificate installation script provided by Jitsi Meet with the following command
/usr/share/jitsi-meet/scripts/install-letsencrypt-cert.sh
Step # 5: Locking Conference Creation.
Configure your Jitsi Meet server to only allow registered users to create conference rooms. The files that you will edit were generated by the installer and are configured with your domain name.
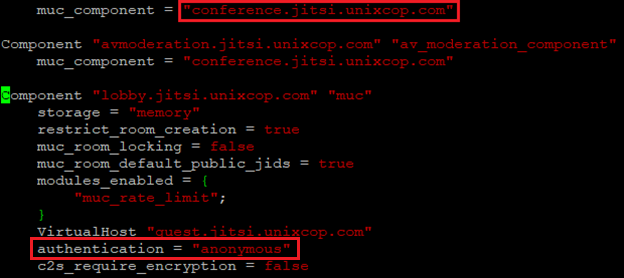
vim /etc/prosody/conf.avail/your_domain.cfg.lua

Edit this line:
authentication = "anonymous"
To:
authentication = "internal_plain"
This configuration tells Jitsi Meet to force username and password authentication before allowing conference room creation by a new visitor.
Then, in the same file, add the following section to the end of the file:
VirtualHost "guest.jitsi.your_domain"
This configuration allows anonymous users to join conference rooms that were created by an authenticated user. However, the guest must have a unique address and an optional password for the room to enter it.
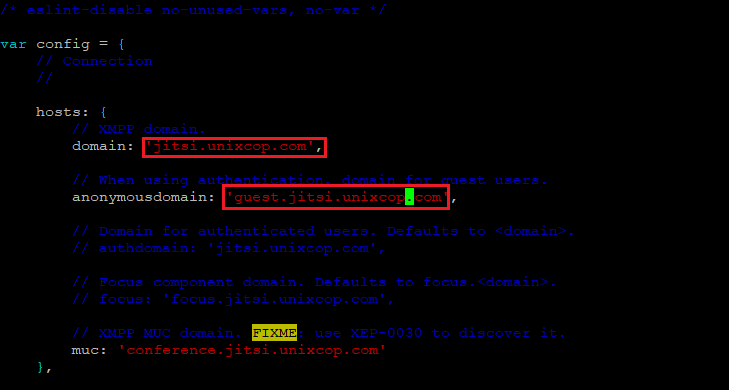
Open another configuration file at /etc/jitsi/meet/jitsi.your_domain-config.js with a text editor:
vim /etc/jitsi/meet/jitsi.your_domain-config.js

Edit this line:
// anonymousdomain: 'guest.jitsi.your_domain',
To:
/etc/jitsi/meet/your_domain-config.js
anonymousdomain: ‘guest.jitsi.your_domain’,
Again, using the guest.jitsi.your_domain hostname that you used previously. This configuration tells Jitsi Meet what internal hostname to use for the un-authenticated guests.
Next, open /etc/jitsi/jicofo/sip-communicator.properties:
vim /etc/jitsi/jicofo/sip-communicator.properties
And add the following line to complete the configuration changes:
/etc/jitsi/jicofo/sip-communicator.properties

org.jitsi.jicofo.auth.URL=XMPP:jitsi.your_domain
This configuration points one of the Jitsi Meet processes to the local server that performs the user authentication that is now required.
Your Jitsi Meet instance is now configured.
Run the following command to add a user to your server:
prosodyctl register user your_domain password
The user that you add here is not a system user. They will only be able to create a conference room and are not able to log in to your server via SSH.
Finally, restart the Jitsi Meet processes to load the new configuration:
systemctl restart prosody.service
systemctl restart jicofo.service
systemctl restart jitsi-videobridge2.service

Step # 6: Finally access the Jitsi Meet in your browser.
Navigate to https://jitsi.unixcop.com in your web browser to access your Jitsi Meet Video conferencing service.
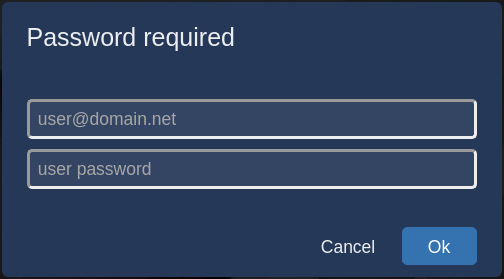
The Jitsi Meet instance will now request a username and password with a dialog box when a conference room is created.
Your Jitsi Meet server is now set up and securely configured.

Install Jitsi Meet on Ubuntu 20.04 – Conclusion
In this article, we learned how to install Jitsi Meet on Ubuntu 20.04,for more detail check the jitsi handbook.
Sorry friend for the inconvenience, by chance you can help me, since the detail is that the /etc/jitsi/jicofo/sip-communicator.properties is not found – Please help me and by the way thank you for your beautiful page, greetings from Colombia. sorry for my translator.