
Hello, friends. Today in this post, you will learn how to install iRedMail on Ubuntu 22.04 With iRedMail, you can deploy an OPEN SOURCE, FULLY FLEDGED, FULL-FEATURED mail server in several minutes, for free.
iRedMail is a tool that allows you to quickly deploy a fully open-source mail server. They say it is the right way to deploy a mail server.
One of the main advantages of iRedMail is that it is complemented with many open-source tools such as MariaDB, ClamAV, Fail2ban, Roundcube, Nginx and other components needed to have an email server with support for IMAP, POP3 and so on.
So, let’s go for it.
Install iRedMail on Ubuntu 22.04
Before we start, you need to meet some requirements and know a few things.
For this post, you need:
- A valid domain for your server and pointing to it.
- Although iRedMail does not consume many resources, a computer with 8gb of memory and 40gb of disk space is recommended.
- Willingness to use the root or sudo account.
So, let’s get started.
Configure iRedMail on Ubuntu 22.04
First, connect via SSH to your server and when you do so, make sure you do it as root or if you have sudo access run
sudo -iAs root user, update the system
apt update
apt upgrade
Next, locate yourself in /tmp
cd /tmpAnd from their download iRedMail with wget.
wget https://github.com/iredmail/iRedMail/archive/refs/tags/1.6.2.tar.gz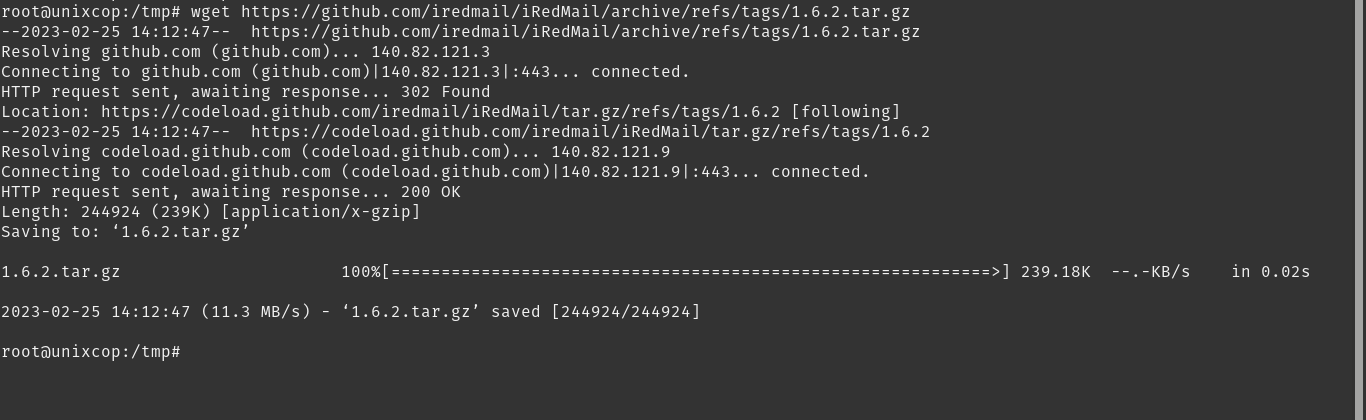
If you want to know the latest stable version of the tool, check the GitHub profile.
Then, decompress the archive
tar -xzvf 1.6.2.tar.gzAccess the folder that has been generated.
cd iRedMail-1.6.2/There you will find a script that you have to give it permissions to execute
chmod +x iRedMail.shAnd then you can run it
./iRedMail.sh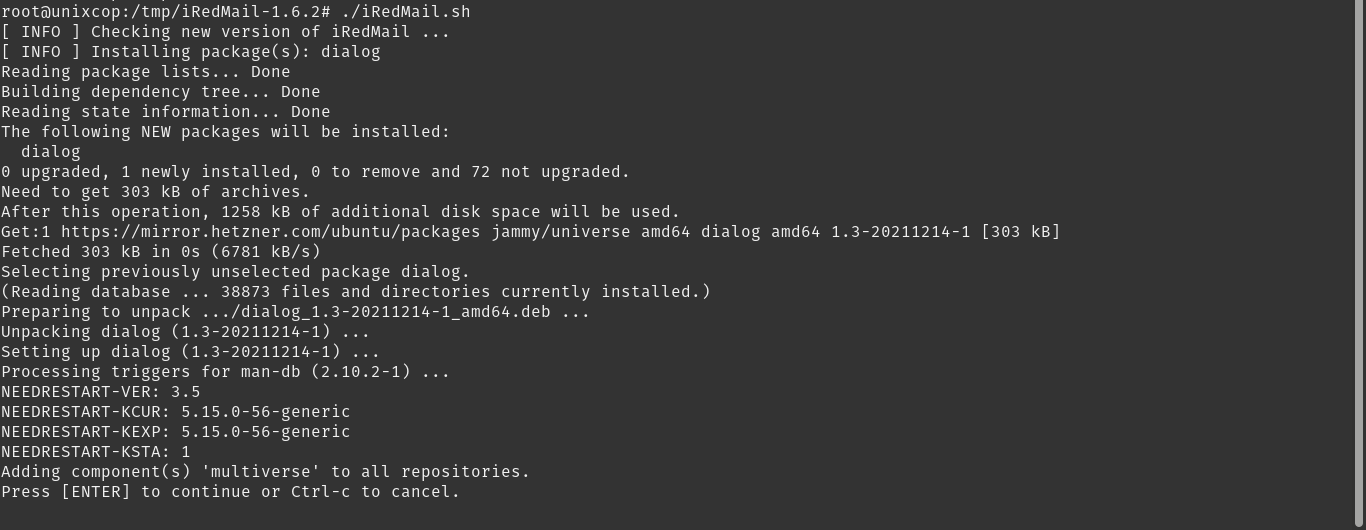
So, this will start the installation process.
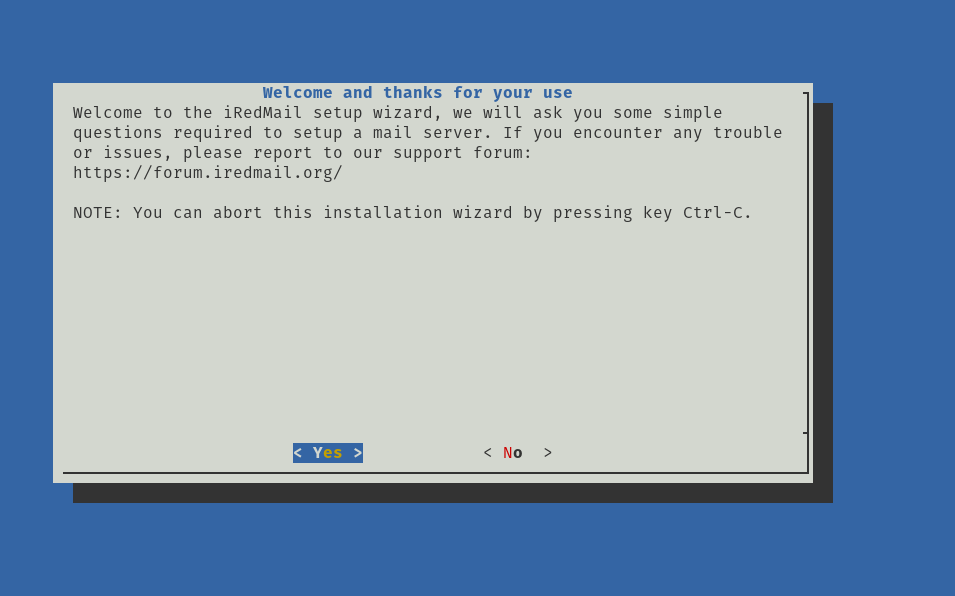
The iRedMail installation process
As soon as you start the installer, you will see the initial steps of the installer. This is how the wizard will start
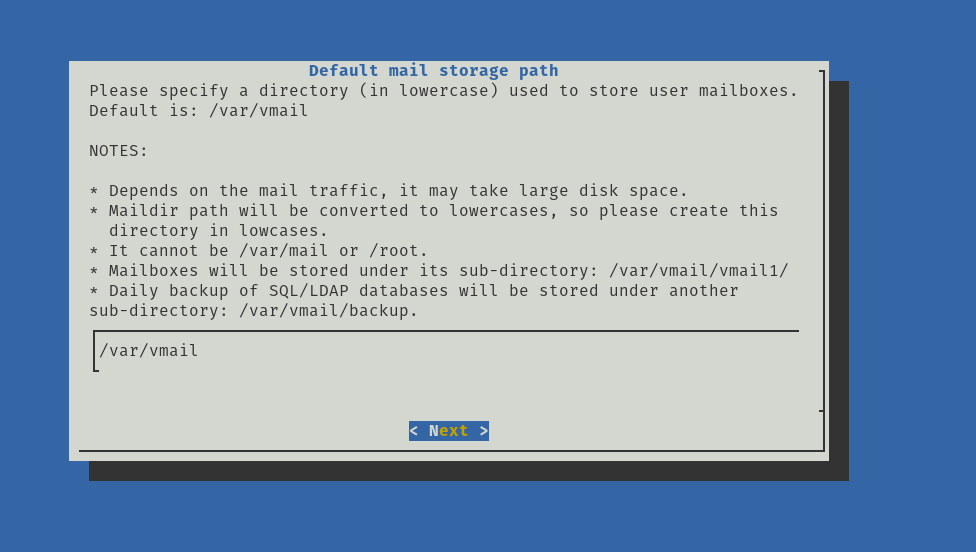
The first step is to determine the directory where the mail will be stored.
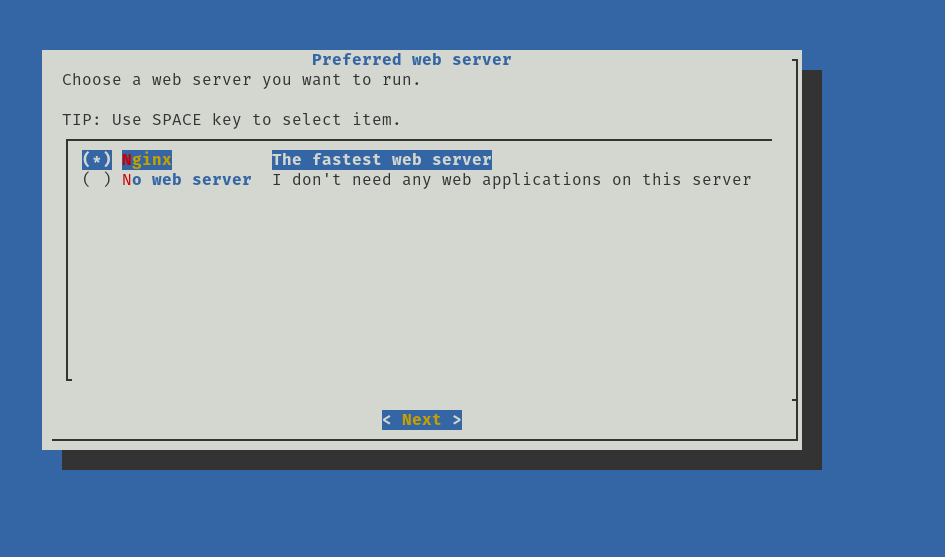
Next, choose the web server for the web interfaces. You can even decide not to install one at all.
Thereafter, select the database where iRedMail will run.
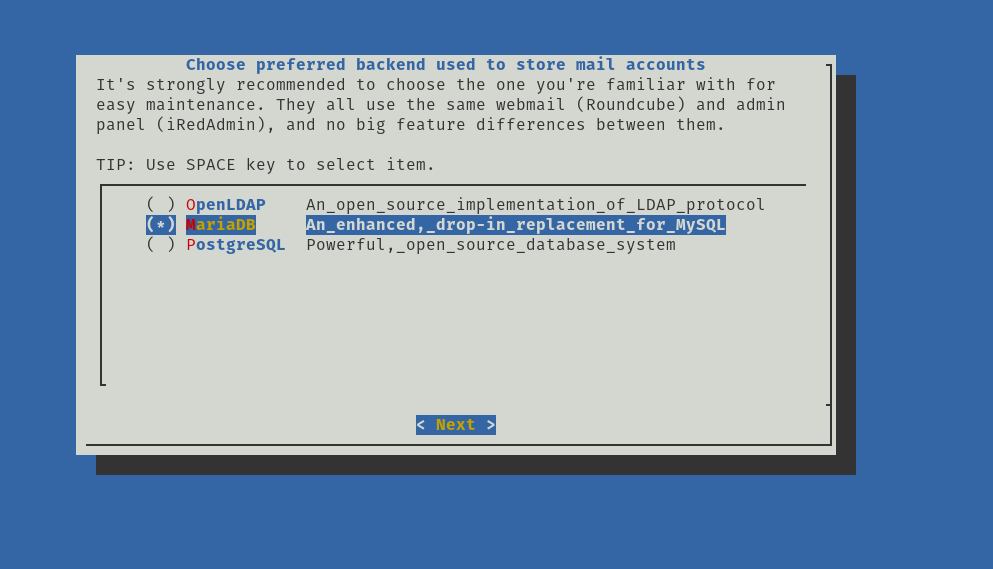
If you choose MariaDB (my case), set up the root account

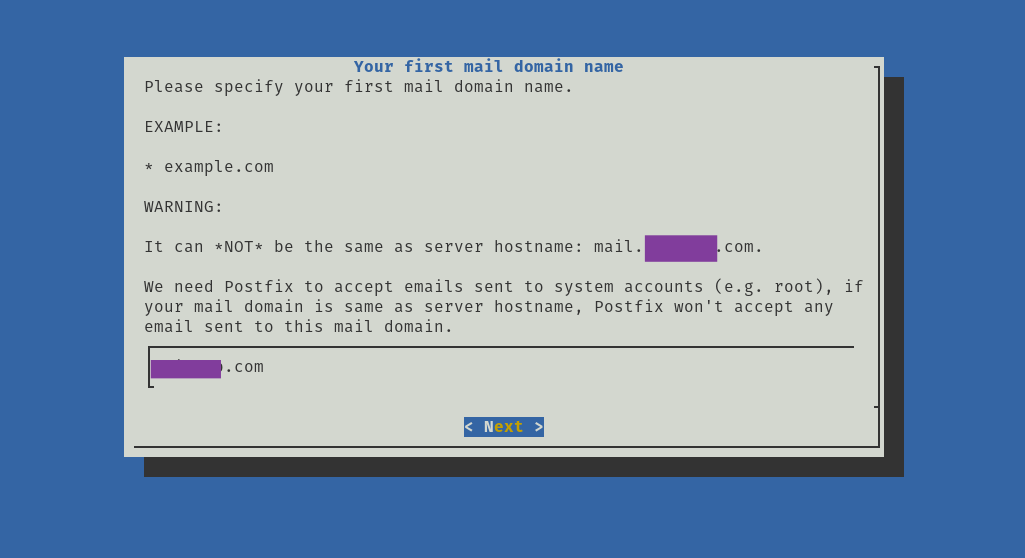
Now set the mail server domain.
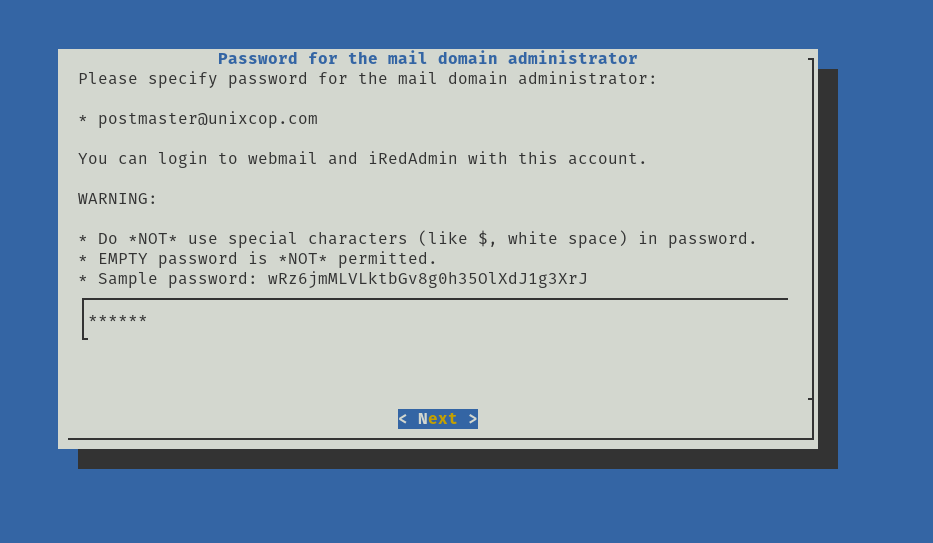
It is the turn to define a password for the administrator
Then, you can select to install additional components.
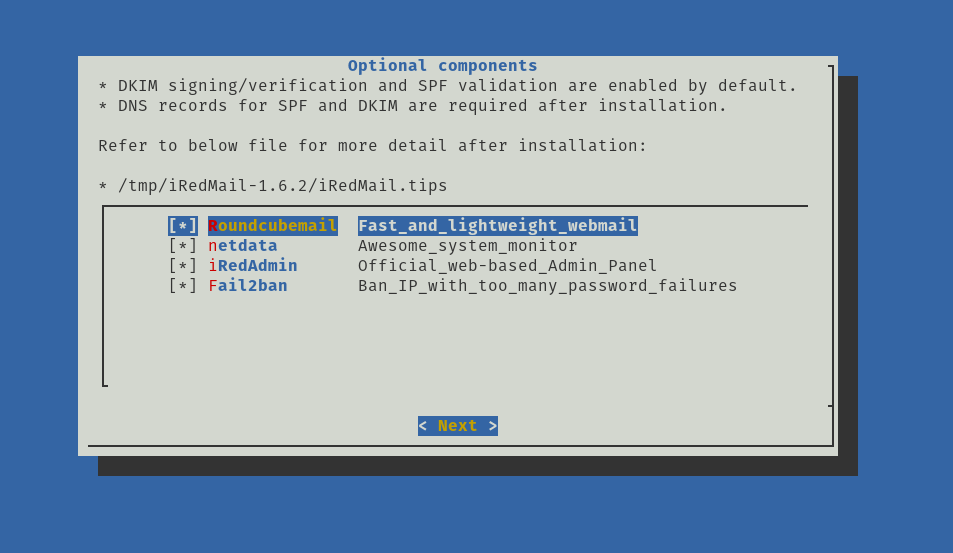
After this, review the options to be made.
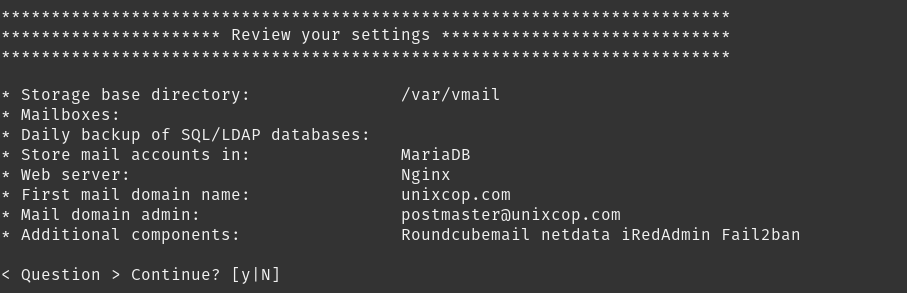
So, if you agree, you can start the process.
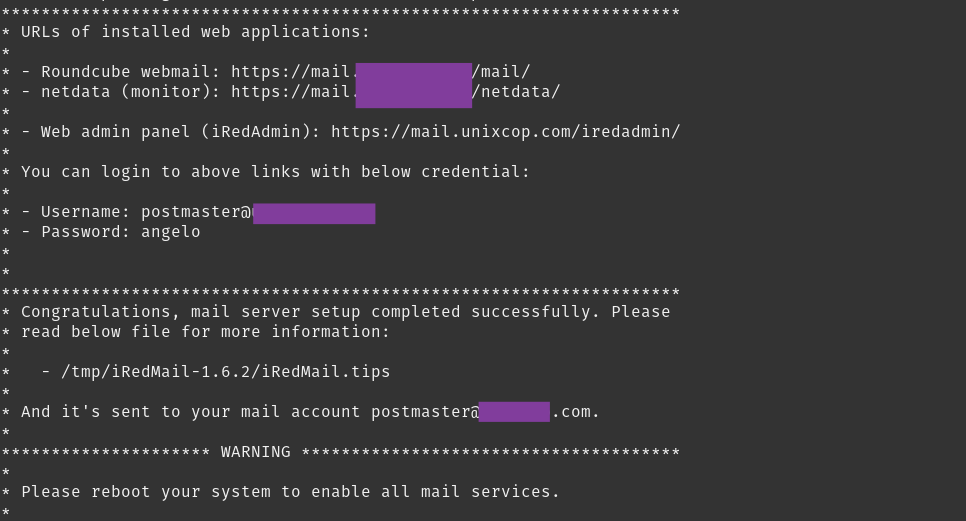
If all goes well, you will see this screen where you are given the credentials.
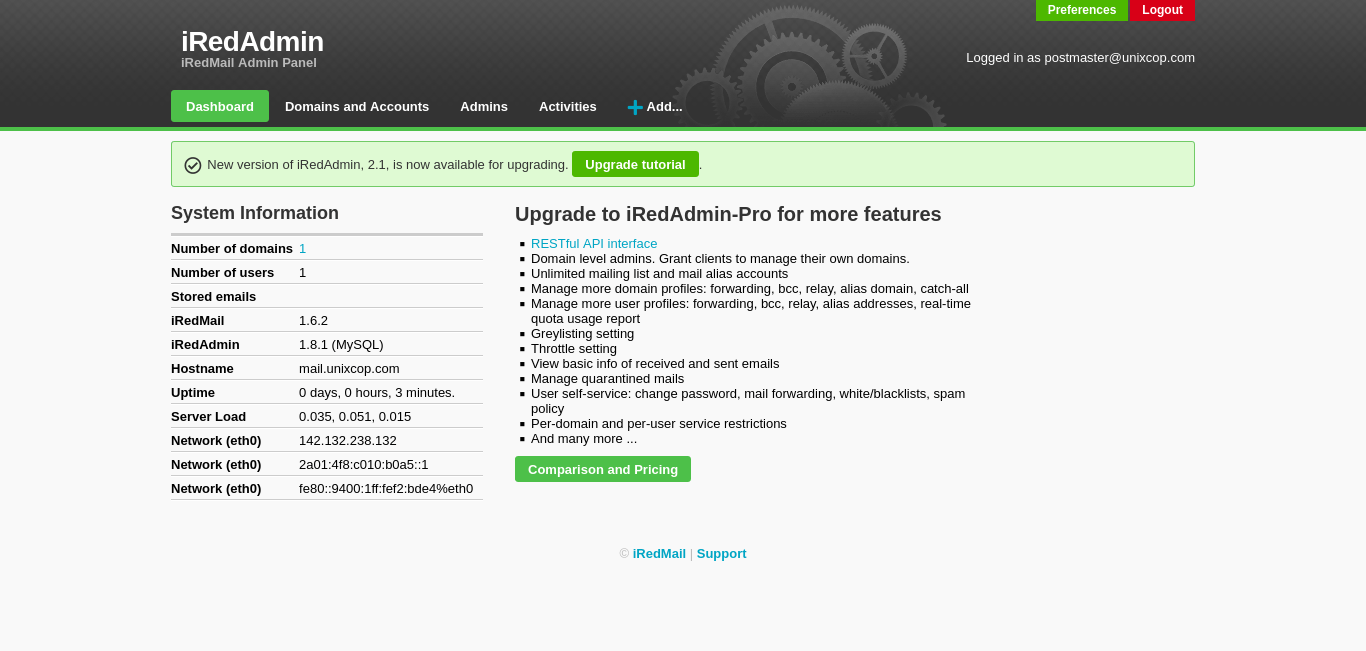
Reboot the system
rebootNow open your browser and go to https://your-server/iredadmin/ to log in.
Conclusion
iRedMail allows you to easily have an email server with open-source and robust tools. Now it’s your turn to take a look at it.