
Hello, friends. In this post, you will learn how to install Gitosis on Ubuntu 22.04.
According to the GitHub profile
gitosis is a software for hosting git repositories. You can manage git repositories, provide access to them over SSH, with tight access control and not needing shell accounts.
This solves a question for git workgroups, which is the sharing of that repository with other users.
Let’s go for it.
Install Gitosis on Ubuntu 22.04
One of the best ways to get it is through the source code.
First, open your terminal or connect via SSH to the server and update it
sudo apt update
sudo apt upgrade
Then, you can install the necessary dependencies for the Gitosis installation.
sudo apt install openssh-server git-core python-setuptoolsThereafter, you can install it. First, clone the tool’s repository
git clone https://github.com/tv42/gitosis.gitNow install it with the following command
cd gitosis/
sudo python3 setup.py install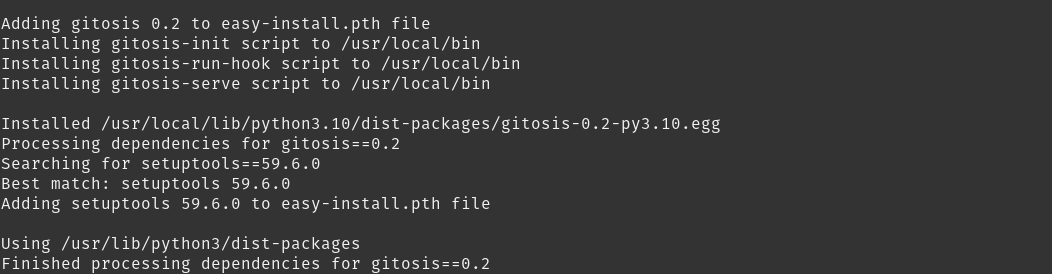
Furthermore, you can use the --prefix option to set a specific installation path.
That’s how simple the installation is done. Now it is time to configure it.
Configure Gitosis on Linux
Once the installation is complete, it is time to do the first configuration.
To achieve this, create a new user who will be the owner of the folder where the repository will be.
sudo adduser \
    --system
    --shell /bin/sh \
    --gecos 'git version control' \
    --group
    --disabled-password
    --home /home/angelo/sample/ \
    git
Sample output:
Adding system user `git' (UID 114) ...
Adding new group `git' (GID 119) ...
Adding new user `git' (UID 114) with group `git' ...
Creating home directory `/home/angelo/sample/' ...
In this case, a user has been created with the name git but in reality it can be called anything. The value of the --home parameter will be the path to the repository.
Next, copy your ssh public key to the server
scp ~/.ssh/your_id_rsa.pub root@YOUR_SERVER:/tmpIf you do not have an SSH key, you will need to create one. The process is not complex, so you can take a look at the ssh-keygen command.
Apply the SSH key configuration with the command
sudo -H -u git gitosis-init < [filename.pub]For example:
sudo -H -u git gitosis-init < /tmp/file.pubThen, assign correct permissions
sudo chmod 755 /home/git/repositories/gitosis-admin.git/hooks/post-updateAnd clone the repository to start enjoying Gitosis and its power
git clone git@SERVER:gitosis-admin.gitAnd you get a repository with SSH keys as keys/USER.pub and a gitosis.conf where you can configure who has access to what.
Edit the settings as you wish, commit and push. That’s mostly it! Once you push, gitosis will immediately make your changes take effect on the server.
How to add new developers?
Well, the first thing you have to do is to upload the SSH key to the key directory. Remember that in this post, I have used /tmp/ but it could be another one.
In short, you must do the following:
- add a
keys/USER.pubfile - authorize them to read/write repositories as needed
To authorize, you must edit the gitosis.conf file and from there give appropriate permissions. For example, if the new user is samp then.
[group new_repo]
writable = new_repo
members = dev_one dev_two samp
Members refers to an SSH key. So dev_one.pub is dev_one and so on.
To apply the changes, push to the git repository, and it is done.
Conclusion
In this post, you learned how to install Gitosis to share repositories with other developers.