
GitLab is an open source git based platform. It is used for software development and collaboration and also used as a repository manager. GitLab has features like CI/CD, Auto devops and kubernetes integration which makes it a go to platform for Code management and DevOps purposes. It can also integrates with other open source platforms like Jenkins. In this tutorial we will learn how to Install GitLab on CentOS 8 Stream.
First, we will update the system and then install the required dependencies. Use the following commands to do so:
yum -y update
yum -y install curl vim policycoreutils python3-policycoreutils
Now, We will install postfix so that we can use it to send notifications.
yum -y install postfix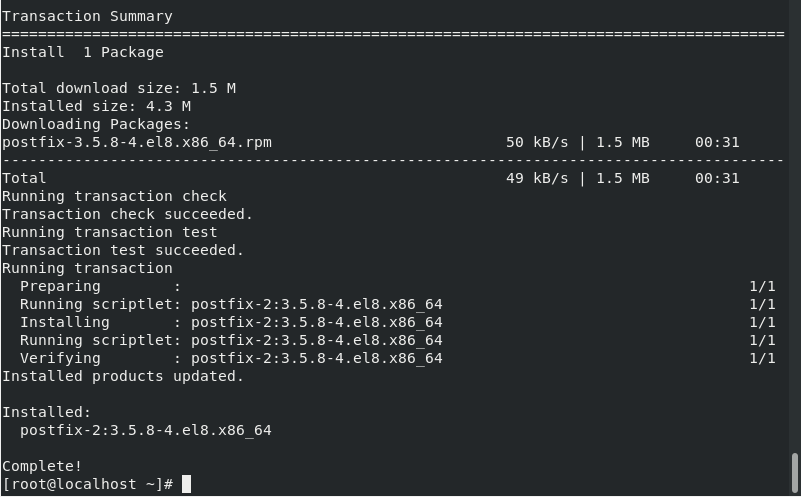
Start and Enable Postfix service using the following command:
systemctl enable postfix && systemctl start postfix
systemctl status postfix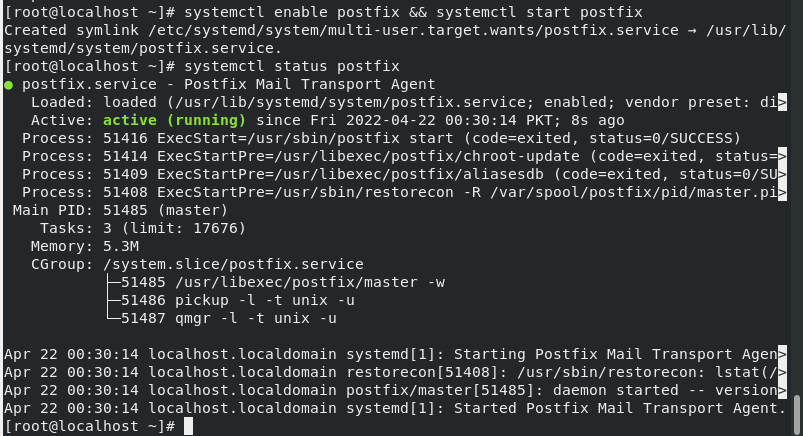
Next, Add the GitLab CE repository. We will basically download and run a script which will add the repository and its keys. Use the following command to do so:
curl -s https://packages.gitlab.com/install/repositories/gitlab/gitlab-ce/script.rpm.sh | sudo bash
You can verify that the repository using the following command:
dnf repolist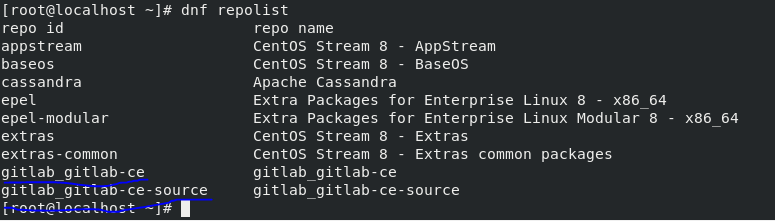
Install GitLab on CentOS 8 Stream:
Now, Install the GitLab CE using the following command:
yum install gitlab-ce
As you can see in the above image the installation of GitLab CE is successful.
After installation we will now configure GitLab. Use the following command to open GitLab configuration file:
nano /etc/gitlab/gitlab.rbReplace the property named “external url” as shown below:
external_url 'http://10.0.2.15'now save and exit the file.
Next, Run the GitLab configure script to reconfigure it with new changes:
gitlab-ctl reconfigure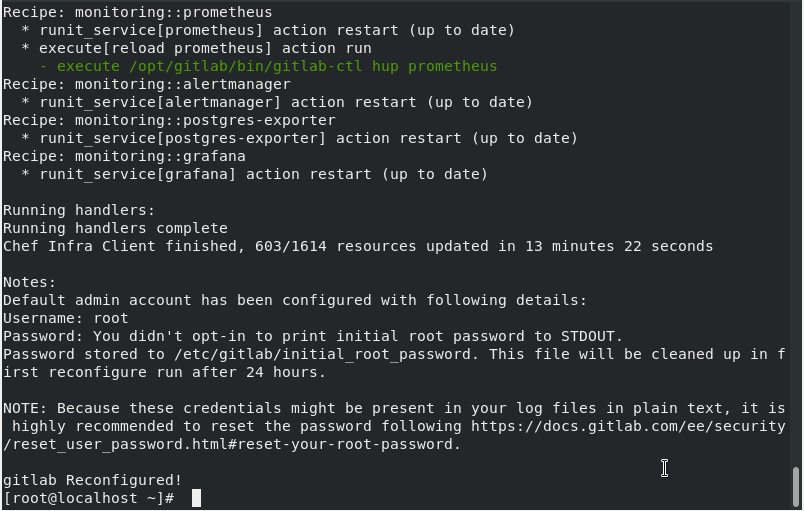
If you have an active firewall, allow http, https and ssh services using the following commands:
firewall-cmd --permanent --add-service={ssh,http,https} --permanent
firewall-cmd --reload
Access GitLab Web Console:
Now, open your browser and enter url http://10.0.2.15 or your set external url and enter. you will see the following page:
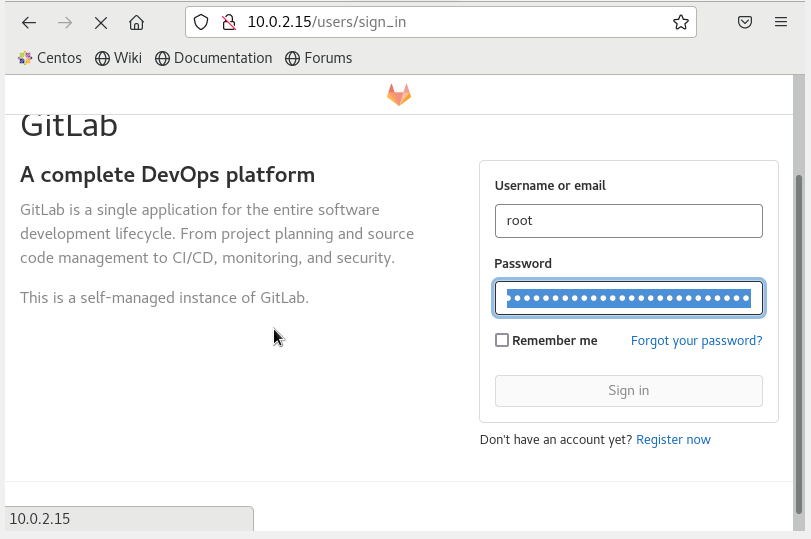
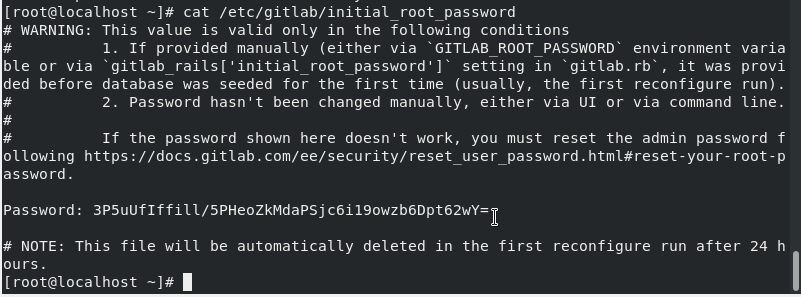
Username is root and for password run the command “cat /etc/gitlab/initial_root_password” and copy password from there.
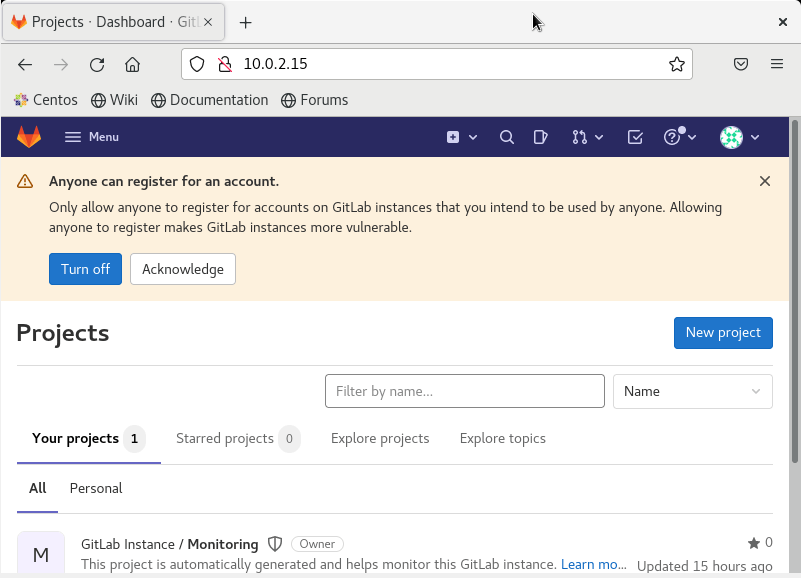
As you can see in above image GitLab is warning us that anyone can register an account with our private instance. To prevent it click in the icon “Turn Off” as shown in the image above.
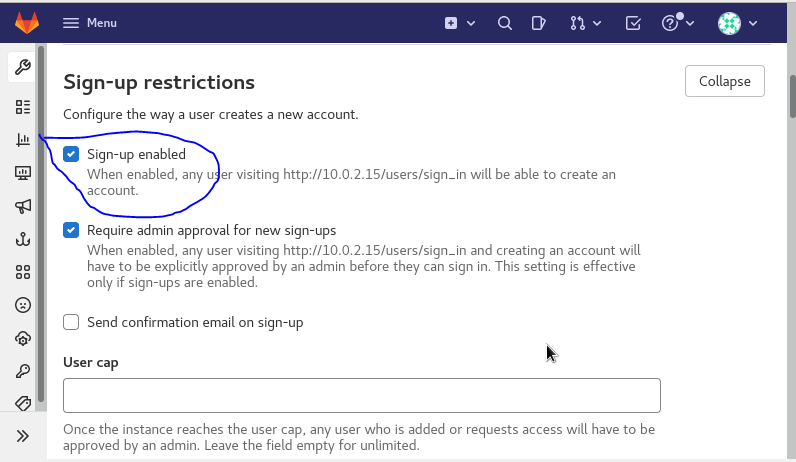
After you click on “Turn Off” you will see the following page. Now click on Sign-up enabled as highlighted on below image and then scroll down and click on Save Changes to turn off this feature.
After applying setting in the above image you will see the following page:

As shown in the above image you can now create Users, Groups and New Projects. You can use GitLab according to your need.