
Hello, friends. Many admins and website owners use Google Analytics to get advanced statistics of their website. Today, I will show you how to install Fathom Analytics on Debian 11.
What is Fathom Analytics?
In a nutshell, Fathom is website analytics that doesn’t suck. And that’s quoting the project’s website.
It is an alternative to Google Analytics focused on privacy, efficiency, and ease of use.
It is so easy to use that we only need to copy a code on the website to be able to collect the necessary data. Thereafter, we can access them through a convenient web interface.
Many companies trust Fathom because of how efficient it is. So today we are going to show you how to get it.
Let’s go for it.
Install MariaDB on Debian 11
Fathom requires a database handler like MariaDB to process the information it generates.
Connect via SSH to your server and update the system.
sudo apt install
sudo apt upgrade
In case your user cannot use sudo then you have to run these commands as root user.
Now install MariaDB by running
sudo apt install mariadb-serverNext, define a password for the MariaDB root user. Run the following command.
sudo mysql_secure_installationLog in by pressing Enter because there is no password defined. Then, define one, and then you will see a series of questions that you will have to answer A to each of them.
Then, access the MariaDB shell:
sudo mysql -u root -pCreate a new database for the application.
CREATE DATABASE fathom;Also create a new user to administer this database. You can use any name you want and assign it a more secure password.
CREATE USER 'user'@'localhost' IDENTIFIED BY 'pss';Give it the necessary permissions:
GRANT ALL PRIVILEGES ON fathom.* TO 'user'@'localhost';Refresh permissions:
FLUSH PRIVILEGES;And exit the shell.
exit;Download Fathom on Debian 11
From our user’s HOME directory, download the latest stable version of the application.
cd ~
wget https://github.com/usefathom/fathom/releases/download/v1.2.1/fathom_1.2.1_linux_amd64.tar.gz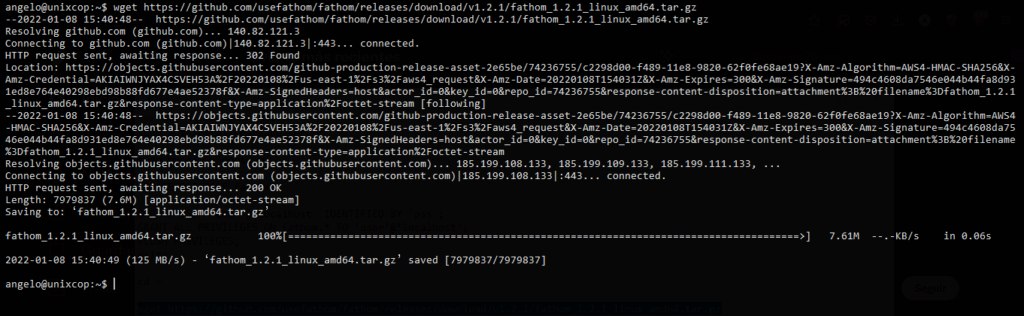
Create a new folder where to store the Fathom files.
mkdir fathom-filesUsing the tar command, unzip the file in the folder we have created.
tar -xvf fathom_1.2.1_linux_amd64.tar.gz -C fathom-filesAccess this folder.
cd fathom-filesAnd show the version of the application to check that the binary is ok.
sudo ./fathom --version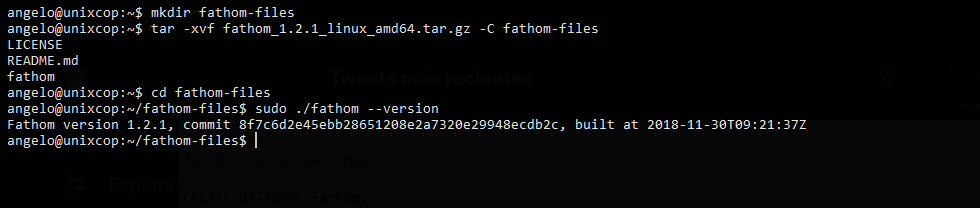
Configuring Fathom before using it
Now that it is installed, we have to configure it a little. In the same directory where the files are, create a file called .env.
nano .envThen, add the following content:
FATHOM_SERVER_ADDR=9000
FATHOM_GZIP=true
FATHOM_DEBUG=true
FATHOM_DATABASE_DRIVER="mysql"
FATHOM_DATABASE_NAME="fathom"
FATHOM_DATABASE_USER="user"
FATHOM_DATABASE_PASSWORD="pss"
FATHOM_DATABASE_HOST="localhost"
FATHOM_SECRET="random-secret-string"
As you can notice, you have to set the correct values in each case. Basically, we define the Fathom listening port and the MariaDB credentials.
Save the changes and close the editor.
Next, you have to create a user to access Fathom.
You can do this by running
sudo ./fathom user add --email="[email protected]" --password="password"
Of course, replace the --email and --password value with your own.
Then, create a new system user dedicated to fathom.
sudo adduser --system --group --home /usr/local/bin/fathom-files/ fathomAnd move the Fathom files to the new HOME of the user we have created.
sudo mv ~/fathom-files/* /usr/local/bin/fathom-filesMake the fathom user the owner of the folder.
sudo chown -R fathom:fathom /usr/local/bin/fathom-filesIt is best to work with Fathom as a system service. So, you have to create a new one.
sudo nano /etc/systemd/system/fathom.serviceAdd the following
[Unit]
Description=Fathom Analytics Server
Requires=network.target
After=network.target

[Service]
Type=simple
User=fathom
Group=fathom
Restart=always
RestartSec=3
WorkingDirectory=/usr/local/bin/fathom-files
ExecStart=/usr/local/bin/fathom-files/fathom server

[Install]
WantedBy=multi-user.target
Save the changes and close the editor again.
For the new service to be applied, you have to run
sudo systemctl daemon-reloadNow you can enable Fathom to start with the system.
sudo systemctl enable fathomStart it:
sudo systemctl start fathomAnd finally, check the status
sudo systemctl status fathom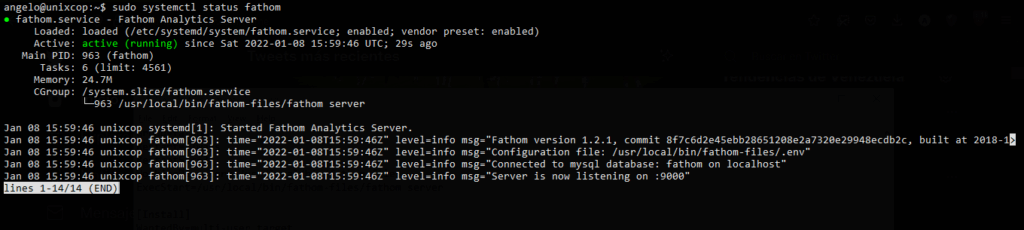
So, Fathom is working fine.
Configure Nginx as Reverse Proxy
To facilitate access to the Fathom dashboard, you can install Nginx and configure it as a reverse proxy.
Install it by running
sudo apt install nginxThen, create a new configuration file for Fathom.
sudo nano /etc/nginx/sites-available/fathomweb.confAdd the following:
server {

    server_name  fathom.unixcop.test;

    access_log  /var/log/nginx/fathom.access.log;
    error_log   /var/log/nginx/fathom.error.log;

    location / {
    proxy_pass http://localhost:9000;
    proxy_set_header X-Real-IP $remote_addr;
    proxy_set_header X-Forwarded-For $remote_addr;
    proxy_set_header Host $host;
}
}
Don’t forget to change the server_name value to the value of your domain or subdomain.
Save the changes and to apply the new configuration run
sudo ln -s /etc/nginx/sites-available/fathomweb.conf /etc/nginx/sites-enabled/Finally, restart Nginx.
sudo systemctl restart nginxNow let’s access Fathom.
Accessing Fathom in Debian 11
Open your favorite web browser and go to your domain or subdomain for Fathom, and you will see the Login screen.

After you have logged in with the credentials, we created earlier.
You will see the dashboard.
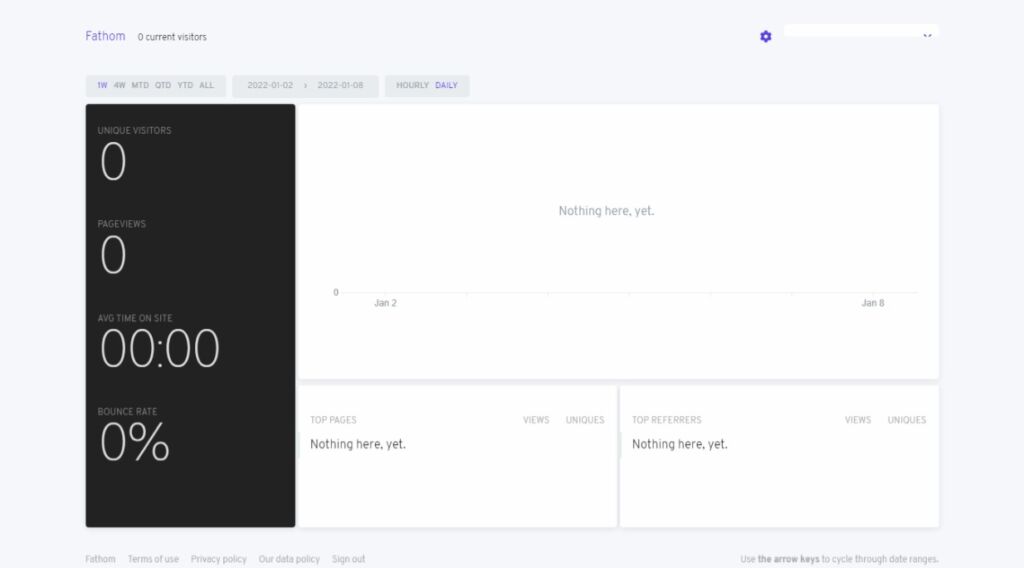
Now you just have to add a new site and there you will see the code you have to paste in your site.

Just do this, and now you won’t lose anything thanks to fathom.
Conclusion
In this post, you have learned how to install Fathom on Debian 11 step by step. Thanks for reading.