
Hello, friends. In this post, we will help you to install Fail2ban on Ubuntu 22.04. It is important in this tool to keep up the security of our system.
What is Fail2ban?
Fail2ban is a tool written in Python that helps prevent brute force attacks on a server. Therefore, it is widely known and used by many server managers. Although not perfect, it adds another layer of security.
The way Fail2ban works is something like this. Fail2Ban scans log files like file:///var/log/pwdfail pwdfail and bans IP addresses that make too many password failures. It updates firewall rules to reject the IP address.
So, it is a simple but helpful tool. It has a powerful configuration file with which we can incorporate new functions.
Let’s get started.
Install Fail2ban on Ubuntu 22.04
Fortunately, Fail2ban is present in the official repositories of Ubuntu 22.04, so installation is easy.
First, open a terminal and update the whole distribution
sudo apt update
sudo apt upgrade
Then, install Fail2Ban with the following command
sudo apt install fail2banThe tool works as a system service, so we have to enable it and start it.
sudo systemctl enable --now fail2banThen you can check the status of the service.
sudo systemctl status fail2ban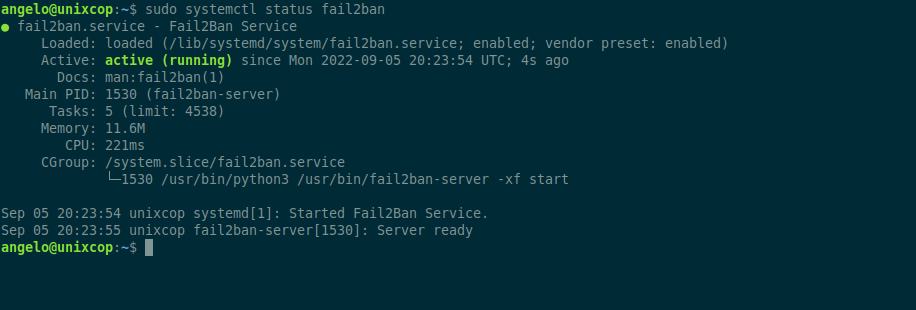
This way we will be able to configure it.
Configure Fail2Ban on Ubuntu 22.04
Although Fail2Ban is quite complete in itself, it is always necessary to take a look at the configuration to make the necessary changes.
The first thing we have to do is to rename the file /etc/fail2ban/jail.conf to /etc/fail2ban/jail.local.
sudo cp /etc/fail2ban/jail.conf /etc/fail2ban/jail.localBecause in Debian and derivatives, Fail2ban will prioritize .local files over .conf files in terms of configurations. What I have done is to copy it to always have a backup of the first configuration.
Now edit it with the editor of your choice
sudo nano /etc/fail2ban/jail.localAnd the first thing we have to do is to add our server to the Fail2Ban whitelist. Find the line:
#ignoreip = 127.0.0.1.1/8 ::1And uncomment it:
ignoreip = 127.0.0.0.1/8 ::1Then, change the ban time given by the tool to the suspicious IP address.
bantime = 120mMoreover, you can use the -1 value to make it permanent.
You can also change the value of findtime to make the attacks smaller.
findtime = 10mIt is also advisable to adjust the number of attempts allowed:
maxretry = 3Remember to enable the SSH jail, which is the main service to protect.
Inside the SSH section, verify that this is enabled
[sshd]
.
.
.
enabled = true
.
.
.
Save the changes and close the text editor.
To apply the changes, restart the service.
sudo systemctl restart fail2banThe service should now be running without too many problems.
Conclusion
In this post, you learned how to install and configure Fail2ban on Ubuntu 22.04. This simple process can help prevent server attacks. However, Fail2ban has a complete documentation that is worth taking a look at.