
Hello, friends. In this post, you will learn how to install Apache Kafka on Ubuntu 20.04
The Apache Kafka platform is a distributed data transmission system with horizontal scalability and fault tolerance. It is used in many worldwide environments and in clusters where this data transmission is needed.
Best of all, it is open source and we can examine its source code and implement it on our servers. Thanks to powerful documentation and a very active community, Apache Kafka has a very good reputation worldwide.
So, let’s go for it.
Install Apache Kafka on Ubuntu 20.04
Before installing, we have to do some preliminary steps to prepare the system.
Install Java on Ubuntu 20.04
Apache Kafka is created in Java so we need to install it to be able to use it. To do this, run this command
sudo apt update
sudo apt install openjdk-11-jre-headless unzip
Besides Java, I have installed unzip because we will use it later. But to check that Java has been installed successfully, run
java --version

Now we can continue
Download Apache Kafka on Ubuntu 20.04
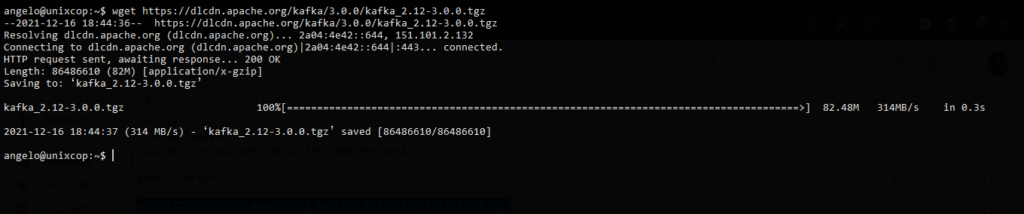
Now using the wget command we can download the Kafka package.
wget https://dlcdn.apache.org/kafka/3.0.0/kafka_2.12-3.0.0.tgz
Create a folder to unzip the file in the
sudo mkdir /usr/local/kafka-server
We have chosen /usr/local/ as the folder but it can be any folder you want.
Decompress the archive
sudo tar -xzf kafka_2.12-3.0.0.tgz
And move it to the folder
sudo mv kafka_2.12-3.0.0.0/* /usr/local/kafka-server
Now we need to create the service files for zookeeper and kafka so we can start them, stop them, and see their running status.
For zookeeper
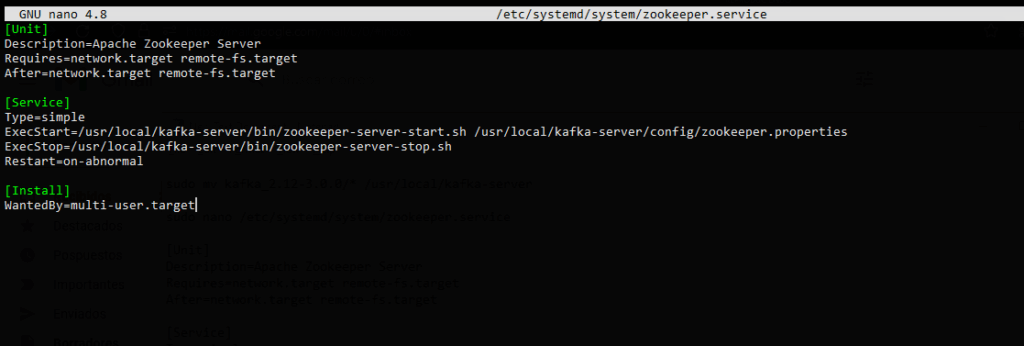
sudo nano /etc/systemd/system/zookeeper.service
And add the following
[Unit]
Description=Apache Zookeeper Server
Requires=network.target remote-fs.target
After=network.target remote-fs.target

[Service]
Type=simple
ExecStart=/usr/local/kafka-server/bin/zookeeper-server-start.sh /usr/local/kafka-server/config/zookeeper.properties
ExecStop=/usr/local/kafka-server/bin/zookeeper-server-stop.sh
Restart=on-abnormal

[Install]
WantedBy=multi-user.target
Save the changes and close the editor.
Now the Kafka one
sudo nano /etc/systemd/system/kafka.service
Add this content
[Unit]
Description=Apache Kafka Server
Documentation=http://kafka.apache.org/documentation.html
Requires=zookeeper.service
After=zookeeper.service

[Service]
Type=simple
Environment="JAVA_HOME=/usr/lib/jvm/java-11-openjdk-amd64"
ExecStart=/usr/local/kafka-server/bin/kafka-server-start.sh /usr/local/kafka-server/config/server.properties
ExecStop=/usr/local/kafka-server/bin/kafka-server-stop.sh
Restart=on-abnormal

[Install]
WantedBy=multi-user.target

Again, save the changes and close the editor.
To apply the changes to the new services, then run
sudo systemctl daemon-reload
Enable and start the services of both. First the zookeeper one
sudo systemctl enable --now zookeeper.service
Created symlink /etc/systemd/system/multi-user.target.wants/zookeeper.service → /etc/systemd/system/zookeeper.service
And then the Kafka one
sudo systemctl enable --now kafka.service
Created symlink /etc/systemd/system/multi-user.target.wants/kafka.service → /etc/systemd/system/kafka.service
Now check the service status of both
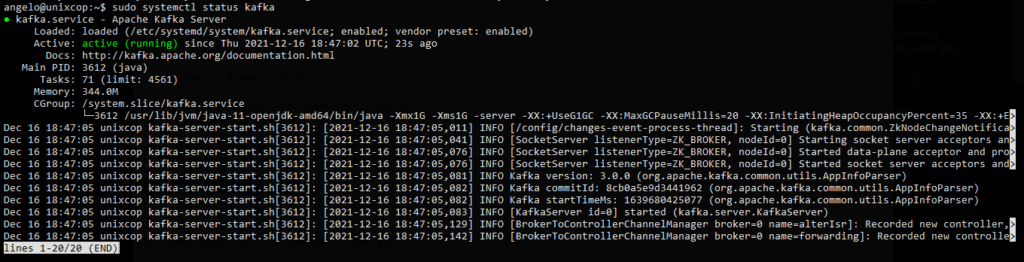
sudo systemctl status kafka
And
sudo systemctl status zookeeper
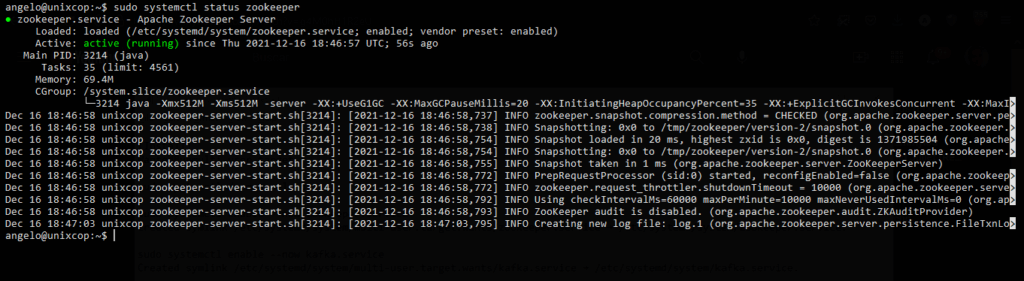
As you can see, the services are working correctly and so far everything has gone well.
Install CMAK – The Cluster Manager for Apache Kafka
This step is optional but it is convenient to get Apache Kafka up and running.
So, with the help of git clone the application repository.
git clone https://github.com/yahoo/CMAK.git
If you don’t have git installed, then you can run
sudo apt install git
Then you need to modify the application configuration file.
sudo nano CMAK/conf/application.conf

In it, you will look for the value of cmak.zkhosts and assign another value to it.
cmak.zkhosts="localhost:2181"
Refer to the image below to make sure you get the process right. Save the changes and close the editor.
Now access the CMAK folder.
cd CMAK
And configure it to generate a ZIP file.
./sbt clean dist
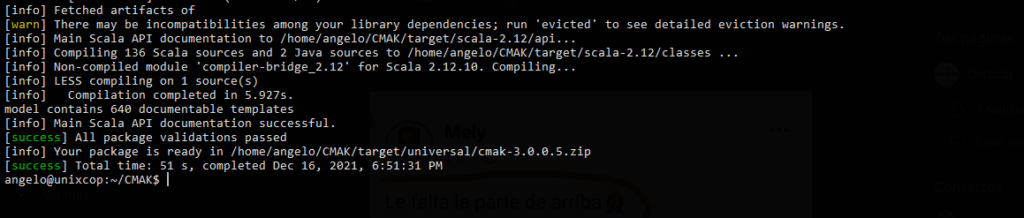
Access the target/universal directory.
cd target/universal
And decompress the file
sudo unzip cmak-3.0.0.5.zip
Now access the generated folder
cd cmak-3.0.0.5
And run the application
sudo bin/cmak
Now open a web browser and access http://your-server:9000 and you will see the following
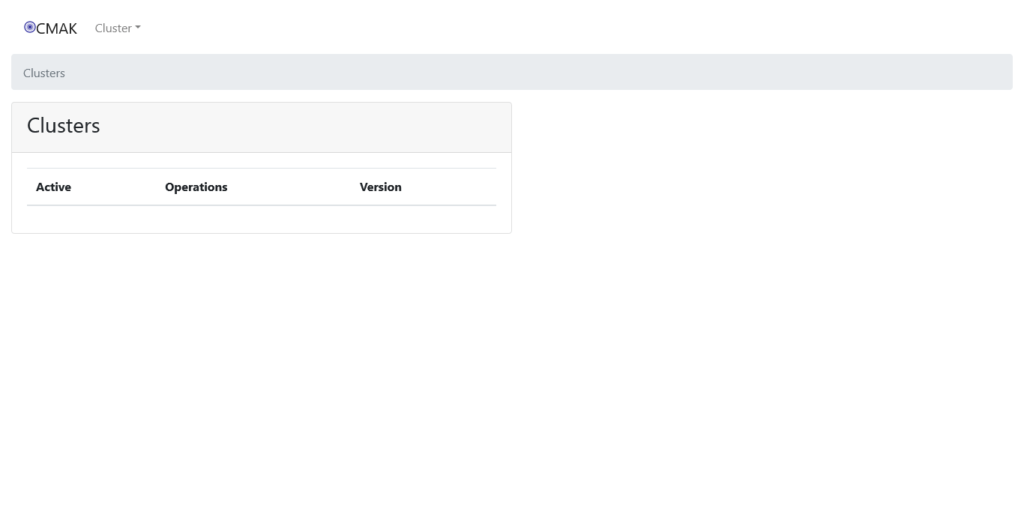
So, the process was successful Enjoy it.
Conclusion
In this post, you learned how to install Apache Kafka on Ubuntu 20.04 step by step. With this, you can get started with this great tool.