
This article will show you how to set up a VNC on Ubuntu Server 20.04.
Virtual Network Computing (VNC) is a graphical desktop sharing technology that allows you to control another computer using your keyboard and mouse.
Prerequisites
Before continuing with the tutorial, make sure you are logged in as a user with sudo privileges .
Installing Desktop Environment
Your Ubuntu server is unlikely to have a desktop environment installed. The first thing we need to do is set up a lightweight desktop environment.
In the Ubuntu repository, you’ll find a variety of desktop environments (DEs). Our preferred desktop environment will be Xfce. It’s lightweight, fast, and stable, making it suitable for use on a remote server.
Update the packages index and install Xfce on your Ubuntu server with the following commands:
$ sudo apt install xfce4 xfce4-goodies xorg dbus-x11 x11-xserver-utils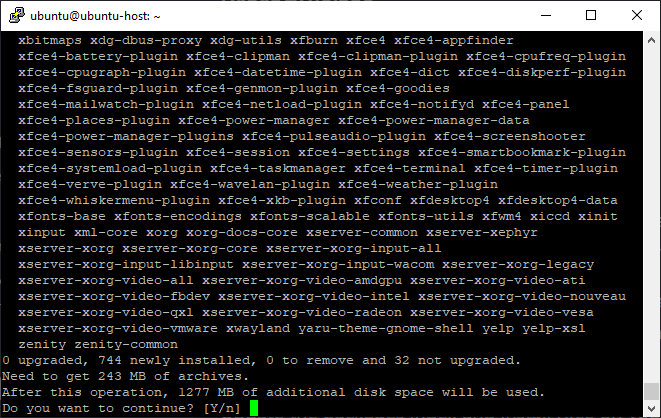
It may take some time to download and install the Xfce packages, depending on your machine.
Installing VNC on Ubuntu
TightVNC, TigerVNC, and x11vnc are just a few of the VNC servers that are accessible in the Ubuntu repository. In terms of speed and security, each VNC server offers advantages and disadvantages.
We’ll be utilising TigerVNC, a high-performance VNC server that is actively maintained. Run the following command to install TigerVNC on your Ubuntu server:
$ sudo apt install tigervnc-standalone-server tigervnc-common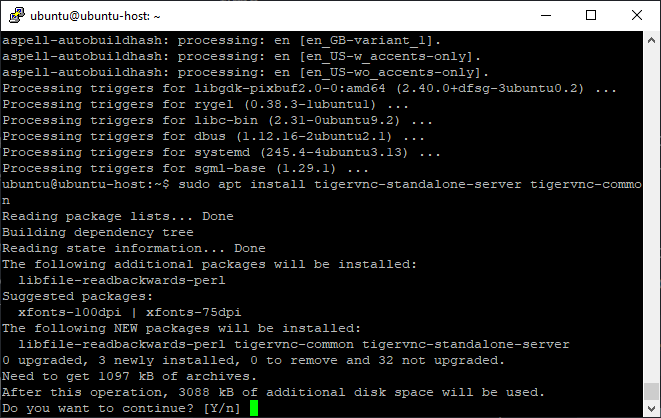
Test VNC Server
Once the VNC server is installed, run the vncserver command to create the initial configuration and set up the password. Do not use sudo when running the following command:
$ vncserverYou’ll be asked to enter and confirm your password, as well as whether you want it to be view-only. The user will not be able to interact with the VNC instance with the mouse or keyboard if you opt to set up a view-only password.
The password file is created and stored in the /.vnc directory when you run the vncserver command for the first time.
In the output above, take note of the:1 after the hostname. This is the number of the display port where the vnc server is running. The server is listening on TCP port 5901 (5900+1) in our case. If you use vncserver to create a second instance, it will run on the next available port, which is 2, which means the server will be running on port 5902 (5900+2).
It’s worth noting that while working with VNC servers,:X corresponds to 5900+X as a display port.
Stop the VNC instance using the vncserver command with the -kill option and the server number as an argument before moving on to the next step. Because the server is listening on port 5901 (:1) in this example, we’ll shut it down with:
$ vncserver -kill :1Configuring VNC Server
We need to setup TigerVNC to use Xfce now that both Xfce and TigerVNC are installed on the workstation. Create the following file to do so:
$ vim  ~/.vnc/xstartup
#!/bin/sh
unset SESSION_MANAGER
unset DBUS_SESSION_BUS_ADDRESS
exec startxfce4
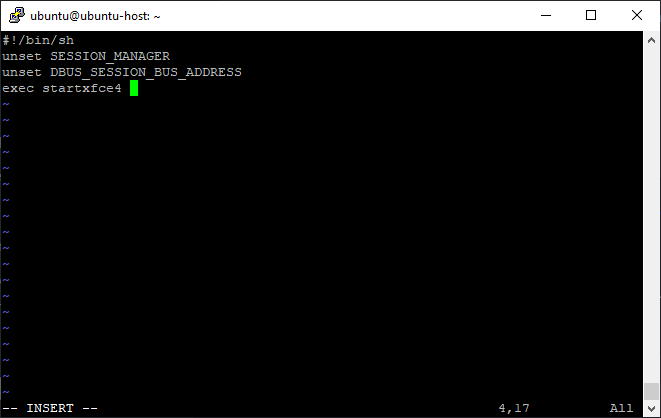
Save and close the file when you’re finished. When you start or restart the TigerVNC server, the script above will be run automatically.
Execute permissions are also required for the /.vnc/xstartup file. To ensure that permissions are right, use the following chmod command:
$ chmod u+x ~/.vnc/xstartupCreating a Systemd unit file
We can easily start, stop, and restart the VNC service using the systemd unit file.
Copy the following settings into your text editor and paste it in. Remember to modify the username on line 7 to match your own.
$ sudo vim /etc/systemd/system/[email protected]
/etc/systemd/system/[email protected]
[Unit]
Description=Remote desktop service (VNC)
After=syslog.target network.target

[Service]
Type=simple
User=ubuntu
PAMName=login
PIDFile=/home/%u/.vnc/%H%i.pid
ExecStartPre=/bin/sh -c '/usr/bin/vncserver -kill :%i > /dev/null 2>&1 || :'
ExecStart=/usr/bin/vncserver :%i -geometry 1440x900 -alwaysshared -fg
ExecStop=/usr/bin/vncserver -kill :%i

[Install]
WantedBy=multi-user.target
Save and close the file.
Run the following command to tell systemd that a new [email protected] file has been created:
$ sudo systemctl daemon-reloadNext, enable the service:
$ sudo systemctl enable [email protected]The display port on which the VNC service will run is defined by the number 1 after the @ symbol. Because we are using 1 in the previous section, the VNC server will listen on port 5901.
Run the following command to start the VNC service:
$ sudo systemctl start [email protected]Verify that the service is successfully started with:
$ sudo systemctl status [email protected]Connecting to VNC server
It’s time to fire up Vncviewer and connect to your VNC Server.
Any VNC viewer, including TigerVNC, TightVNC, RealVNC, UltraVNC, Vinagre, and VNC Viewer for Google Chrome, can be used.
We’ll use TigerVNC in this example. Open your VNC viewer, type your server ip:5901 into the address bar, then hit the Connect button.
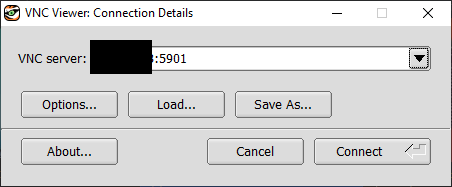
Enter your password when prompted, and you should see the default Xfce desktop. It should looklike this:
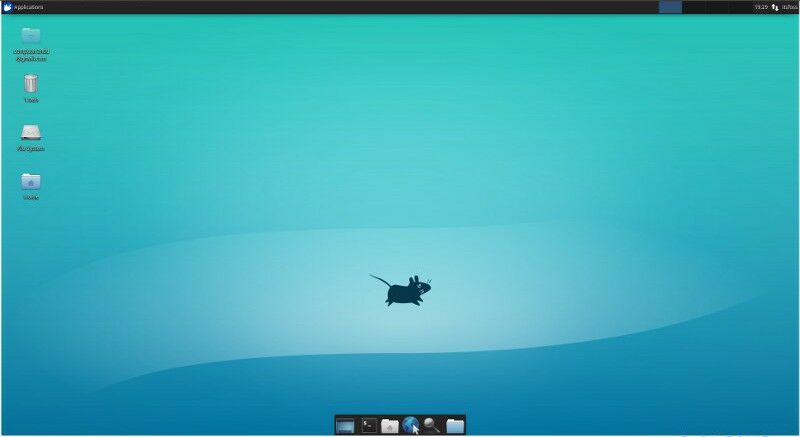
You’ve successfully connected to your server via VNC at this point. You may now use your keyboard and mouse to interact with the remote XFCE desktop from your local workstation.
Install VNC on Ubuntu – Conclusion
By now, you should have a VNC server up and running, and you should be able to operate your Ubuntu server using a graphic interface from your local computer.
Using the vncserver command, build the initial setup and specify the password for your VNC server to start a display for more than one user. A new service file with a different port must also be created.
Check out some of our other tutorials